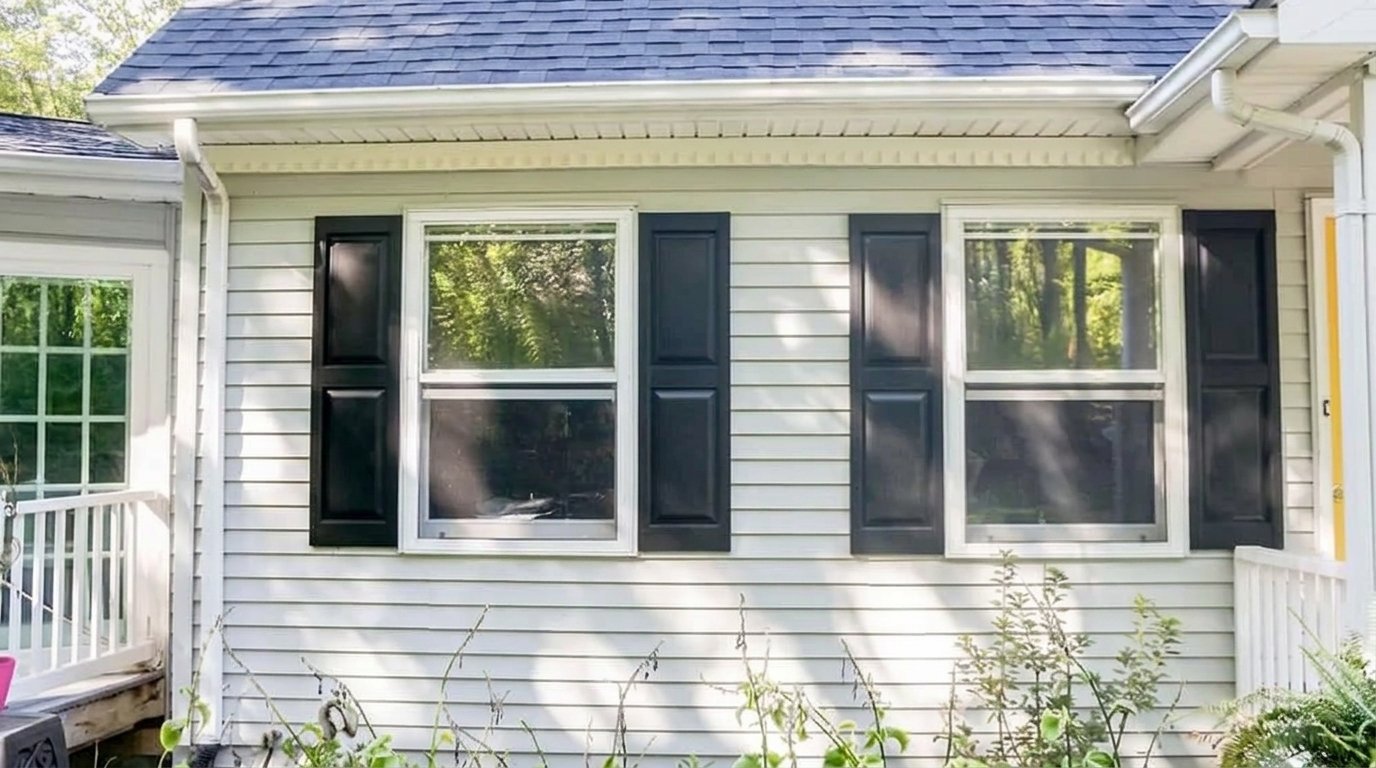
Painting your shutters can make a big difference in how your home looks. But if you've never done it before, it can feel confusing. Where do you start? What paint do you use? Do you even need to remove them?
This guide covers everything. From picking the right paint to applying the final coat, you'll find clear steps here. I've helped dozens of homeowners tackle this exact project, and the results are always worth it.
Here's what you'll learn:why painting shutters matters, what tools and materials you need, how to prep and paint shutters the right way, and tips to avoid common mistakes. Let's get started.
Why Painting Your Shutters Is Worth the Effort
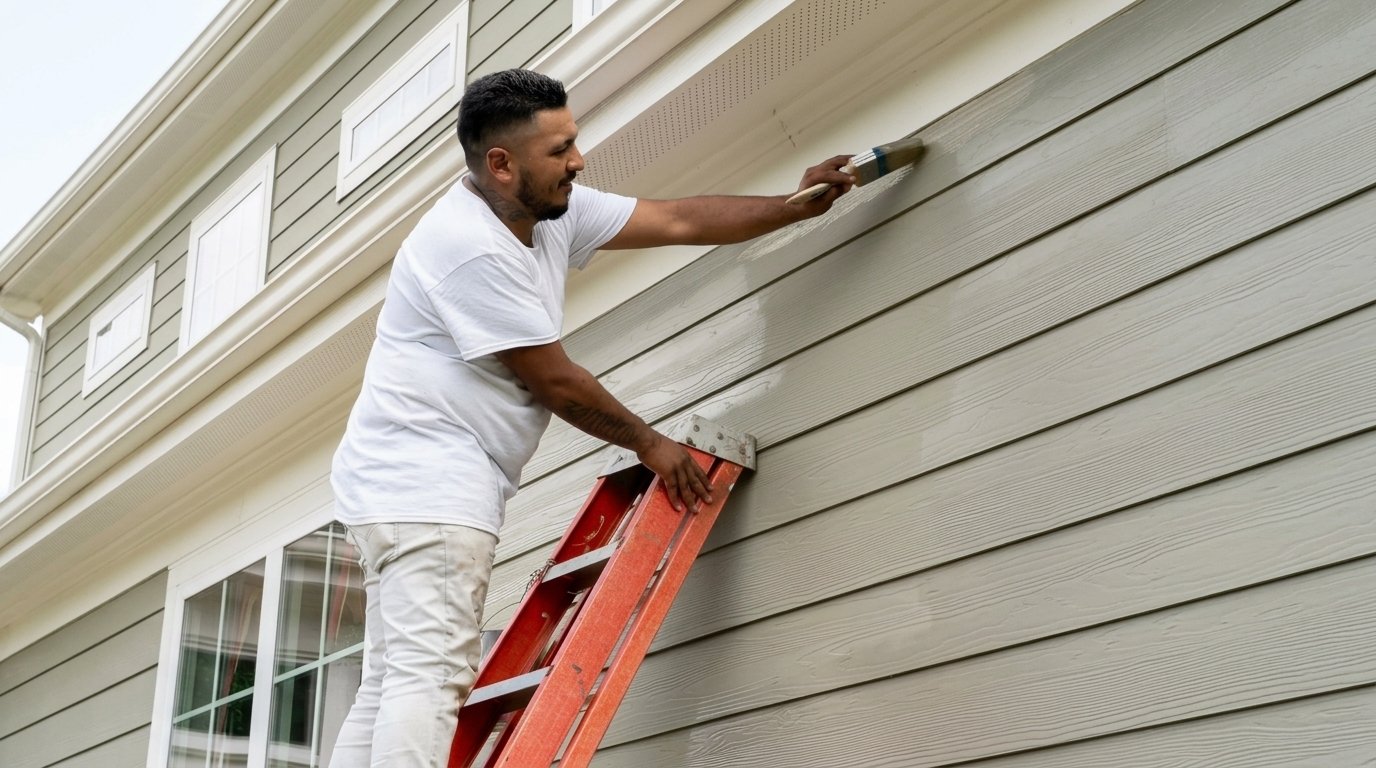
Fresh paint on shutters does more than look nice. It protects the material and keeps your home looking well cared for.
If you see any of these signs, it's time to repaint: paint is cracking, chipping, or peeling, color has faded from sun exposure, mildew or stains won't wash off, or the surface feels rough and uneven.
Faded or peeling shutters make the whole house look older. Catching these signs early saves you more work later.
A fresh coat of paint gives you more than curb appeal. You get protection from weather and moisture, a longer lifespan for wood or vinyl shutters, a cleaner look on your home, and increased home value.
Even a simple color update can change how your whole house feels from the street.
Tools and Materials You'll Need
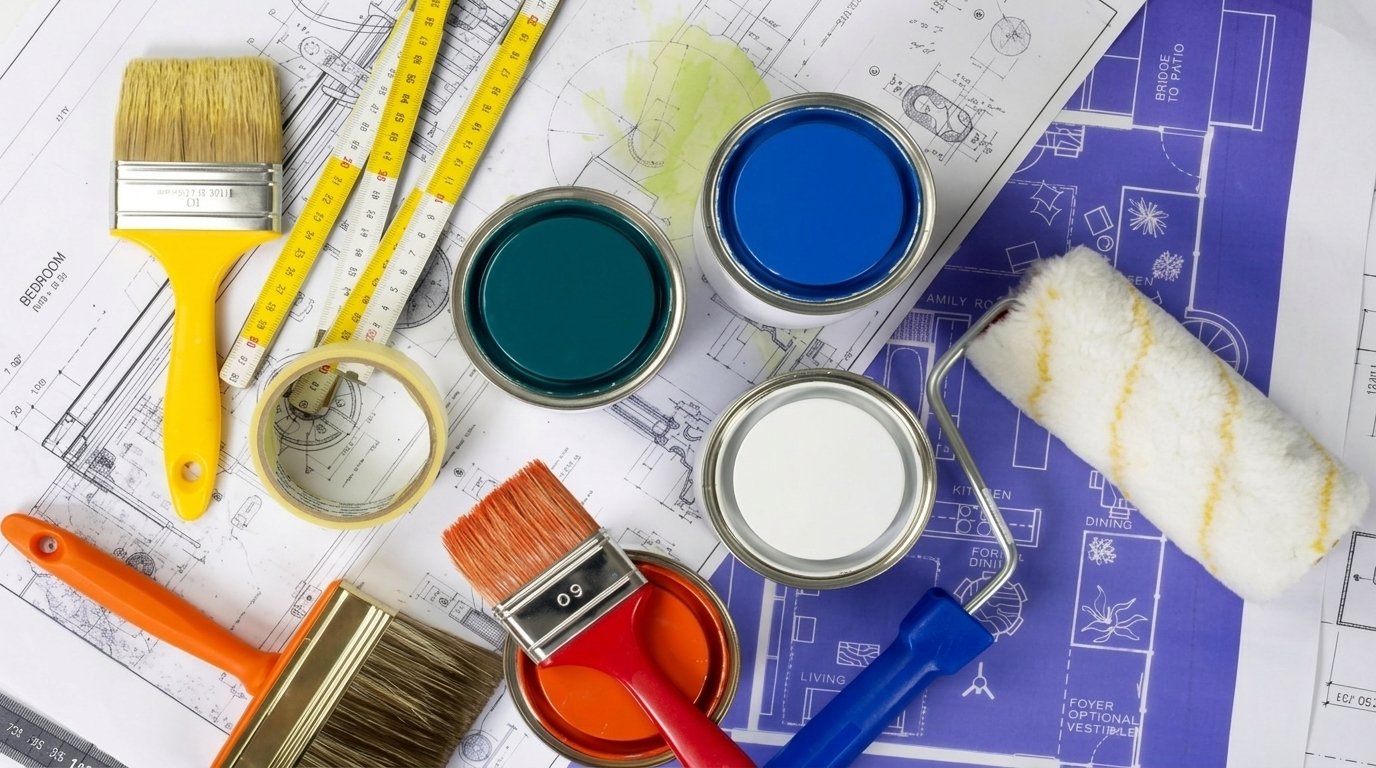
Getting the right supplies before you start saves time and frustration.
For tools, you'll need a 2-inch angled paintbrush, a paint roller with a small sleeve, painter's tape, drop cloths or plastic sheeting, a screwdriver or drill if removing shutters, sandpaper in 80-grit and 120-grit, and a wire brush or scraper for loose paint.
A paint sprayer is optional but faster.
For materials, pick up exterior-grade paint (latex or oil-based), a bonding primer for vinyl or bare wood, and a topcoat or sealer for added protection. Always choose paint made for outdoor use. Indoor paints won't hold up to rain, heat, or cold.
To protect surrounding surfaces, use painter's tape for edges and trim, drop cloths under work areas, and plastic sheeting to cover windows and siding.
Choosing the Best Paint for Shutters
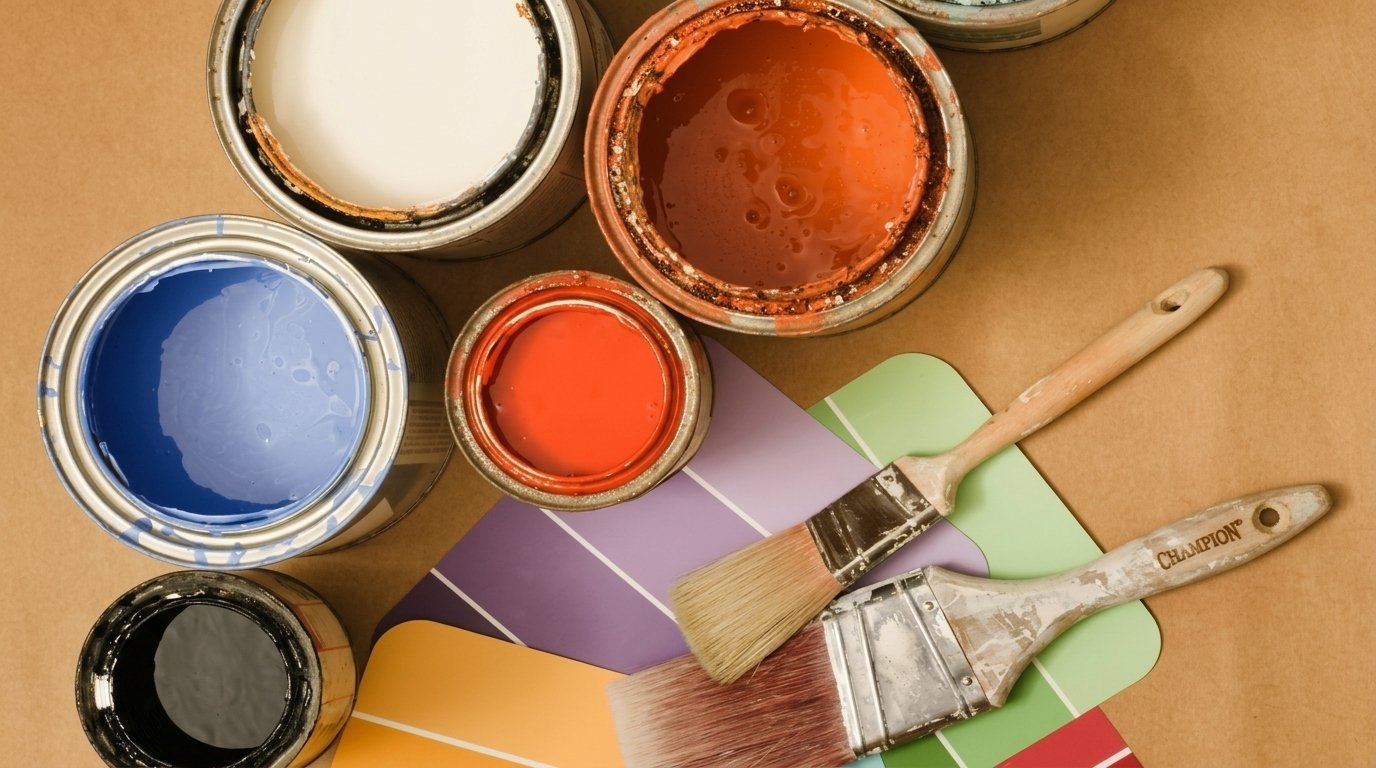
The right paint makes a real difference. The wrong one can peel within a year.
Best Paint for Wood Shutters
Wood shutters absorb moisture. You need a paint that can flex with the wood as it expands and contracts.
Best options for wood:
- 100% acrylic latex exterior paint
- Oil-based alkyd paint for high durability
- Always use a primer first on bare or repaired wood
Acrylic latex dries faster and cleans up with water. Oil-based takes longer but gives a harder finish.
Best Paint for Vinyl Shutters
Vinyl can be tricky. Some paints won't stick to it at all.
Best options for vinyl:
- Acrylic latex paint made for vinyl surfaces
- Paint labeled "vinyl safe" (won't cause warping)
- A bonding primer before painting
Avoid dark colors on vinyl in very hot climates. Dark paint absorbs heat and can warp vinyl shutters over time.
Selecting the Right Paint Finish
The finish you pick affects how long your paint lasts and how easy it is to clean.
| Finish | Best For |
|---|---|
| Satin | Most shutters, easy to clean |
| Semi-gloss | High moisture areas, bold look |
| Gloss | High contrast, very durable |
| Flat/Matte | Not recommended for shutters |
Satin or semi-gloss works best for most homes. They hold up to the weather and are easy to wipe down.
Popular Shutter Color Ideas for Different Home Exteriors
Your shutter color should work with your home's main color.
Here are some combinations that work well:
- White house: Black, navy, or dark green shutters
- Gray or blue house: White, charcoal, or deep navy shutters
- Brick home: Black, forest green, or burgundy shutters
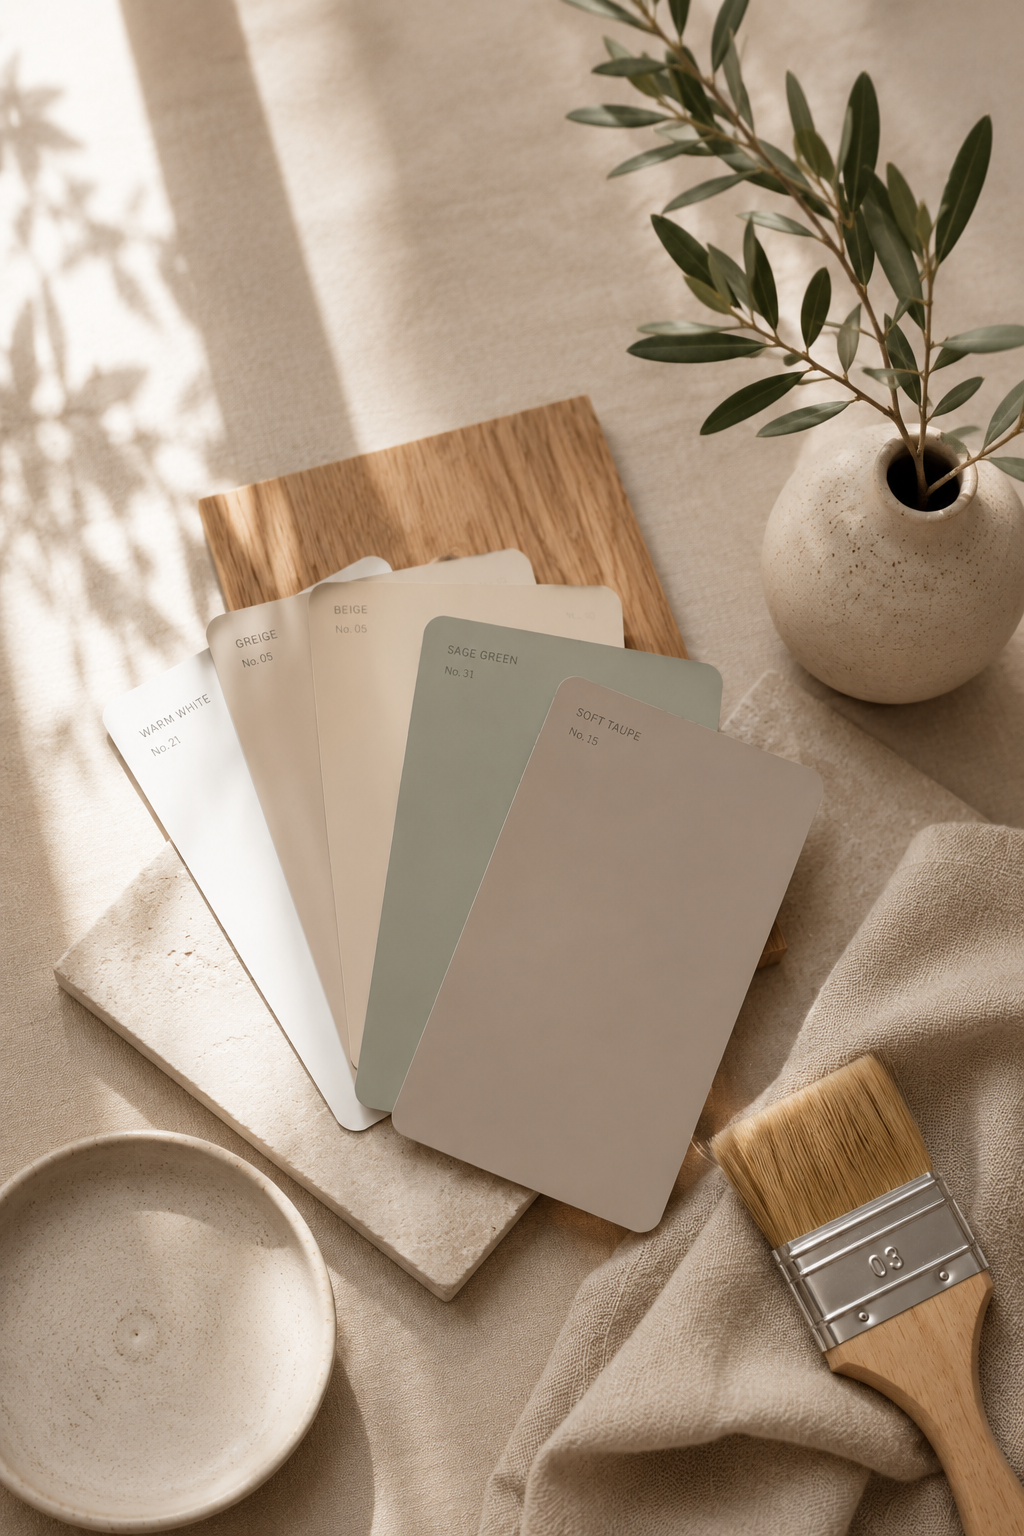
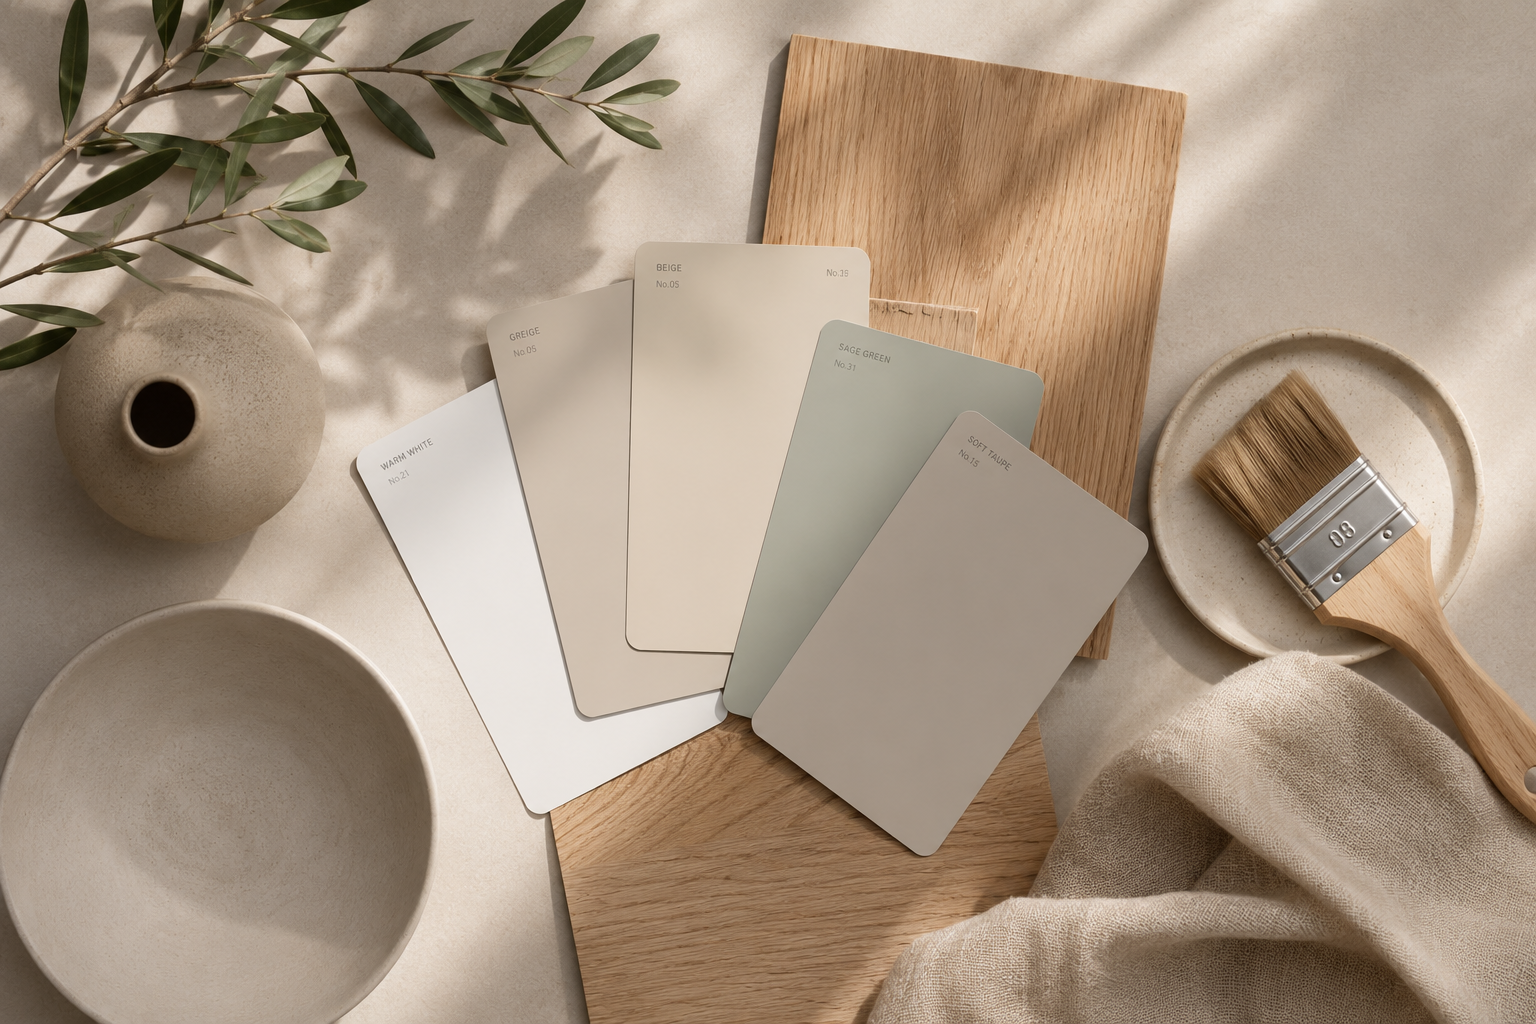
- Tan or beige house: Brown, sage green, or deep red shutters
- Yellow house: White, black, or slate blue shutters
Stick to one or two accent colors. Keep it simple and clean.
Preparing Shutters for Painting
Good prep is what separates a paint job that lasts from one that peels in six months.
Inspecting for Damage, Rot, or Cracks
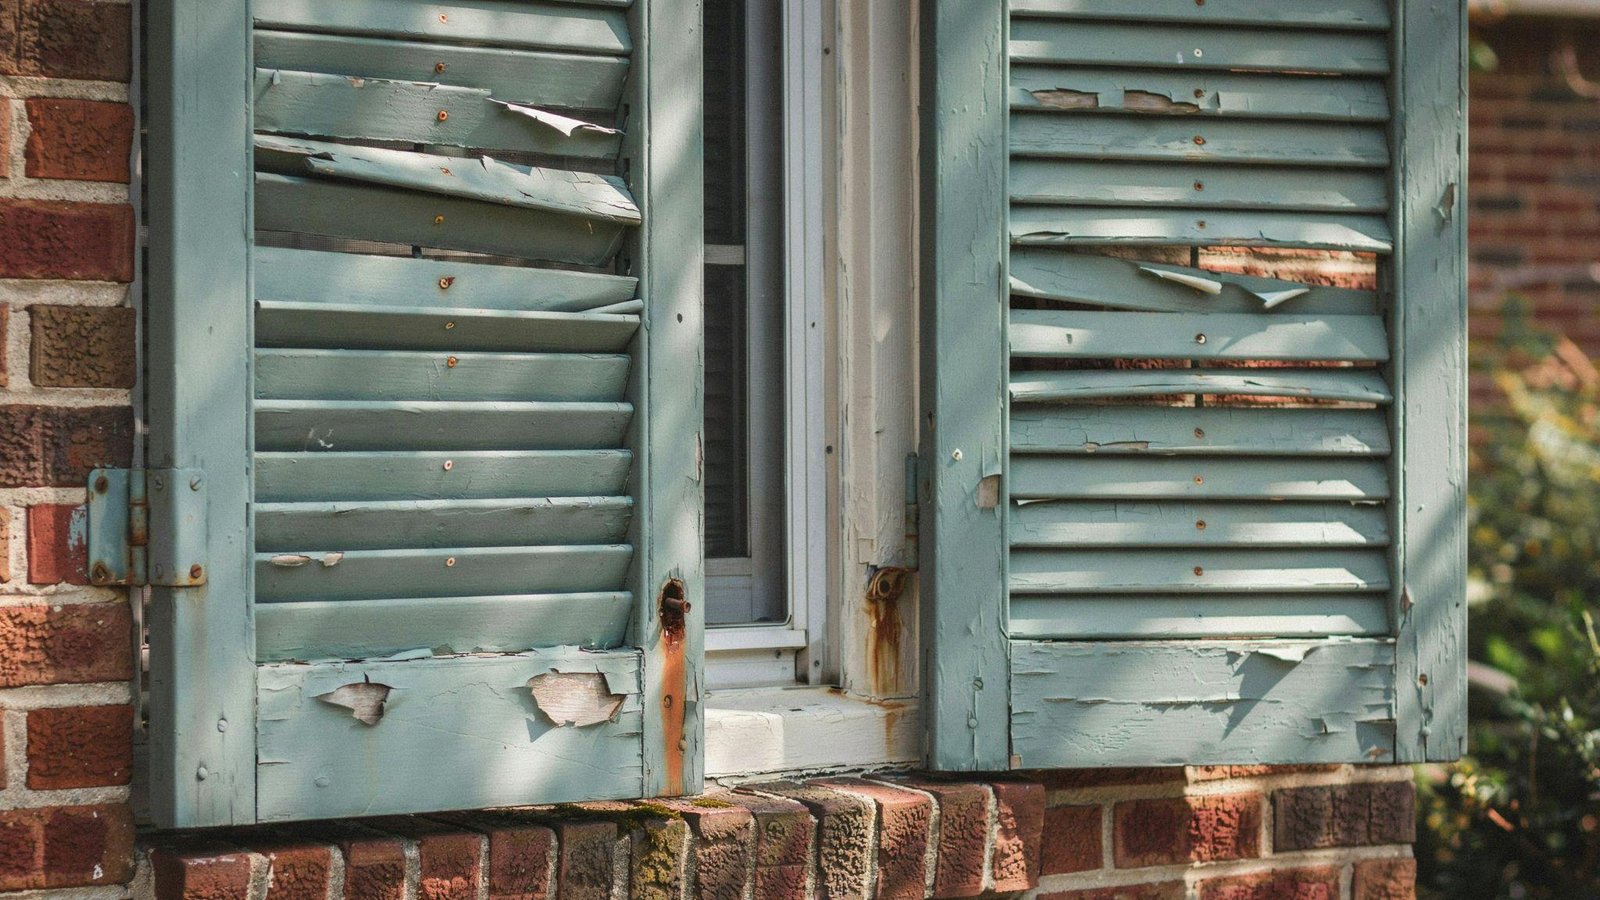
Before anything else, check the condition of your shutters.
Look for:
- Rotted wood or soft spots
- Cracks or splits in slats
- Holes or missing pieces
- Loose hardware or hinges
Small cracks can be filled with wood filler or exterior caulk. Large rot means the shutter may need to be replaced, not repainted.
Cleaning Away Dirt, Dust, and Mildew
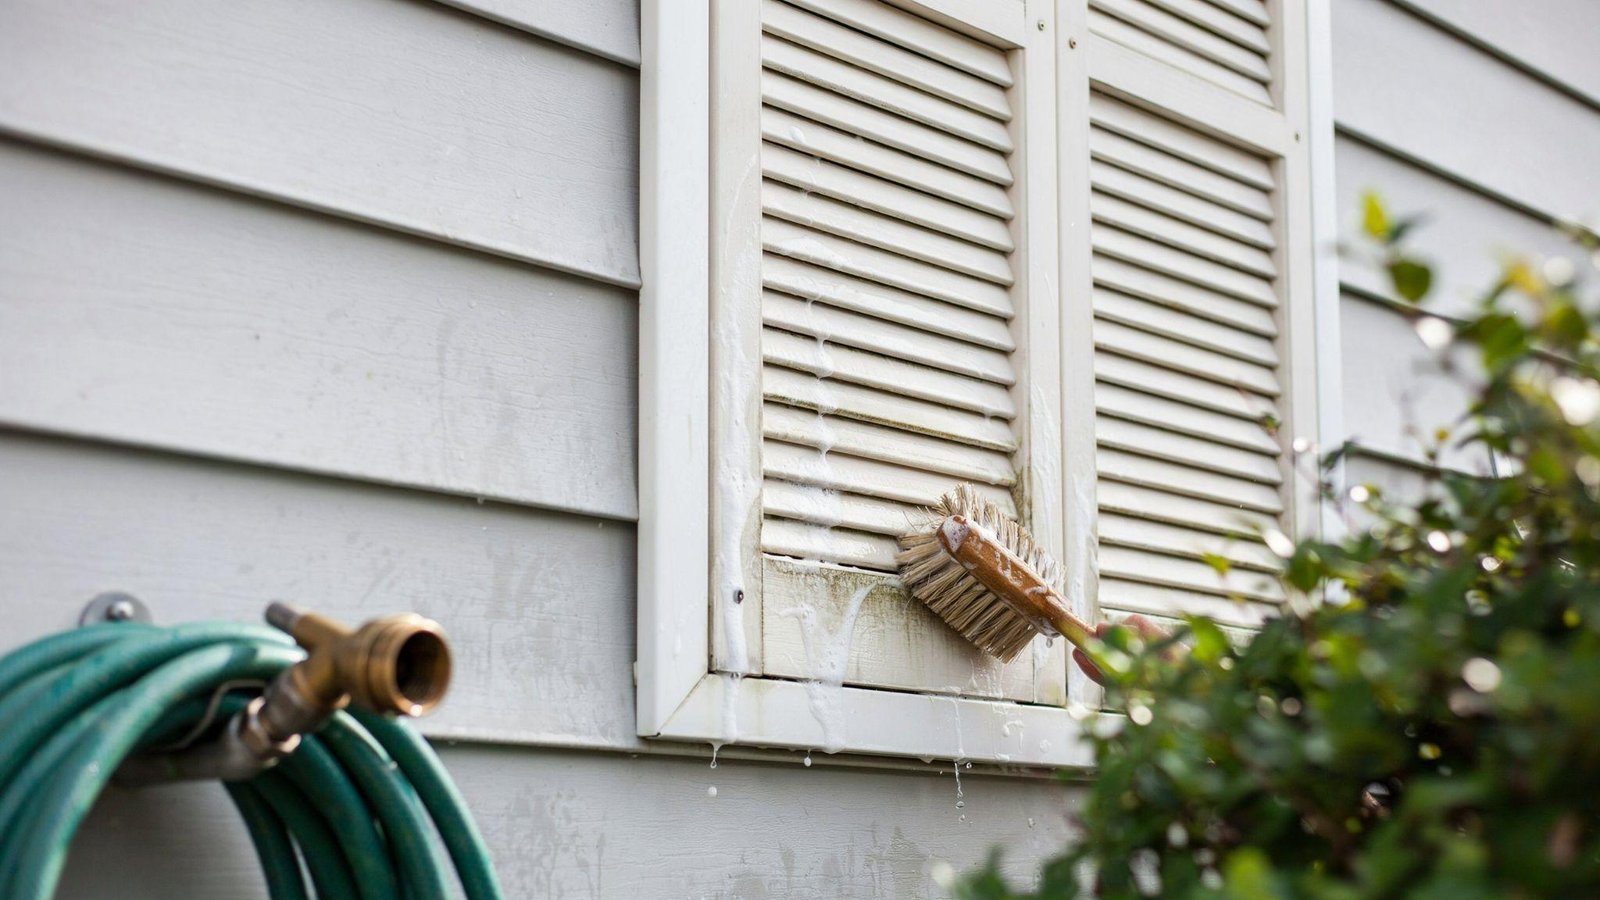
A clean surface is a must. Paint won't stick to dirty or greasy shutters.
How to clean shutters:
- Mix warm water with mild dish soap or TSP cleaner
- Scrub with a stiff brush
- For mildew, use a solution of 1 part bleach to 3 parts water
- Rinse well with a garden hose
- Let them dry completely before moving on
Don't skip this step. Even a small amount of dirt can cause the paint to bubble or peel.
Removing Loose and Peeling Paint
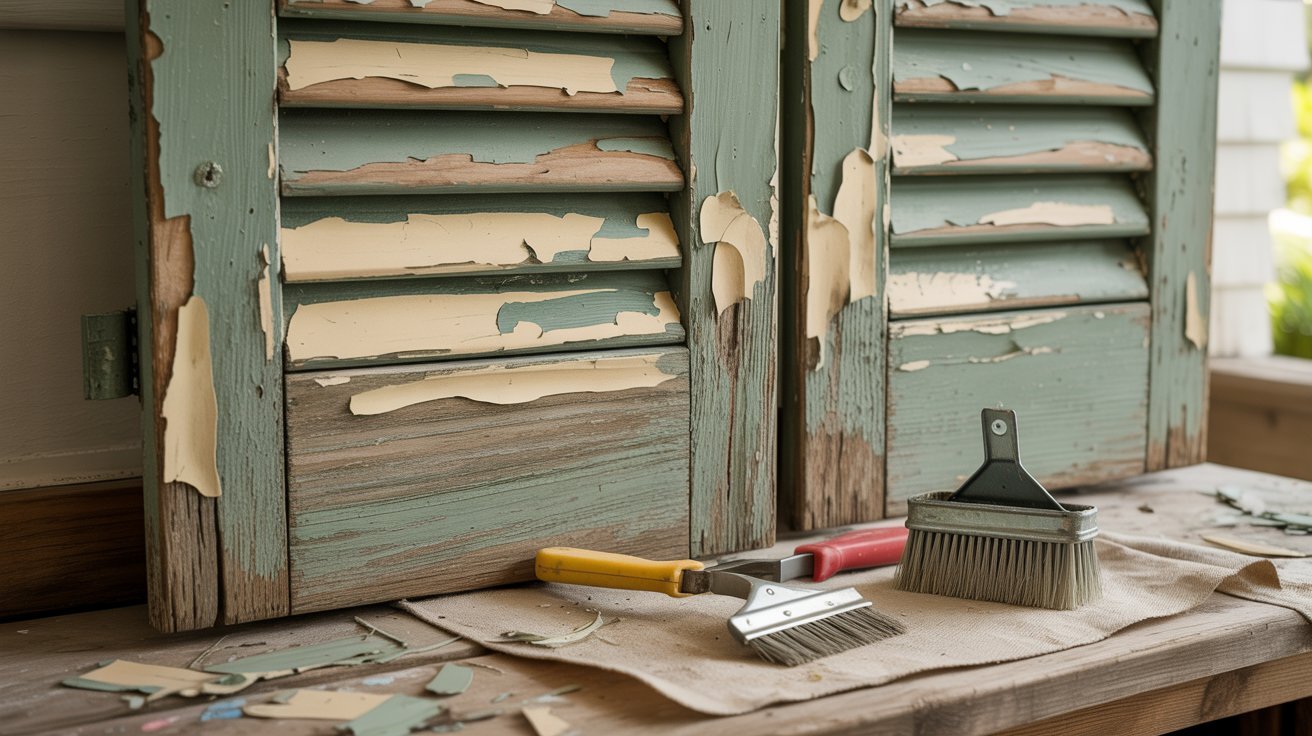
If your shutters have old paint that's flaking off, you need to remove it first.
Use:
- A paint scraper for large flaking areas
- A wire brush for rough spots
- 80-grit sandpaper for stubborn patches
You don't have to strip the shutters down to bare material. Just get rid of anything that isn't firmly attached.
Sanding for a Smooth Surface
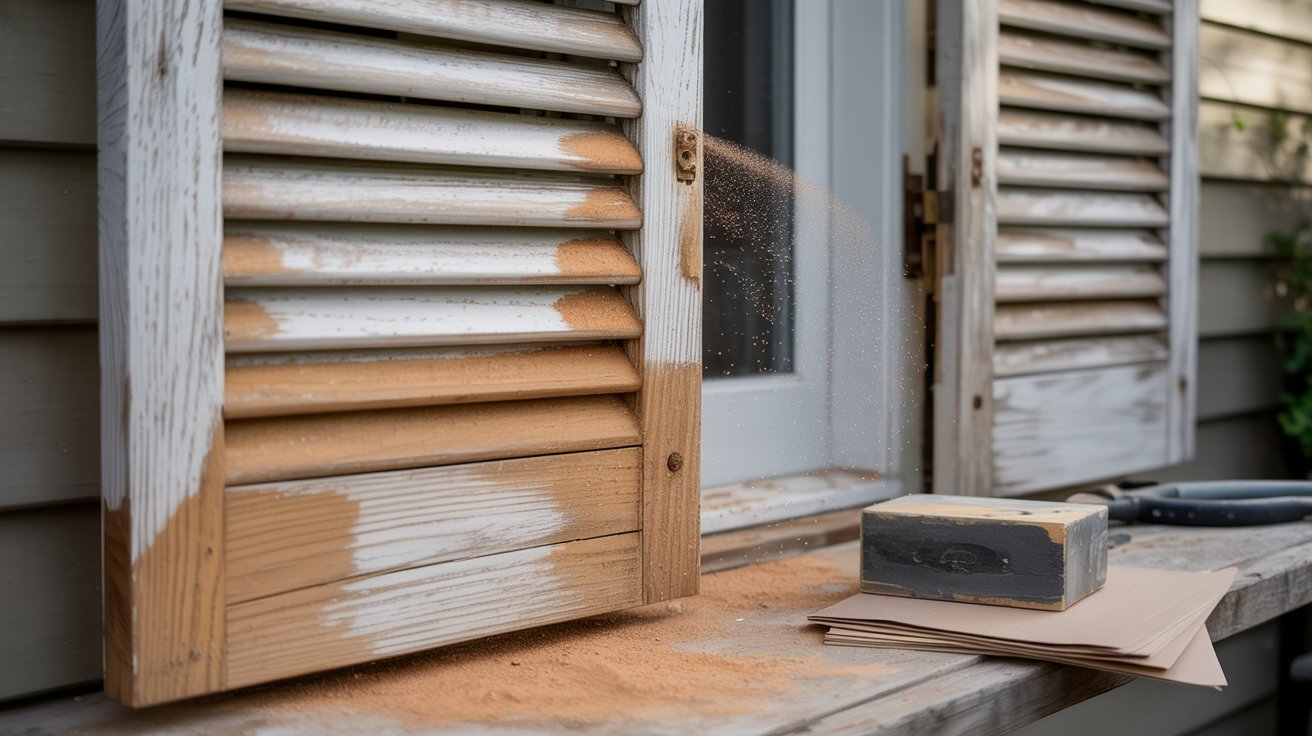
After scraping, sand the whole surface lightly. This helps the new paint grip better.
- Use 120-grit sandpaper for a final smooth pass
- Sand along the grain on wood shutters
- Wipe off all dust with a tack cloth or damp rag before priming
When Primer Is Necessary
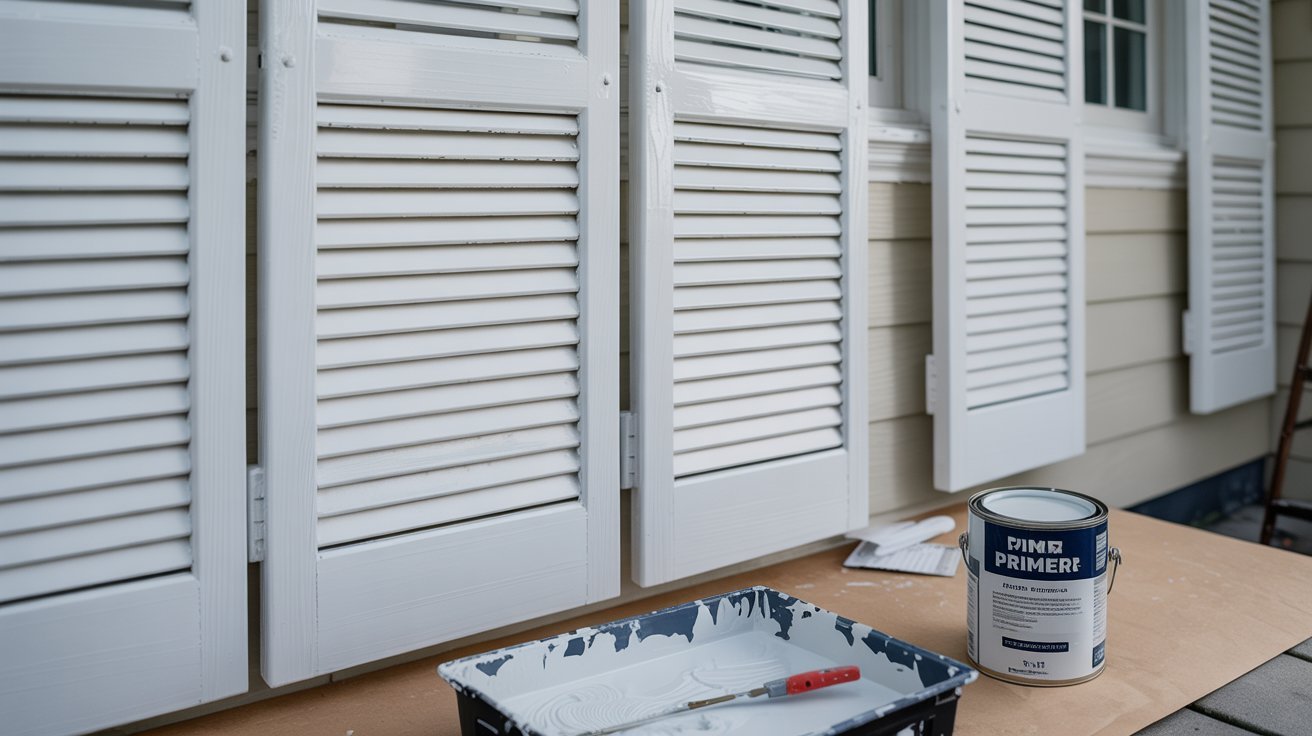
Primer isn't always required, but there are times you really need it:
- Bare wood that has never been painted
- Vinyl shutters (bonding primer helps paint stick)
- After repairs with wood filler or caulk
- When switching from a dark color to a light one
- When the old paint is in rough condition
If your shutters are already in decent shape and you're repainting the same color, you may be able to skip primer. When in doubt, use it.
Can You Paint Shutters Without Removing Them?
Yes, you can. Many homeowners do it this way. But there are pros and cons to both approaches.
Painting in place saves time, reduces the risk of stripping screws, and works well if your shutters are in decent shape. It is a good option for beginners or a quick refresh.
That said, removing shutters makes more sense when they are in poor condition, need heavy sanding, or require work on all sides and edges.
Regardless of which method you choose, always protect the surrounding surfaces. Tape off edges, lay drop cloths on the ground, cover windows if spraying, and use a paint shield near trim. That extra ten minutes of prep saves a lot of cleanup time later.
How to Paint Shutters on a House: Step-by-Step
Here's the full process from start to finish.
Step 1: Set Up and Protect the Work Area
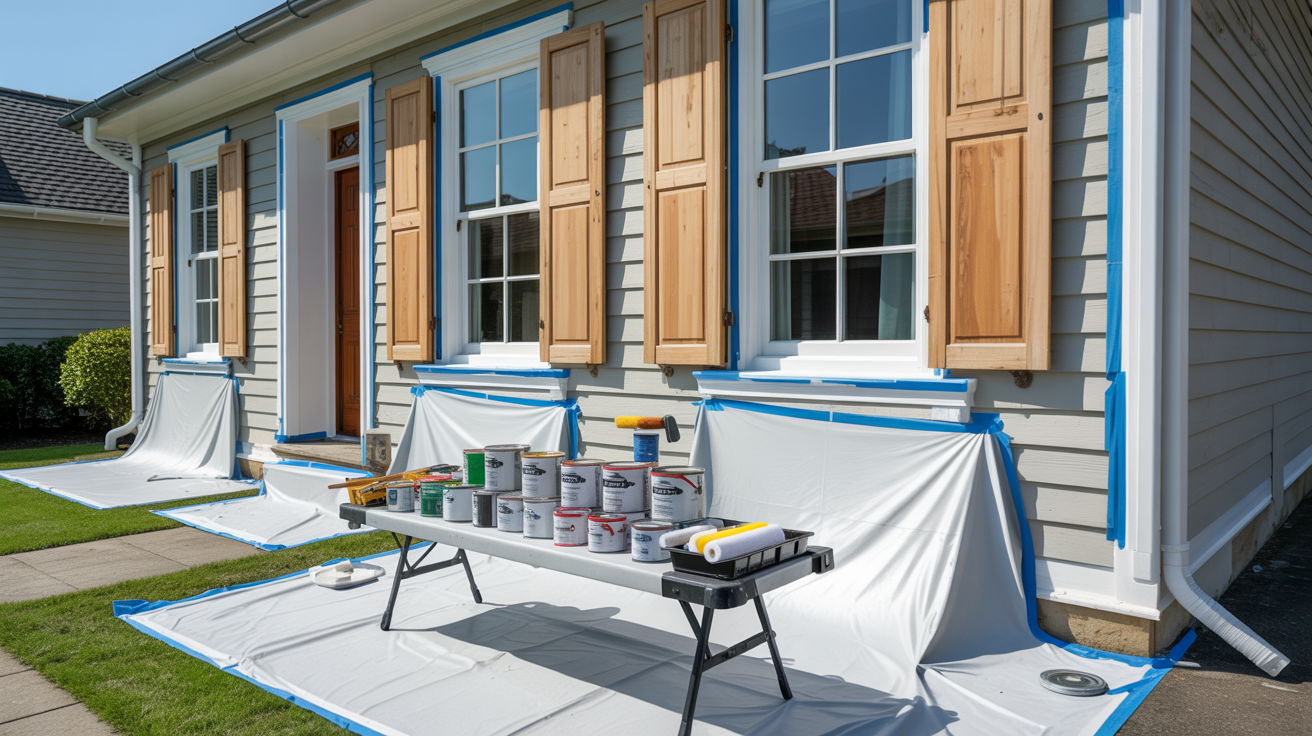
Start by laying down drop cloths below the shutters to catch any drips. Tape off the siding, trim, and window frames with painter's tape.
Set up all your tools within easy reach so you're not scrambling mid-job. Also check the weather forecast before you begin. You don't want rain or extreme heat ruining fresh paint.
Step 2: Prepare the Shutter Surface
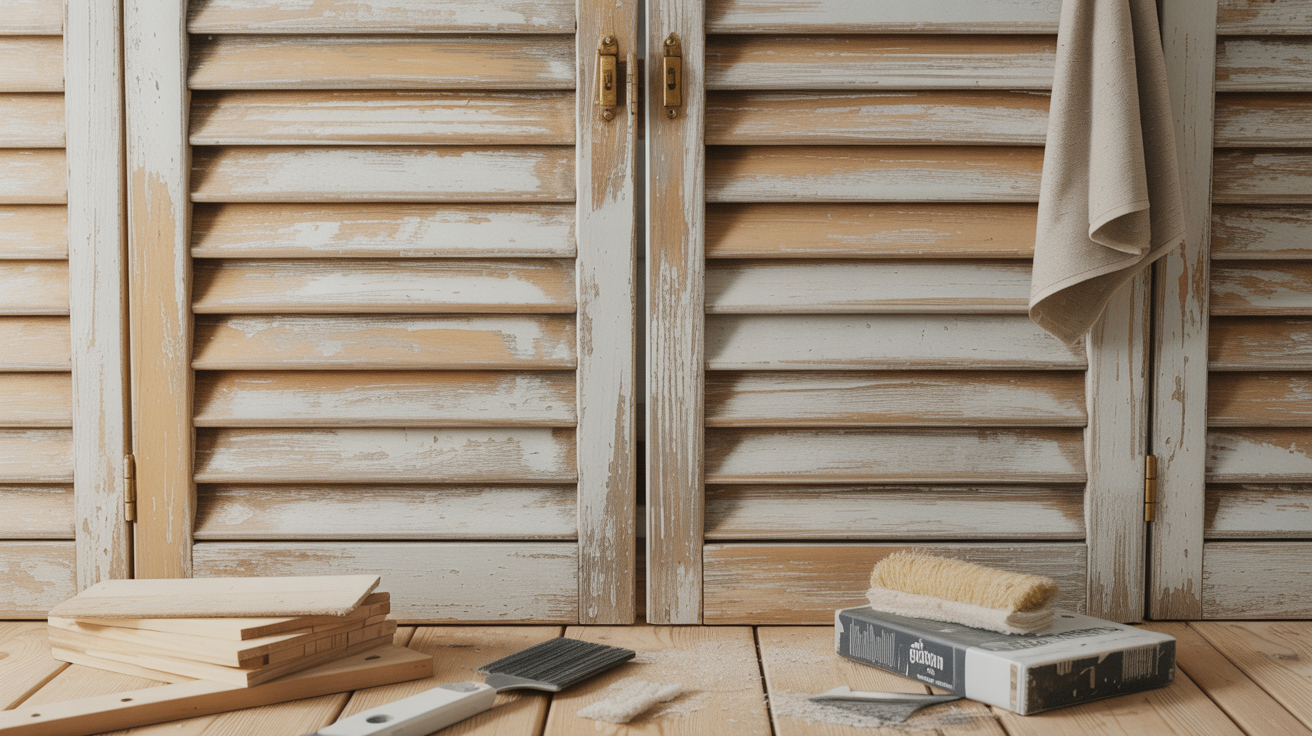
Inspect the shutters for any damage and make repairs before anything else. Clean them well with soap and water, then scrape off any loose or peeling paint.
Sand the surface lightly for better paint adhesion. Once sanding is done, wipe off all dust with a tack cloth so nothing gets trapped under the new paint.
Step 3: Apply Primer if Needed
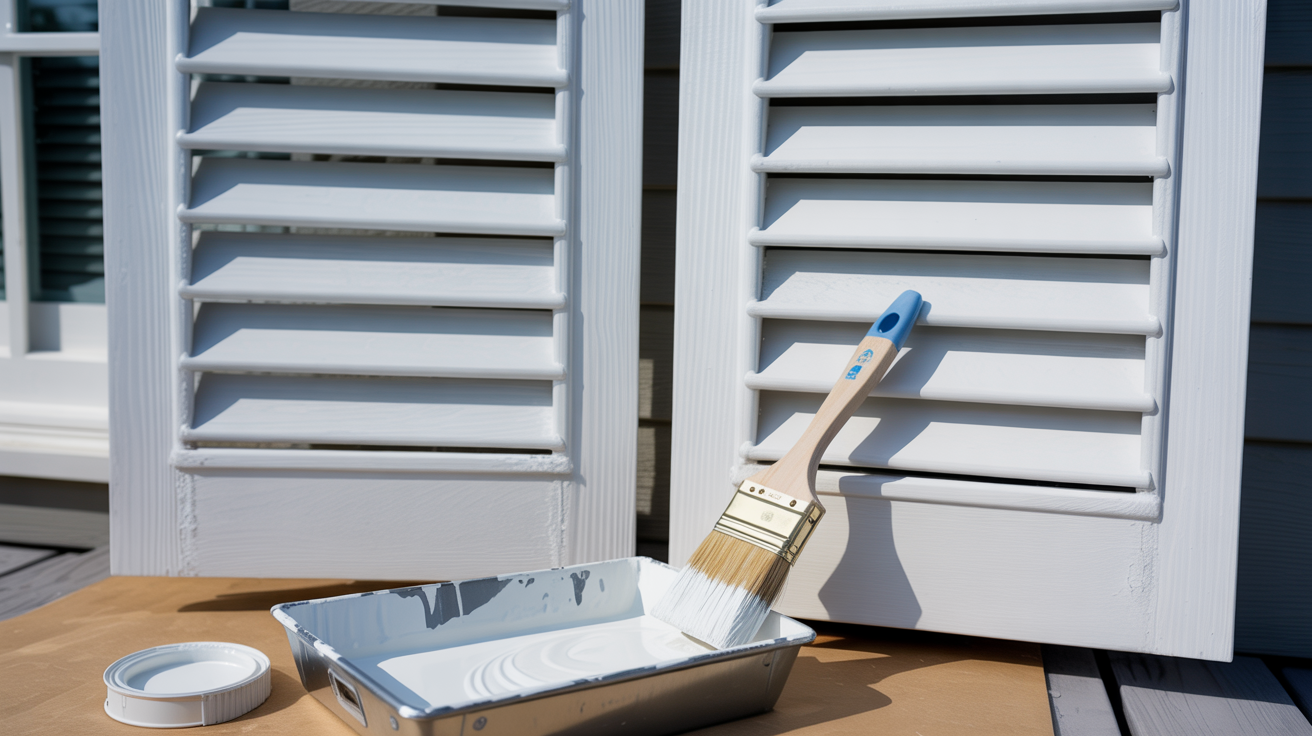
Use a brush to apply primer on slats and corners first. Then work your way across the rest of the surface. Apply a thin, even coat and let it dry fully before moving on to paint.
Check the label for the recommended dry time so you don't rush this step.
Step 4: Paint the Slats, Corners, and Edges
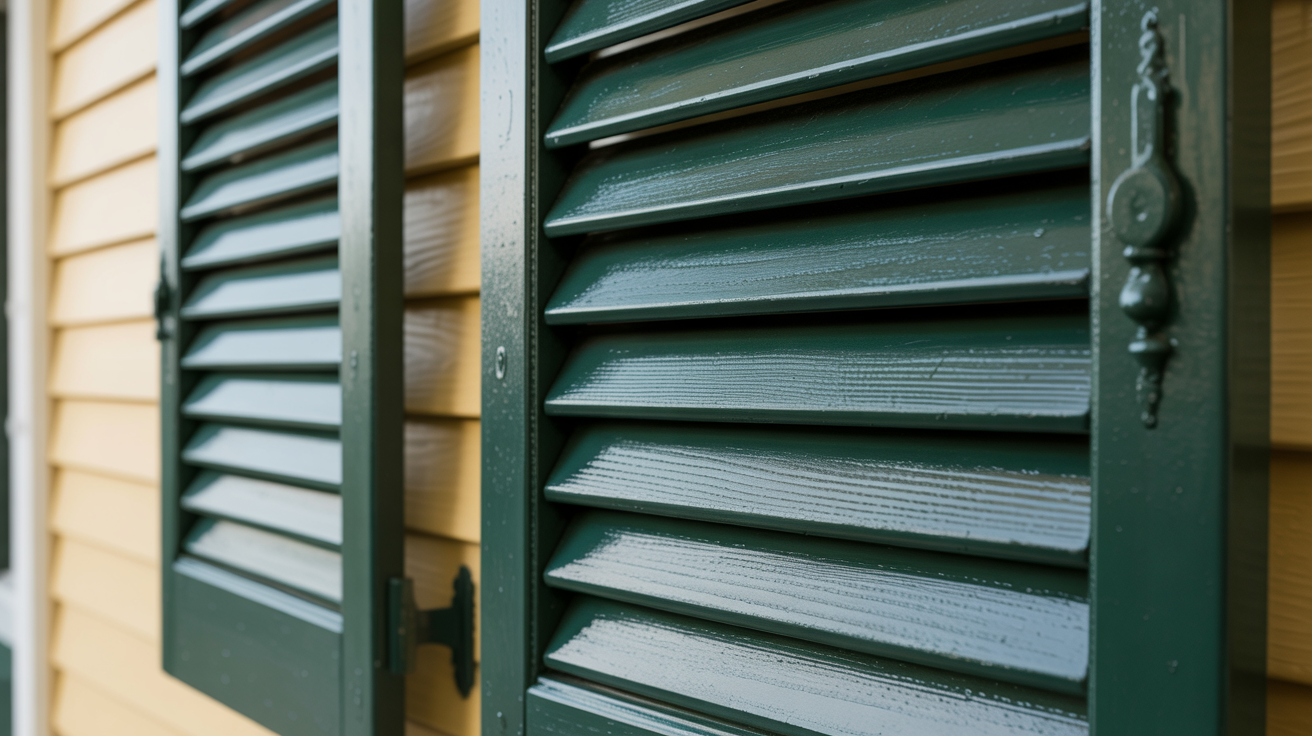
Start with an angled brush on the slats and tight corners. Work from top to bottom so drips fall onto unpainted areas.
Get into all the recessed spots before you move to the flat surface. Take your time here. Rushing this step leads to missed spots and uneven coverage.
Step 5: Cover the Front Surface Evenly
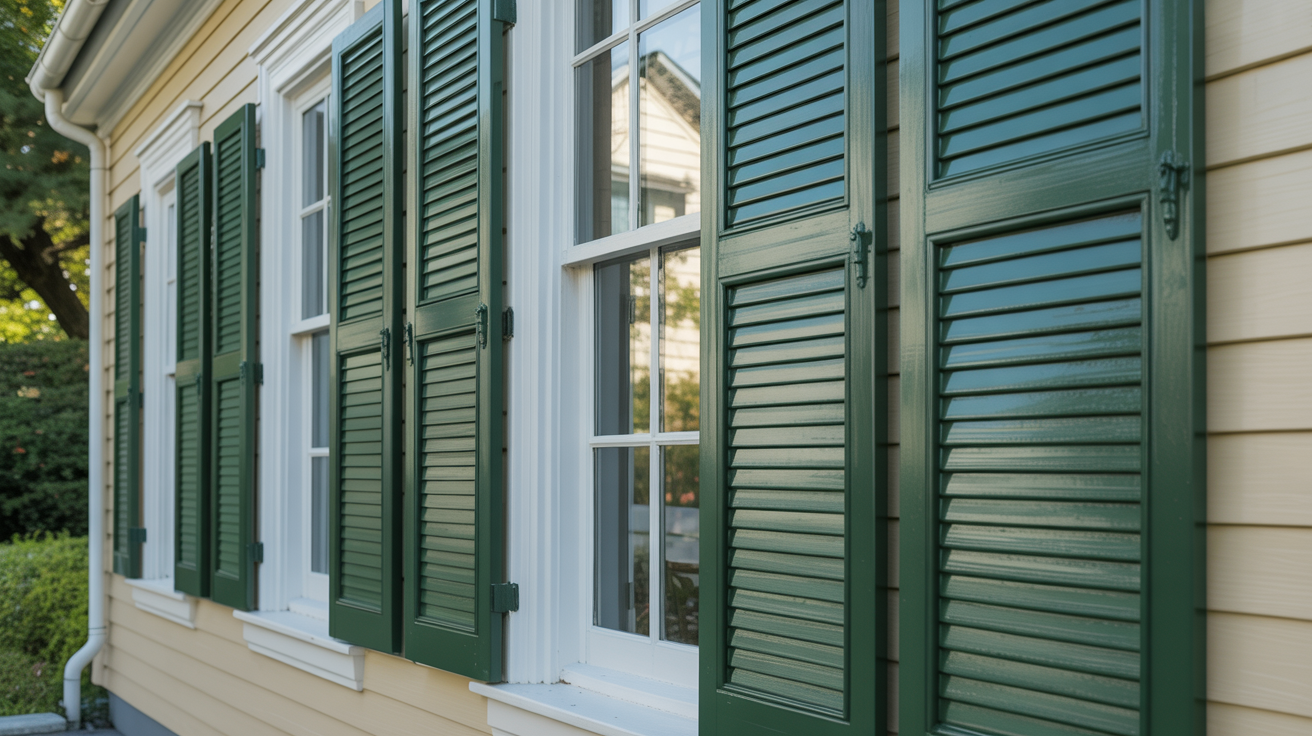
Once the slats and edges are done, use a brush, roller, or sprayer on the main flat surface. Apply in long, smooth strokes and keep the coat thin and even.
Avoid going back over areas that are already starting to dry, as this can leave marks.
Step 6: Apply a Second Coat for Full Coverage
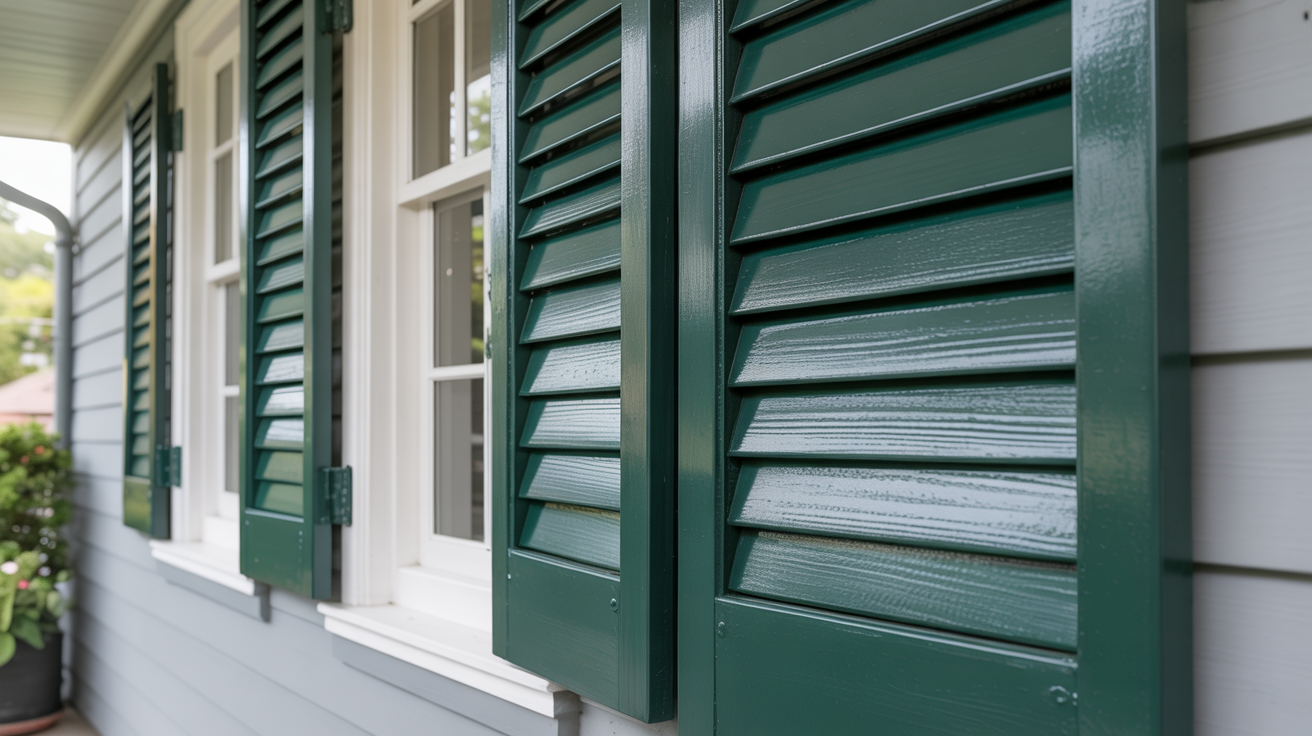
Let the first coat dry completely before adding another. Lightly sand between coats if needed for a smoother finish. Apply the second coat the same way as the first.
Most shutters need two coats for full, even coverage, so don't skip this step even if the first coat looks decent.
Step 7: Allow Proper Drying and Inspect the Finish
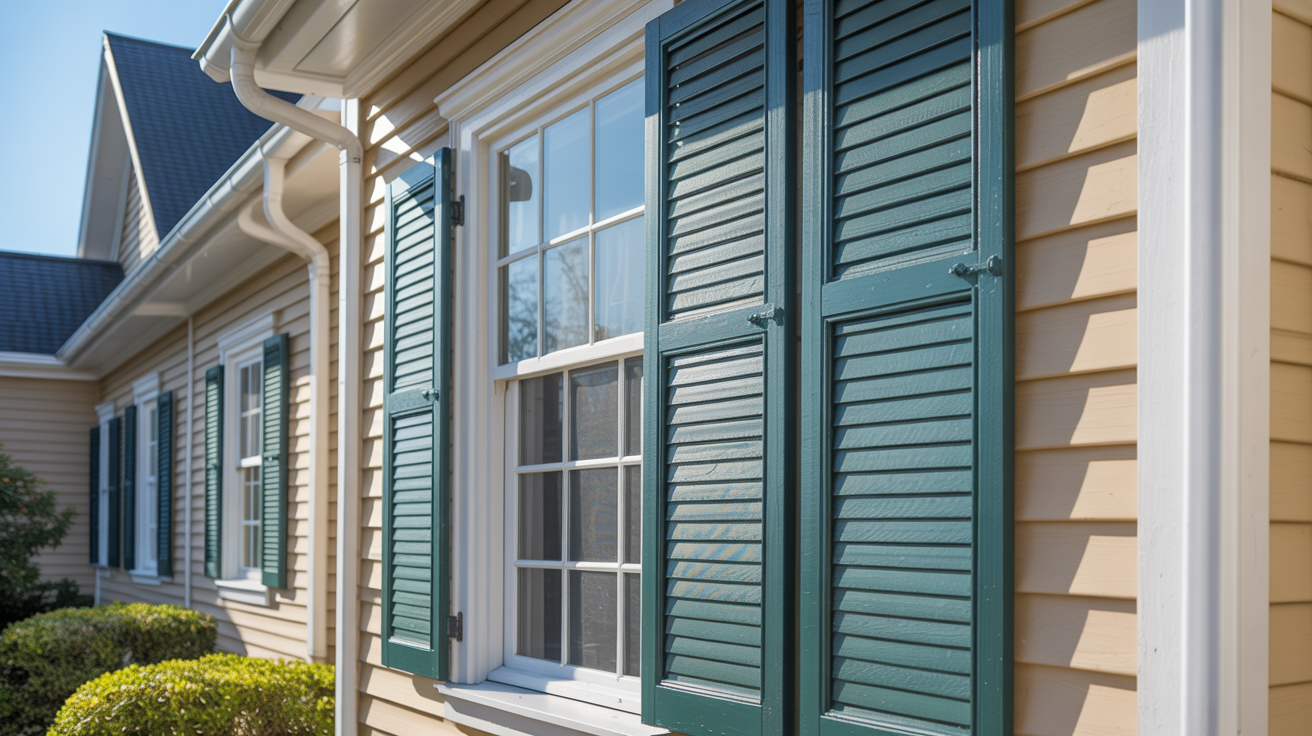
Let the final coat cure fully, which usually takes 24 to 48 hours. Once dry, check for any thin spots, drips, or missed areas. Touch up as needed with a small brush.
Remove the painter's tape carefully once the paint is dry to the touch to avoid peeling any fresh paint with it.
Spray Painting vs. Brush Painting Shutters
Both methods work. The best choice depends on your situation.
| Paint Sprayer | Paint Brush | |
| Speed | Faster coverage on large or louvered shutters | Takes more time but gives more control |
| Finish Quality | Smooth, even finish with no brush marks | Clean finish with a good quality brush |
| Hard to Reach Areas | Gets into tight slats more easily | Better for touch-ups and small repairs |
| Best For | Multiple shutters at once, shutters removed and laid flat | No overspray on siding or trim, no equipment setup or cleanup |
| Many shutters removed | Sprayer | Brush or roller |
| Painting in place | Brush or roller | Brush or roller |
| Louvered/slatted shutters | Sprayer or angled brush | Angled brush |
| Touch-up only | Brush | Brush |
| First time painting | Brush | Brush |
Always use masking on nearby surfaces to avoid overspray when using a sprayer. A brush is easier for most DIYers and works well for painting shutters in place.
Expert Tips for a Professional-Looking Finish
Small habits make a big difference in how the finished job looks. Follow these tips to get clean, lasting results every time.
- Paint in the right weather. Stick to temperatures between 50°F and 85°F, avoid direct hot sun, and never paint if rain is expected within 24 hours. Low humidity helps paint dry faster and more evenly.
- Always apply thin coats. Thick paint sags, drips, and takes much longer to dry. Two thin coats will always give you better coverage than one thick one.
- Let each coat dry fully. Rushing between coats is one of the most common mistakes. Paint that isn't dry enough can lift or peel when you add the next layer.
- Keep your brush strokes smooth and steady. Don't overload the brush, use long strokes in one direction, and back-brush lightly to smooth out any marks or drips right away.
- Use the same batch of paint throughout. Stir your paint well before and during use, keep a wet edge as you work, and stick to one batch for all shutters to avoid color differences.
Common Mistakes to Avoid
Avoid these mistakes and your paint job will last much longer.
Skipping Surface Preparation
This is the biggest mistake. Paint applied over dirty or flaking surfaces won't stick. No matter how good the paint is, skipping prep leads to early failure.
Always clean, scrape, and sand before you paint.
Using the Wrong Exterior Paint
Indoor paint won't hold up outdoors. It will fade, crack, and peel quickly. Always use paint that is rated for exterior use.
Painting Over Damaged Areas
Filling a crack and painting over it right away without priming first leads to the repair showing through. Repairs need primer before paint.
Applying Paint Too Thickly
Thick paint sags, drips, and takes forever to dry. It also cracks sooner. Keep coats thin and build up coverage gradually.
Ignoring Recommended Drying Times
Rushing between coats is a shortcut that causes problems. Paint that isn't dry enough can pull up when you add the next coat.
Check the label and follow the dry times.
How to Maintain Painted Shutters
A little upkeep goes a long way. Well-maintained shutters can look fresh for five to ten years between full repaints.
Wash shutters once or twice a year with mild soap and water, then rinse with a garden hose. If you spot mildew, treat it early with a diluted bleach solution. Avoid pressure washing at high settings as it can damage the paint.
Make sure shutters are fully painted on all sides and edges. Reapply caulk around edges if it starts to crack, and use a quality topcoat for extra moisture protection in wet climates.
Watch for these signs that it's time for a new coat: noticeable fading, small cracks or chips, paint that no longer feels smooth, or mildew that keeps coming back. Catching these early means a light repaint instead of a full stripping job.
Conclusion
Painting shutters is one of the most rewarding home projects you can do yourself. I've seen firsthand how a single weekend of work can completely change the way a house looks. And the great news is that with the right prep and paint, the results last for years.
You now have everything you need to get started. Take it one step at a time.
Have questions or want to share how your shutters turned out? Drop a comment below. I'd love to hear about it. And if this guide helped you, share it with a friend who's been putting off the same project.
Frequently Asked Questions
How many coats of paint do shutters need?
Most shutters need two coats of paint for full, even coverage. Let the first coat dry completely before applying the second one.
Do I need to remove shutters before painting them?
No, you don't have to. You can paint shutters while they're still in the house. Just tape off the surrounding siding and trim to avoid any mess.
What is the best type of paint to use on vinyl shutters?
Use 100% acrylic latex exterior paint that is safe for vinyl surfaces. Apply a bonding primer first so the paint sticks properly and doesn't peel.
How long does it take for painted shutters to dry?
Most exterior paints dry to the touch in one to two hours. Full curing usually takes 24 to 48 hours. Check your paint label for exact times before handling.
How often should I repaint my shutters?
With proper prep and quality paint, most shutters can go five to eight years before needing a full repaint. Regular cleaning helps extend the life of the paint.