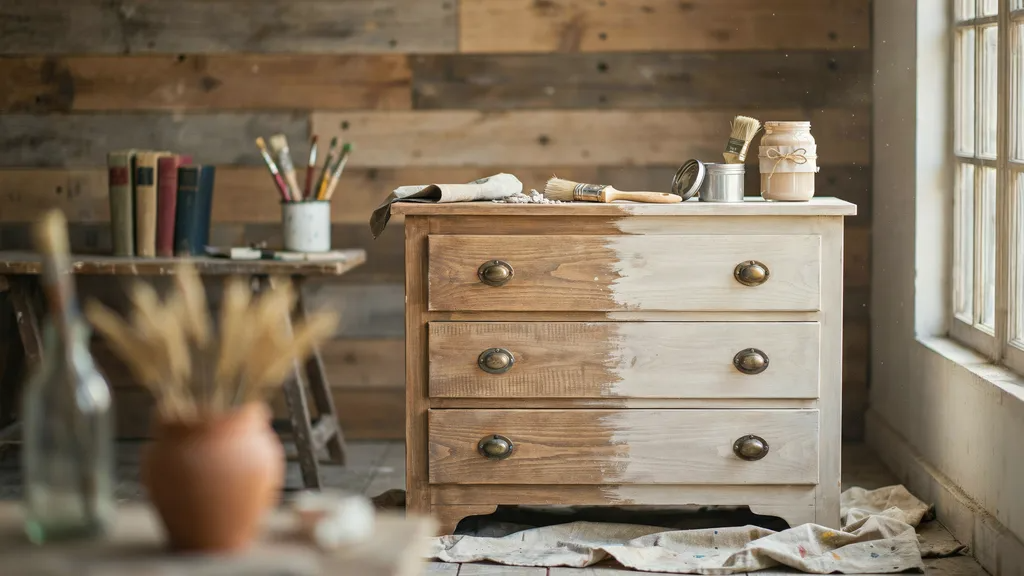
I have always loved the worn, lived-in look of distressed furniture. But when I first tried it, I had no idea where to start. If you feel the same way, this guide is for you.
In this post, I will walk you through how to distress furniture with chalk paint from start to finish.
I have done this on dressers, side tables, and old chairs, so I know what works and what does not.
You will learn the supplies you need, the exact steps to follow, and the common mistakes to skip.
I have tested these methods myself, and I will share only what actually gets results.
What Does It Mean to Distress Furniture with Chalk Paint?
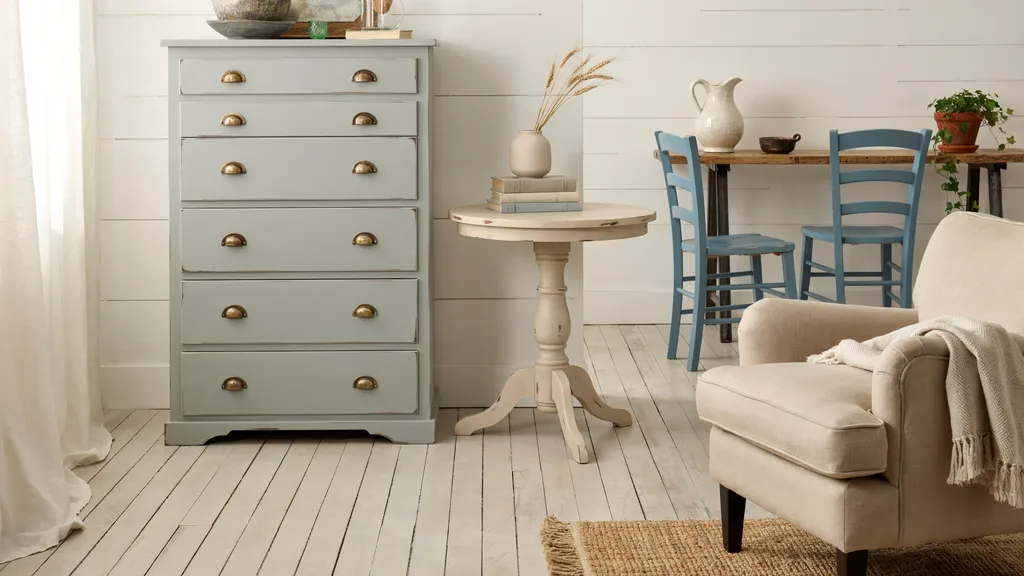
Distressing furniture means making it look old and worn on purpose. You sand edges, corners, and raised areas so the wood or base color shows through.
It gives the piece a story, like it has been around for years.
Chalk paint is the best paint for this because it dries fast and sands easily. It has a matte finish that already looks aged even before you distress it. That is why beginners love it.
You do not need to strip or prime most furniture before using chalk paint. That makes the whole process much faster and less messy.
Supplies You Need Before You Start
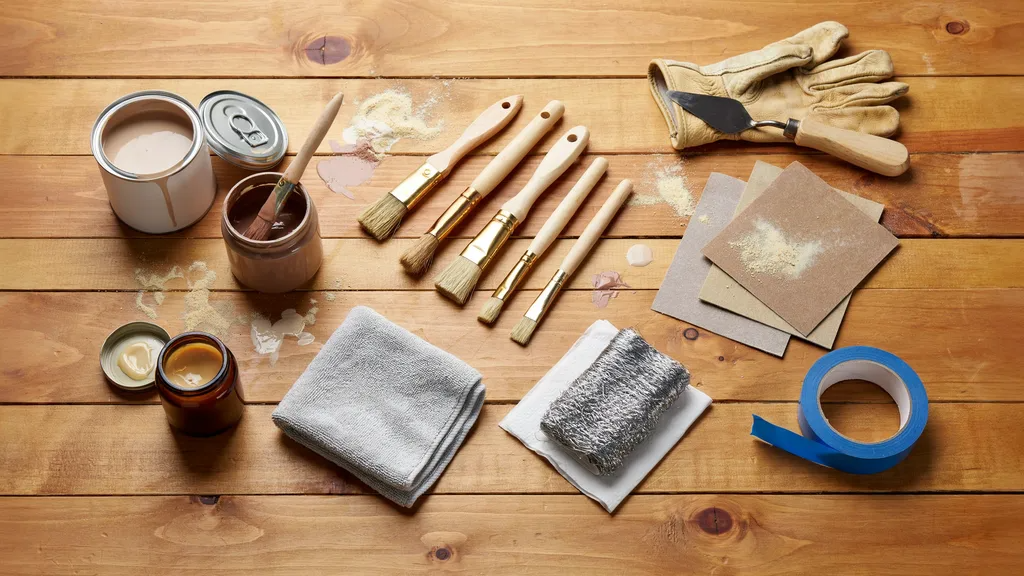
Before you begin, gather everything in one place. Running around mid-project is annoying.
Here is what you will need:
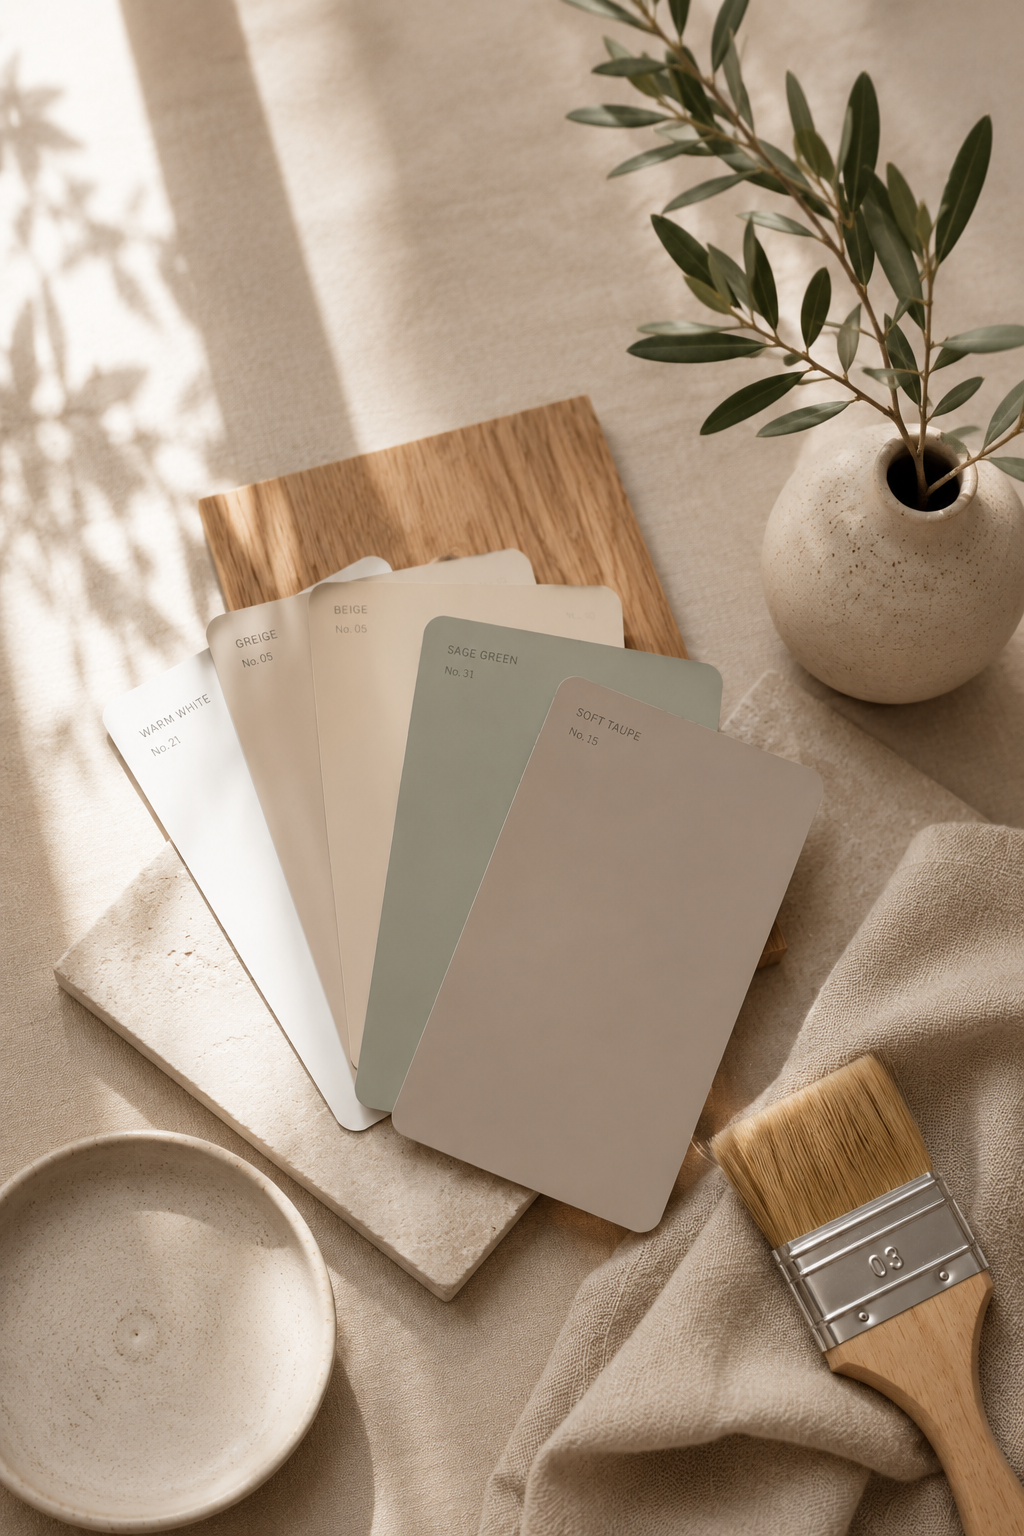
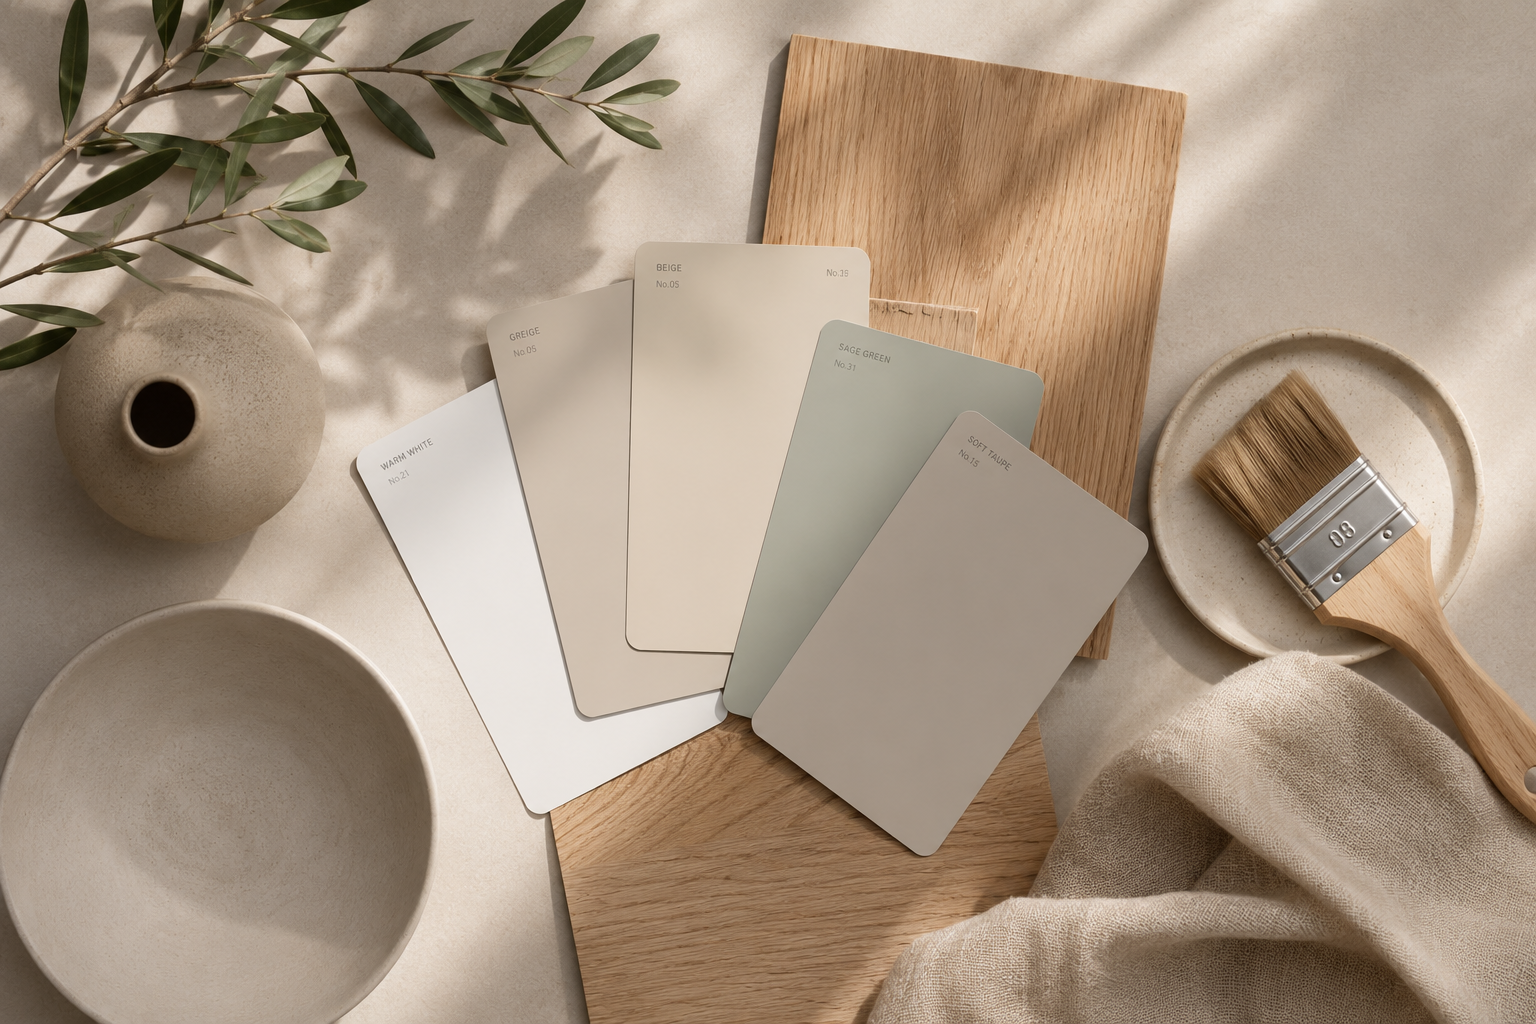
- Chalk paint in one or two colors
- A good-quality brush or foam roller
- Fine-grit sandpaper (120 to 220 grit)
- Clear wax (finishing wax)
- A lint-free cloth or wax brush
- Steel wool (optional)
- A damp cloth for wet distressing
- Painter's tape if needed
That is it. No special tools or expensive equipment required.
How to Distress Furniture with Chalk Paint in 7 Easy Steps
Adding a second color takes just a little extra time but gives your piece a much richer, more layered look.
Step 1: Clean the Furniture Surface
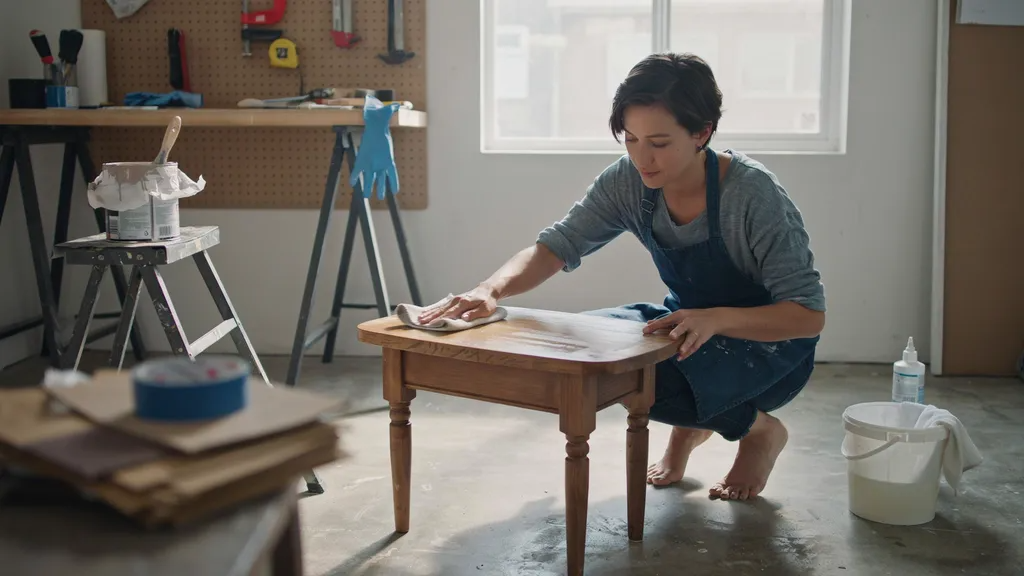
Wipe down the piece with a damp cloth. Remove all dust, grease, and grime. Let it dry fully before moving on.
Dirt under paint causes peeling. A clean surface gives you much better results.
Step 2: Apply the First Coat of Chalk Paint
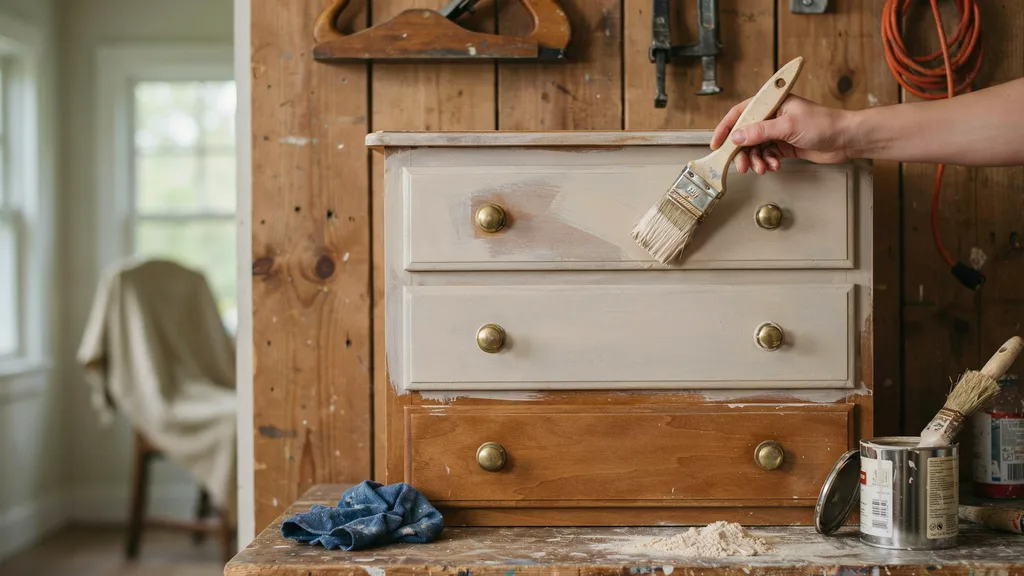
Apply a thin, even coat of chalk paint. Do not try to cover everything in one go. A thin coat works better than one thick coat.
Let it dry. Chalk paint usually dries in 30 to 60 minutes depending on humidity.
Step 3: Add a Second Color for a Layered Distressed Effect (Optional)
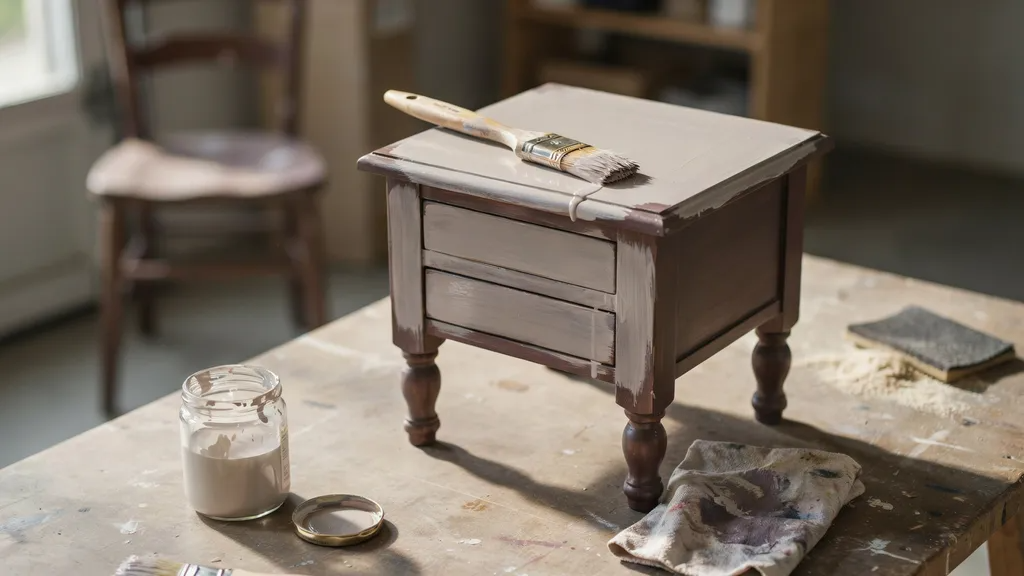
This step is optional but I love the result it gives. Apply a second color over the first once it is dry. This adds depth when you sand through the layers later.
A common combo is white over a darker base. When you sand, the base color peeks through and it looks very natural.
Step 4: Let the Paint Dry Completely
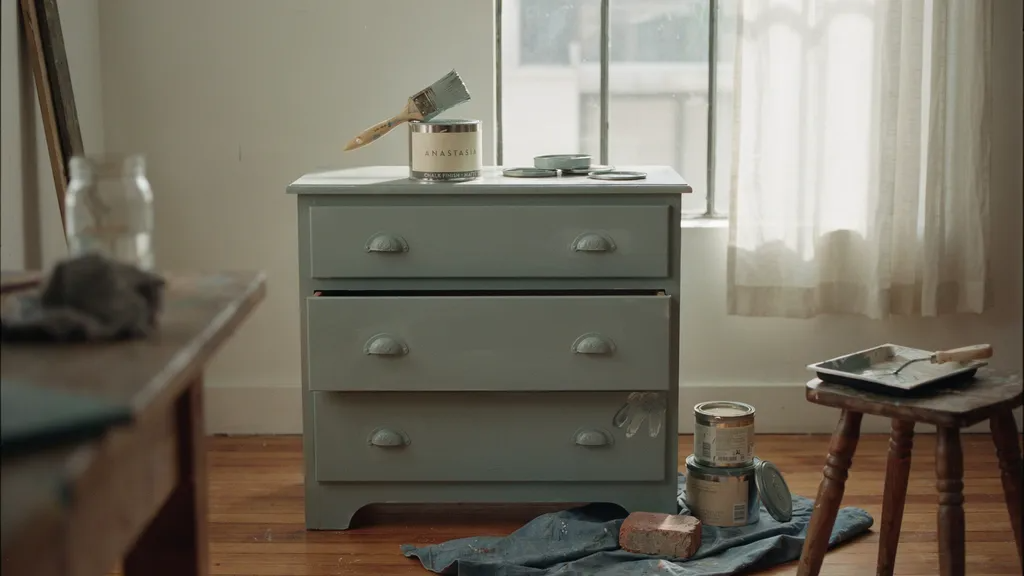
Give the last coat at least one to two hours to dry. If you rush this step, the paint will peel instead of sand cleanly.
I usually wait overnight to be safe.
Step 5: Apply a Thin Coat of Clear Wax
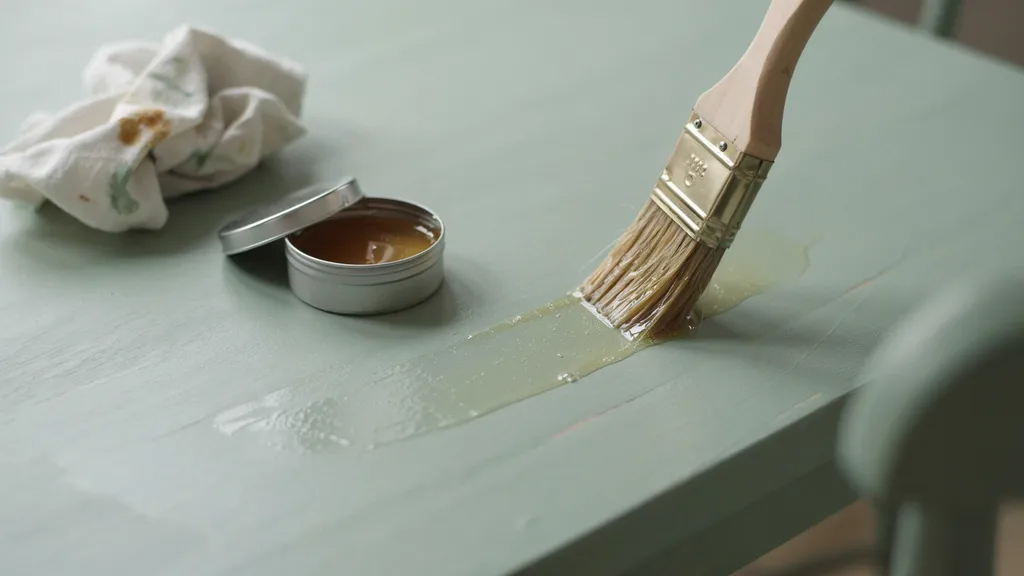
Use a wax brush or a lint-free cloth to apply a thin layer of clear wax over the painted surface.
The wax does two things. It protects the paint. And it makes sanding smoother in the next step.
Work in small sections. You do not need a lot of wax.
Step 6: Sand Edges, Corners, and Raised Details
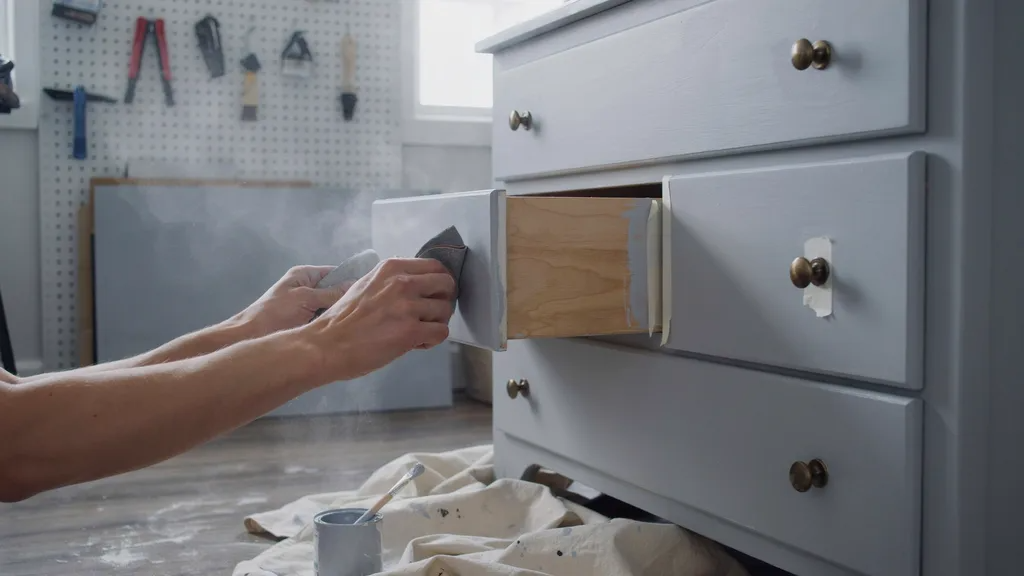
This is the most satisfying step. Take your fine-grit sandpaper and lightly sand the areas that would naturally wear over time.
Focus on:
- Edges and corners
- Raised carvings or details
- Around handles and knobs
- Legs and feet
Do not over-sand. Less is more here. Step back and check as you go.
Step 7: Seal the Finish with Clear Wax
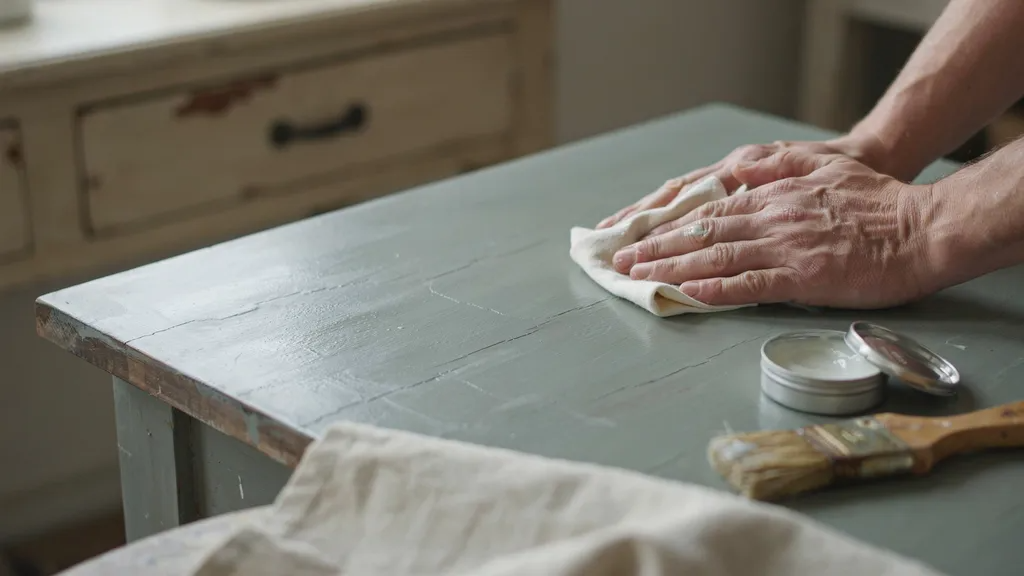
Once you are happy with the distressed look, apply another coat of clear wax over the whole piece. Buff it in with a cloth in circular motions.
This seals everything and gives the furniture a soft, durable finish.
How to Create a Two-Color Distressed Finish
A two-color finish looks great on cabinets, dressers, and side tables. Here is how to do it simply.
Paint the base coat in a dark color like gray or navy. Let it dry fully. Then paint the top coat in white or cream. Once dry, sand the edges and details as in Step 6.
The darker base color will show through in the sanded spots.
It gives the piece a very layered, aged look without much effort.
Alternative Ways to Distress Chalk-Painted Furniture
Sandpaper is not your only option, and some of these methods give an even softer, more natural result.
Distressing with Steel Wool
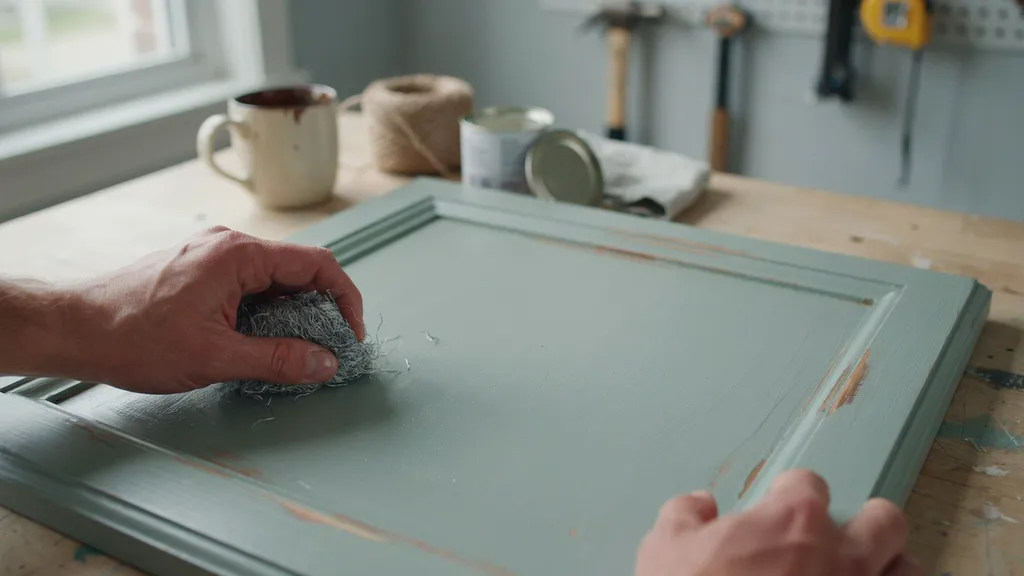
Steel wool gives a softer, more subtle effect than sandpaper. Use 0000-grade steel wool and rub it lightly over the dried paint.
It works well on flat surfaces where sandpaper might remove too much paint at once.
Wet Distressing with a Damp Cloth
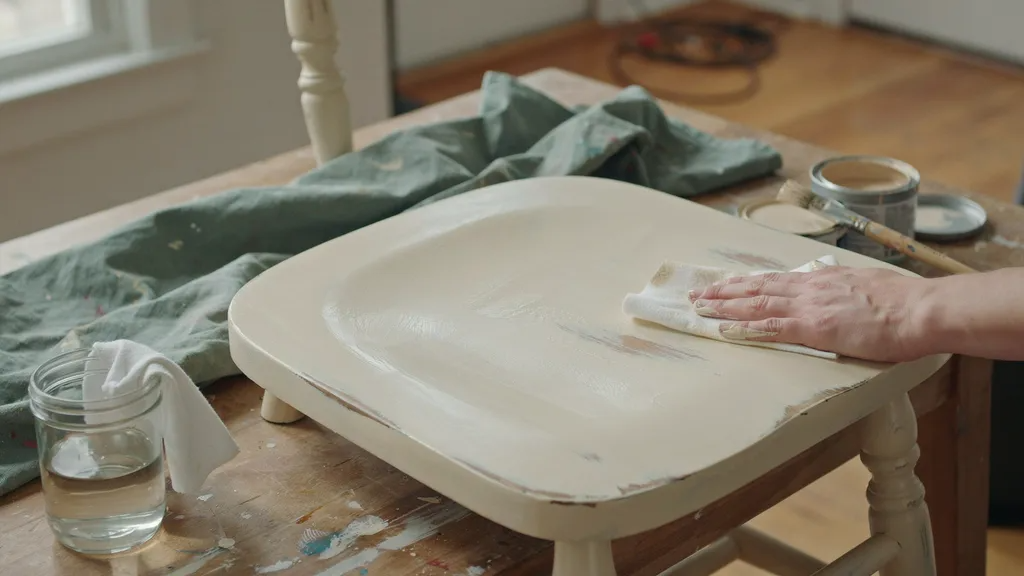
Wet distressing is done before the paint fully dries. Wipe a damp cloth over sections of the freshly painted surface to lift some of the paint off.
This gives a very soft, watercolor-like worn effect. It works best on flat surfaces.
Common Mistakes to Avoid When Distressing Furniture
These are the errors most beginners make, and knowing them ahead of time will save you a lot of frustration.
- Sanding too much too fast. Go slow. You cannot undo over-sanding.
- Skipping the wax step before sanding. Wax makes sanding smoother and more even.
- Using too much paint in one coat. Thick coats take longer to dry and are harder to sand.
- Sanding in the wrong spots. Stick to edges, corners, and details.
- Not letting paint dry fully. Rushing leads to peeling, not a clean distressed look.
- Using the wrong sandpaper grit. Stick to 120 to 220 grit for chalk paint.
Tips for Getting a Professional Distressed Finish
A few small habits make a big difference in how polished your final result looks.
- Always do a test on a scrap piece of wood or a small hidden area first.
- Use a light hand when sanding. You can always remove more, but you cannot add back.
- Step back often and look at the piece from a distance.
- Keep paper towels or a damp cloth nearby to wipe as you go.
- Work in good lighting so you can see what you are doing clearly.
- Apply two thin coats of paint instead of one thick coat.
- Use a wax brush for a more even wax application.
Conclusion
Distressing furniture with chalk paint is one of the most rewarding DIY projects you can do at home. It does not require expensive tools or professional skills.
Once you get the hang of the sanding and the wax steps, the whole process feels very natural.
I started with an old side table and now I distress almost every secondhand piece I bring home. It is a simple way to give old furniture a whole new life.
Start with one small piece. Learn how the paint and sandpaper work together. Build from there. The results will surprise you.
What piece of furniture are you planning to distress first?
Frequently Asked Questions
Do I need to sand furniture before applying chalk paint?
No, chalk paint sticks to most surfaces without sanding or priming. Just clean the surface well before you start.
Can I distress furniture with just one color of chalk paint?
Yes, you can sand through a single coat to reveal the wood or original finish below. It still gives a great distressed look.
How long should I wait before distressing chalk paint?
Wait at least one to two hours after the final coat. Waiting overnight is even better to get a clean sand.
What wax should I use with chalk paint?
Use a clear finishing wax made for chalk paint. Apply it before and after sanding for best results.
Can I use chalk paint on any type of furniture?
Chalk paint works on wood, metal, laminate, and even fabric. It is one of the most flexible paints for furniture projects.