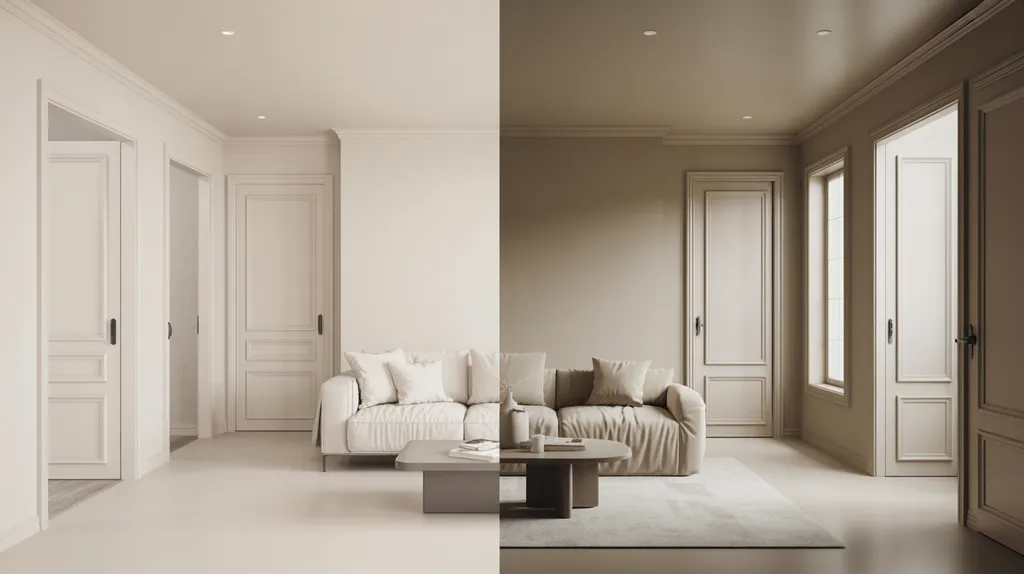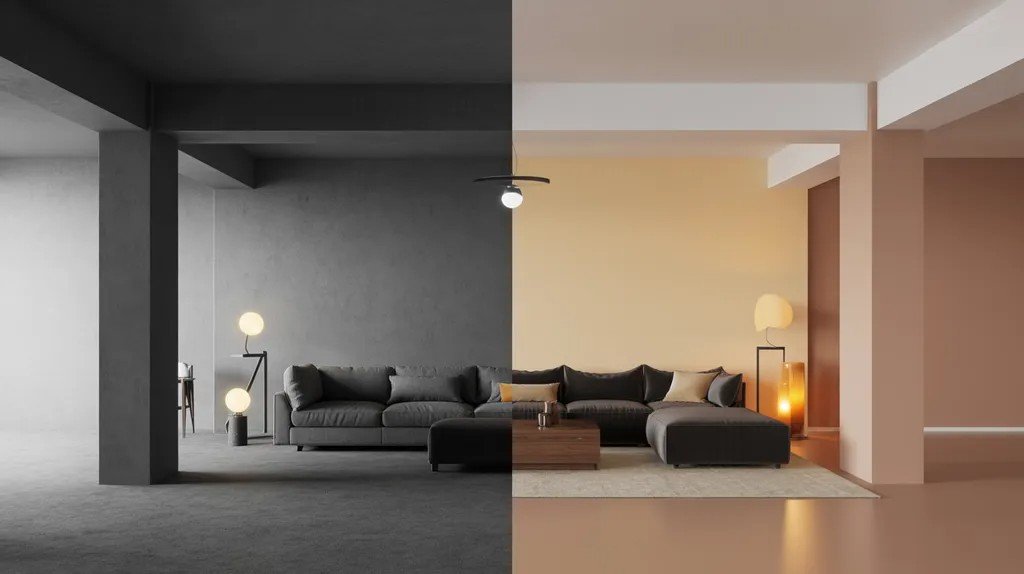
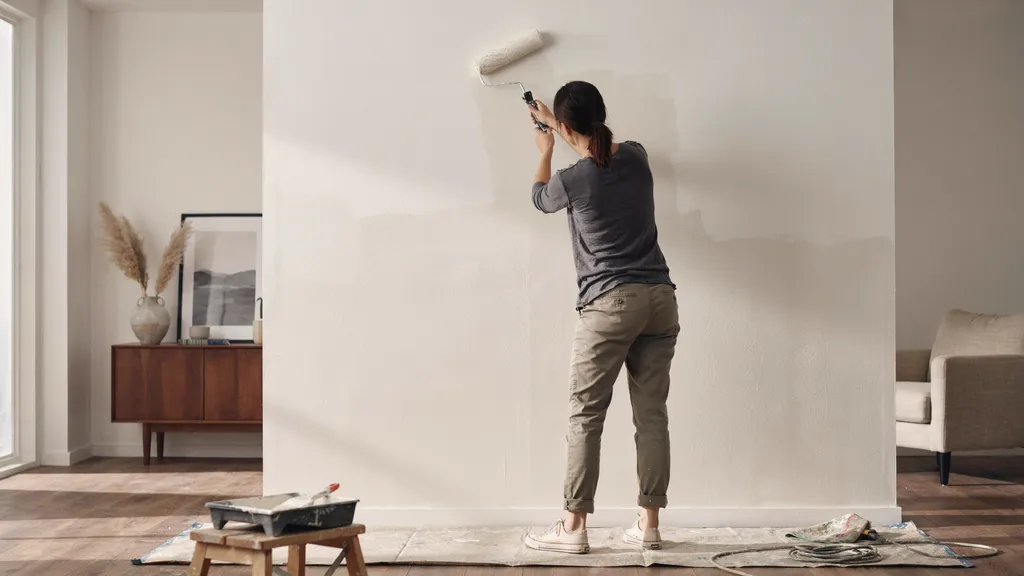
Have you touched up a wall only to find that the new paint stands out from the old one?
If you're searching for how to blend new paint with old paint on the wall, you're in the right place. Matching paint can be tricky, but it doesn't have to be frustrating.
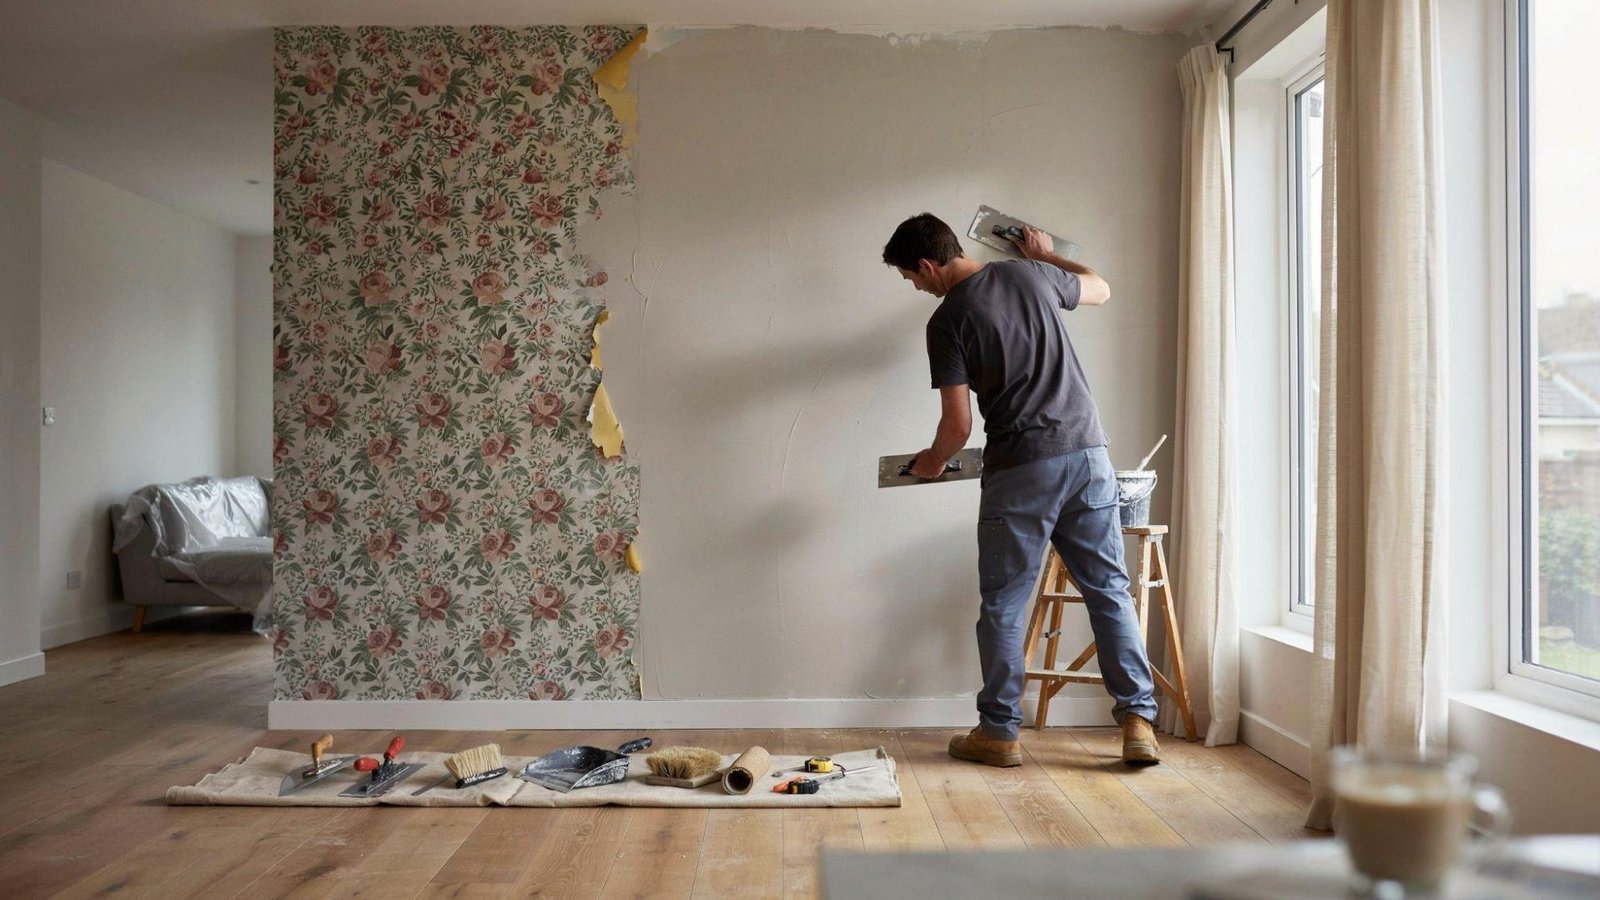
In this guide, you'll learn how to blend new and existing paint for a smooth, natural finish.
I’ll cover color matching, surface preparation, feathering techniques, and practical tips that help reduce visible paint lines.
I've spent years researching home improvement methods and best practices to help readers tackle projects with confidence.
By the end, you'll have a clear plan to achieve a more seamless paint repair and avoid noticeable touch-ups.
Why New Paint Often Looks Different From Old Paint
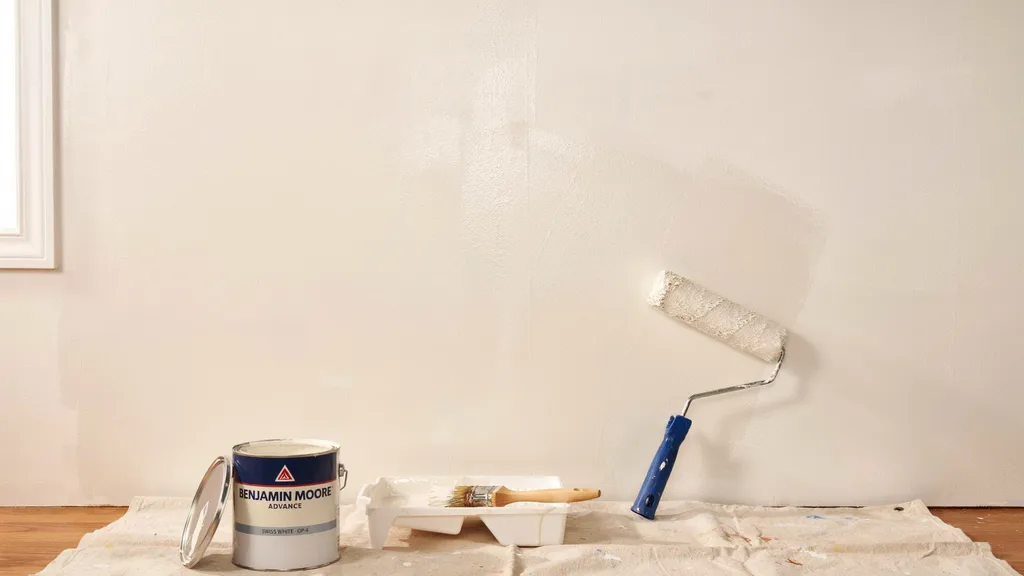
Many homeowners are surprised when a fresh coat of paint doesn't perfectly match the existing wall, even when using the same color.
One of the biggest reasons is that paint naturally fades over time due to sunlight, temperature changes, and everyday exposure.
Differences in paint finish can also make a wall look uneven, as matte, satin, and glossy paints reflect light differently.
Lighting conditions play a major role too, causing color variations throughout the day.
Another common issue is paint batch variation, where small differences in manufacturing can slightly alter the shade.
Tools and Materials You'll Need
Having the right tools ready can make the blending process easier and help achieve a more professional-looking finish.
- Matching Paint : Use the closest possible color and finish to the existing wall paint.
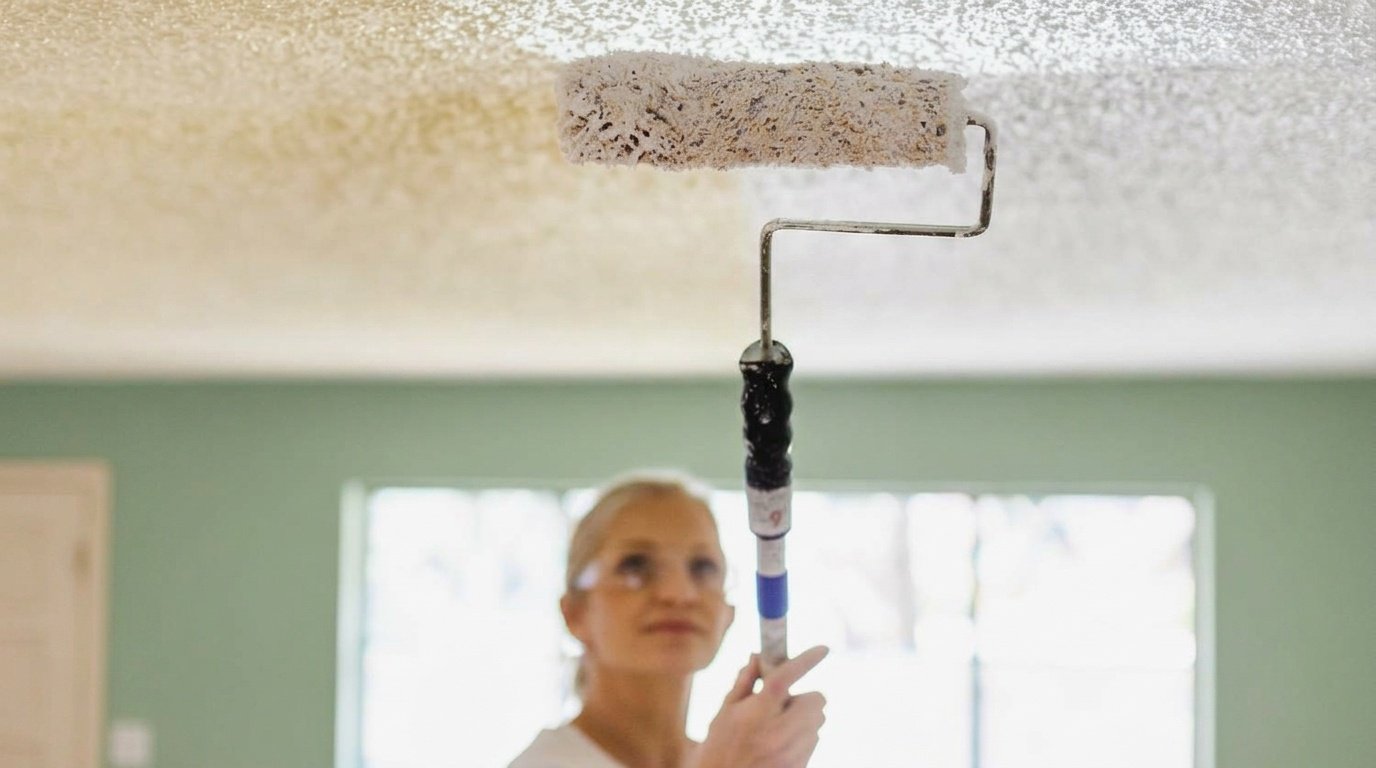
- Paintbrushes and Rollers : Apply paint evenly and match the texture of the original surface.
- Paint Tray and Liners : Hold paint neatly and make cleanup faster.
- Sandpaper : Smooth rough spots and help the new paint blend better.
- Primer (If Needed) : Create a uniform surface when repairing patches or stains.
- Cleaning Supplies : Remove dust, grease, and dirt before painting.
- Painter's Tape and Drop Cloths : Protect surrounding surfaces and keep the work area clean.
How to Match the Existing Paint Color
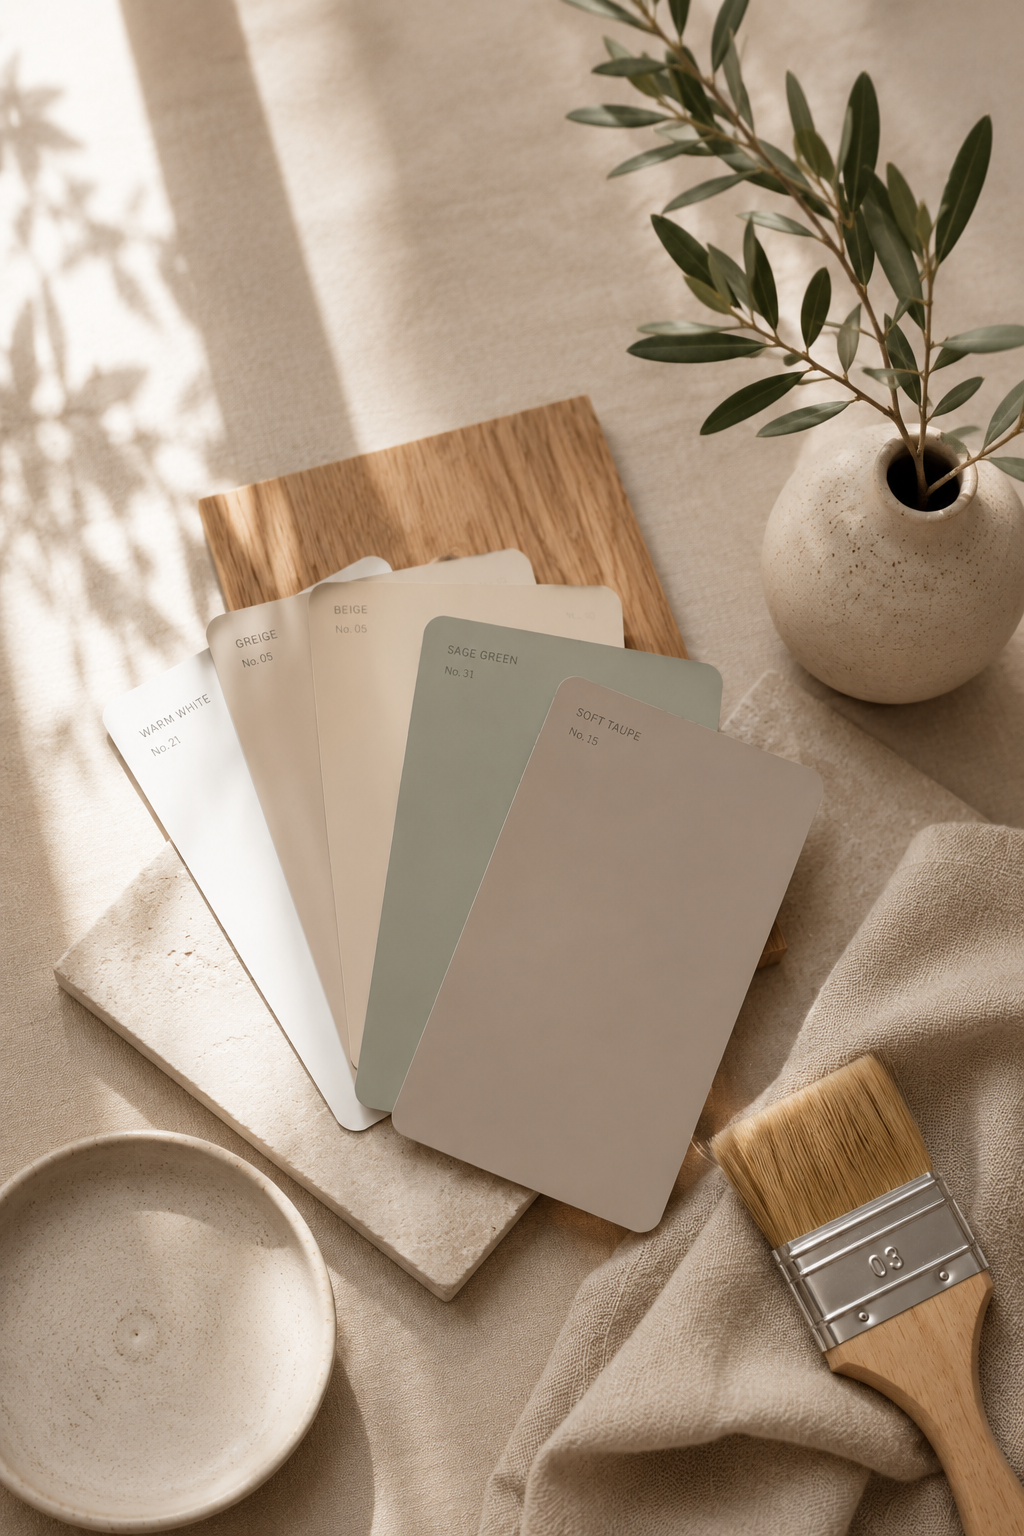
Finding the closest possible color match is one of the most important steps for creating a seamless paint repair.
Use Leftover Paint If Available
Leftover paint from the original project provides the most accurate match. Check the can to ensure the paint is still usable and well mixed.
If the paint has been stored properly, it can help eliminate color guesswork.
Take a Paint Sample to a Store
If you don't have leftover paint, remove a small paint sample from an inconspicuous area. Many paint stores can scan the sample and create a close color match.
This method is often more accurate than matching by eye.
Use Color-Matching Technology
Many paint retailers use advanced color-matching tools to identify paint shades. These systems analyze the sample and suggest a matching formula. While not always perfect, they can provide a very close result.
Test the Color Before Painting
Always test the matched paint on a small section of the wall first. Allow it to dry completely before comparing it to the surrounding area.
This helps you spot any differences before painting a larger section.
Step-by-Step Guide: How to Blend New Paint With Old Paint on Wall
Following a careful process can help reduce visible paint lines and create a smoother transition between old and new paint.
Step 1: Clean the Wall Surface
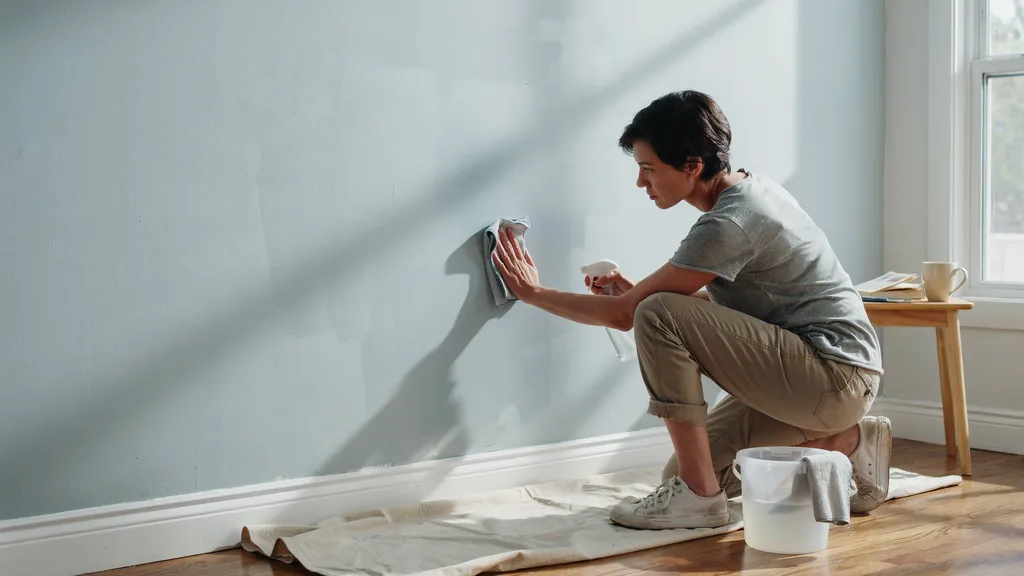
Wipe the wall with a mild cleaner to remove dust, grease, and dirt. A clean surface helps the new paint adhere properly. Let the wall dry completely before moving to the next step.
Step 2: Repair Any Damage
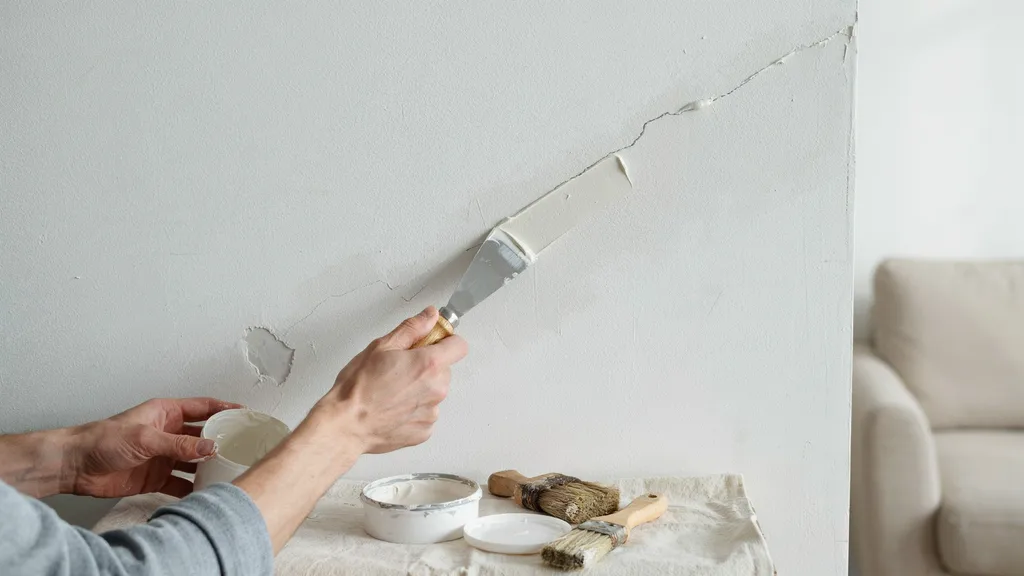
Fill small holes, dents, or cracks with an appropriate filler. Smooth the repaired area and allow it to dry according to the product instructions. Proper repairs help create an even finish.
Step 3: Sand the Area Lightly
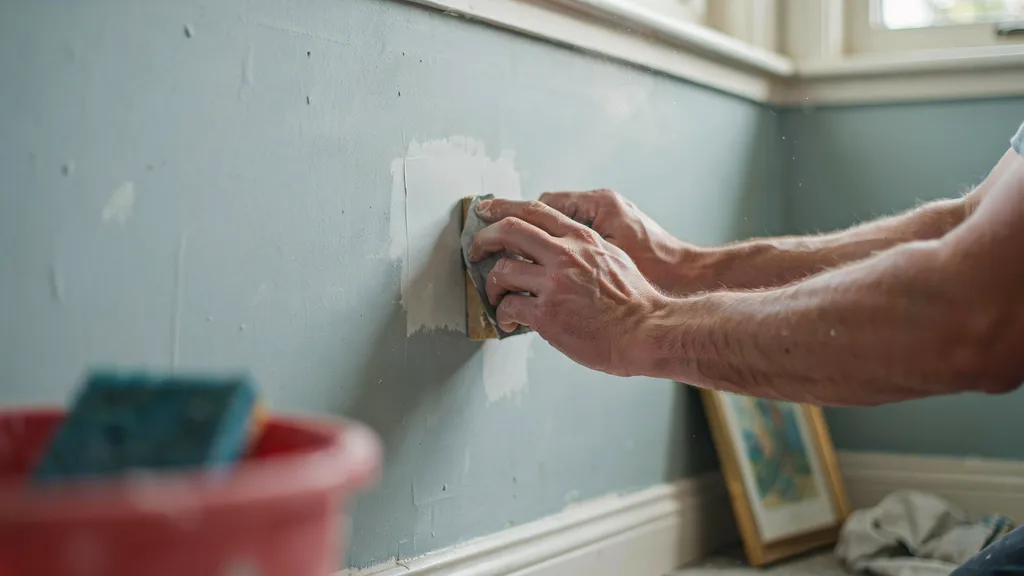
Use fine-grit sandpaper to smooth repaired spots and surrounding paint. Light sanding helps blend edges and improves paint adhesion. Remove sanding dust before painting.
Step 4: Apply Primer if Necessary
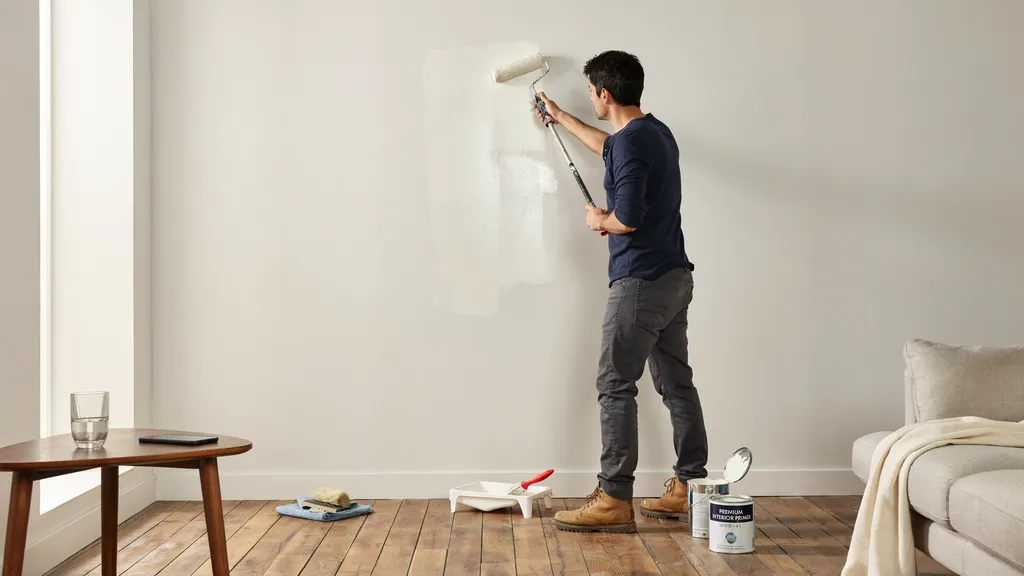
Apply primer when covering repairs, stains, or bare surfaces. Primer creates a consistent base for the new paint. Allow it to dry fully before applying color.
Step 5: Apply the New Paint
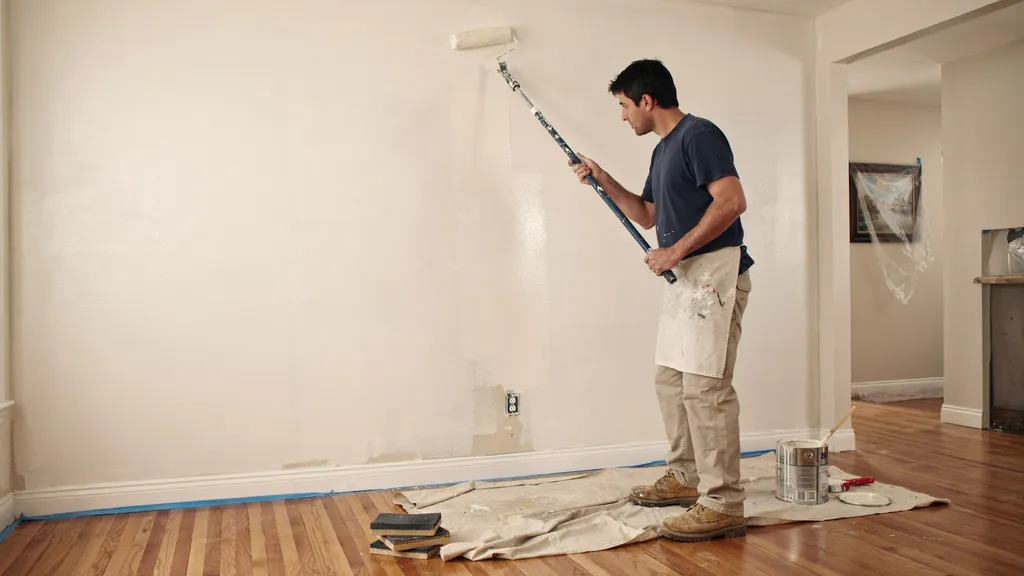
Use the same type of brush or roller that was originally used on the wall. Apply thin, even coats rather than one heavy coat. This helps the paint blend more naturally.
Step 6: Feather the Edges
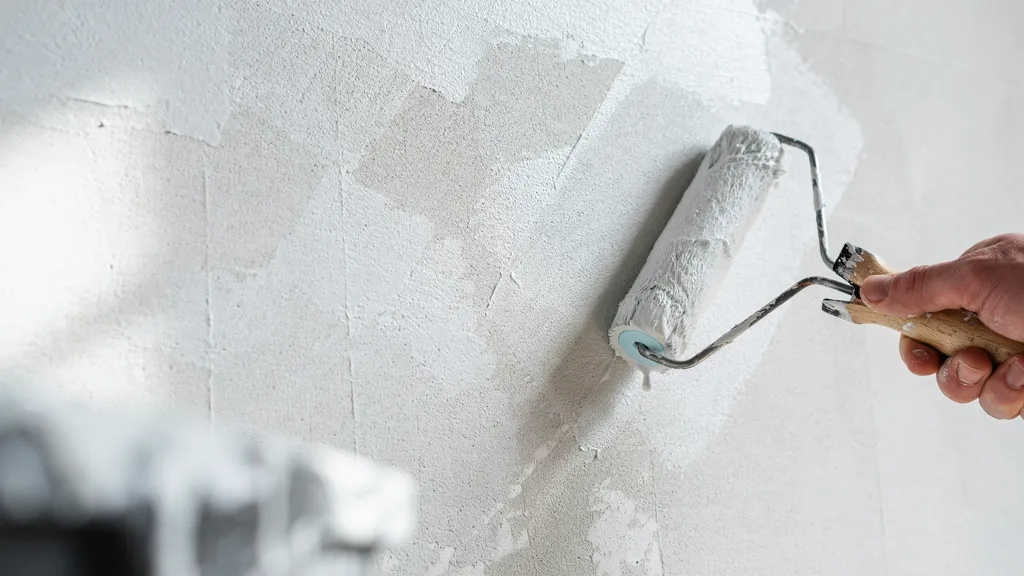
Lightly reduce paint coverage as you move toward the outer edges of the repair area. This softens the transition between old and new paint. Feathering helps minimize visible paint lines.
Step 7: Extend the Paint Beyond the Repair Area
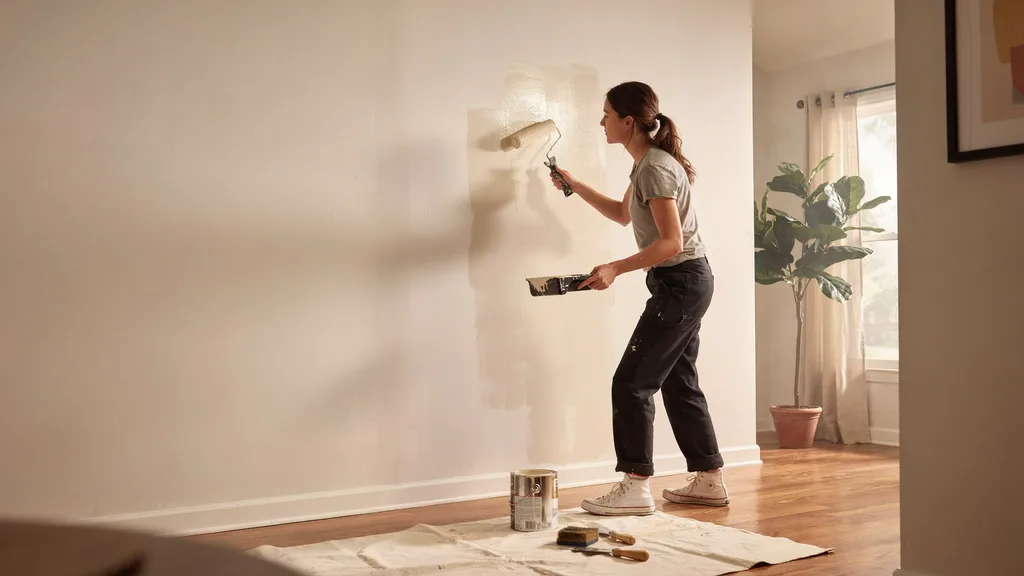
Paint slightly beyond the damaged or patched section to create a gradual blend. Extending coverage helps disguise the repair. This technique often produces a more uniform appearance.
Step 8: Let the Paint Dry and Evaluate
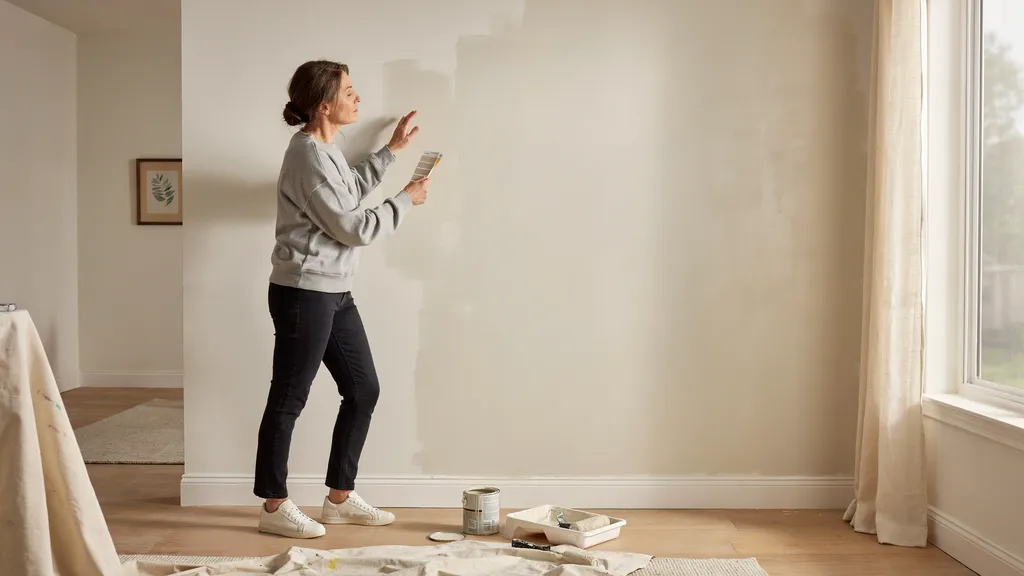
Allow the paint to dry completely before judging the results. Fresh paint can appear different while wet. Check the wall in natural and artificial light to assess the blend.
What Is Feathering and Why Does It Work?
Feathering is a simple painting technique that helps create a smoother transition between new and existing paint, making touch-ups less noticeable.
Feathering involves gradually reducing the amount of paint at the edges of a repair area. Instead of creating a hard paint line, the paint is lightly spread outward.
This helps the new paint blend more naturally into the surrounding wall.
When paint is applied with softened edges, the transition between old and new paint becomes less obvious.
The gradual fade helps disguise minor color and texture differences. This technique is especially useful for small repairs and touch-ups.
Tips for Achieving a Seamless Paint Blend
A few simple techniques can greatly improve the final appearance of your paint repair.
Match the Paint Finish
Even if the color is correct, a different finish can make the repair stand out. Try to match whether the original paint is flat, eggshell, satin, or gloss. Consistent sheen helps create a uniform look.
Use the Same Application Method
If the original wall was painted with a roller, use a roller for the repair. Different tools can create different textures on the surface. Matching the application method helps maintain consistency.
Paint in Good Lighting
Good lighting makes it easier to spot uneven coverage and blending issues. Natural daylight often provides the most accurate view of paint color.
Apply Thin, Even Coats
Several thin coats usually blend better than one thick coat. Thin layers dry more evenly and reduce the chance of noticeable texture differences.
Allow each coat to dry before applying the next one.
Blend Into Natural Wall Breaks
Whenever possible, blend paint toward corners, trim, or other natural breaks in the wall.
These areas help hide transitions more effectively. This technique can make touch-ups much less noticeable.
How to Blend Paint on Different Wall Types
Different wall materials require slightly different blending techniques for the best results.
| Wall Type | Blending Tips |
| Drywall | Sand lightly, match the paint finish, and feather the edges carefully to create a smooth transition. |
| Textured Walls | Use a roller that matches the existing texture and avoid over-sanding textured surfaces. |
| Painted Brick Walls | Apply paint with a brush or roller suited for brick and work paint into grooves for even coverage. |
| Plaster Walls | Repair cracks first, use primer if needed, and apply thin coats to maintain a consistent appearance. |
How Long Should You Wait Before Evaluating the Blend?
Waiting long enough allows the paint to dry properly and reveal its true appearance.
- Wait until the paint is fully dry before checking the final appearance.
- Dry time and cure time are different, and both affect the paint's finish.
- Fresh paint may look darker or shinier while it is drying.
- Evaluate the blend in both natural and artificial lighting.
- Make additional adjustments only after the paint has dried completely.
- Apply another thin coat or extend the feathered area if needed.
Conclusion
Learning how to blend new paint with old paint on walls can save time, money, and the frustration of obvious touch-ups.
If there's one thing I've noticed from researching painting projects, it's that patience makes a big difference.
Taking a little extra time to match colors and feather edges often leads to much better results. Imagine stepping back and seeing a smooth, even wall with no noticeable repair marks.
Give these techniques a try, and let us know how your project turned out. Leave a comment, share this guide, or try more home improvement tips.
Frequently Asked Questions
How to Blend New Paint With Old Paint on Wall Without Repainting the Entire Wall?
You can often blend the repair by matching the color and finish closely and feathering the paint edges. Proper preparation also helps reduce visible lines.
Why Does My New Paint Look Brighter Than the Old Paint?
Older paint may have faded due to sunlight, cleaning, and normal wear. Even the same color can appear different after years on the wall.
Can I Blend Paint If I Don't Have the Original Paint Can?
Yes, a paint store can often create a close match using a wall sample. Testing the color before painting is still important.
Does Paint Finish Matter When Blending Paint?
Yes, the finish affects how light reflects from the wall. Matching both the color and sheen helps create a more seamless result.
Should I Repaint the Entire Wall If the Touch-Up Is Noticeable?
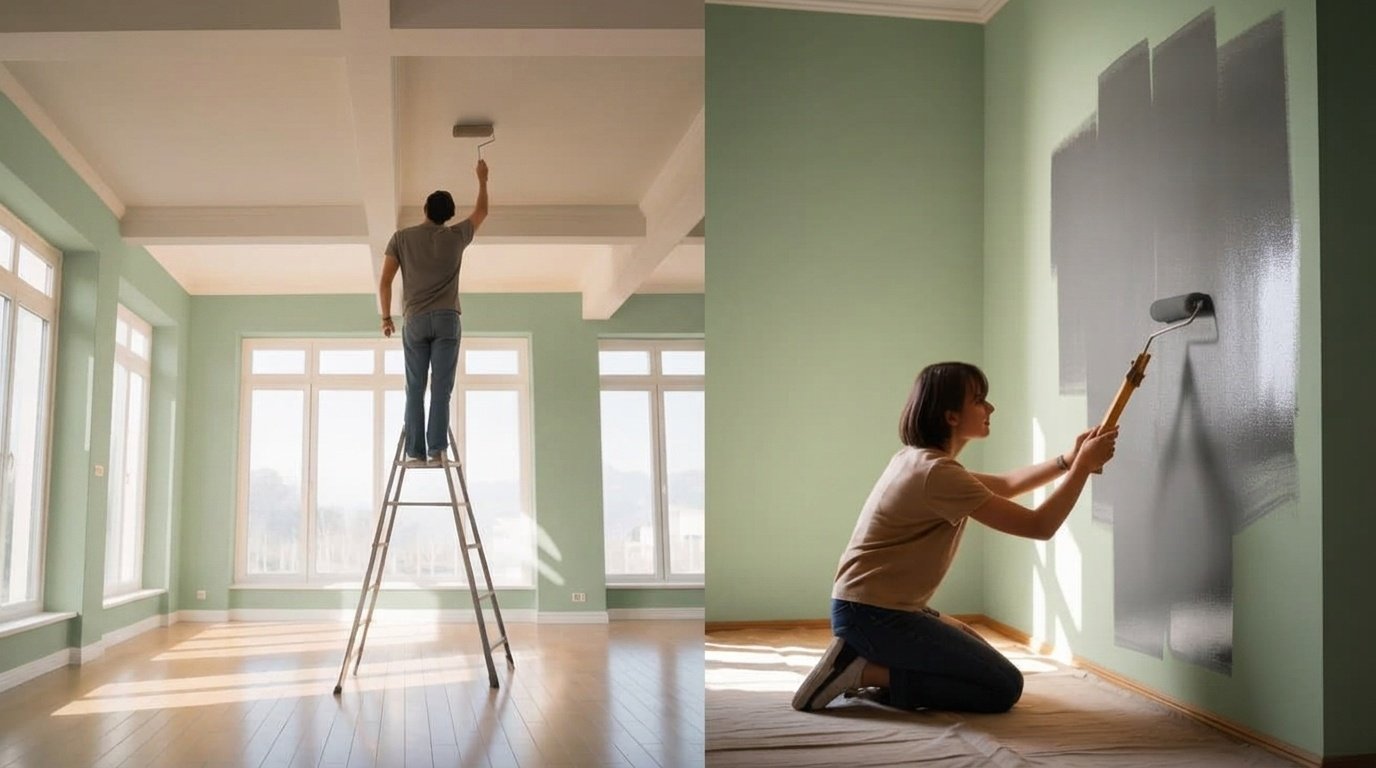
If blending techniques don't provide the desired result, repainting the entire wall from corner to corner may create a more uniform appearance.