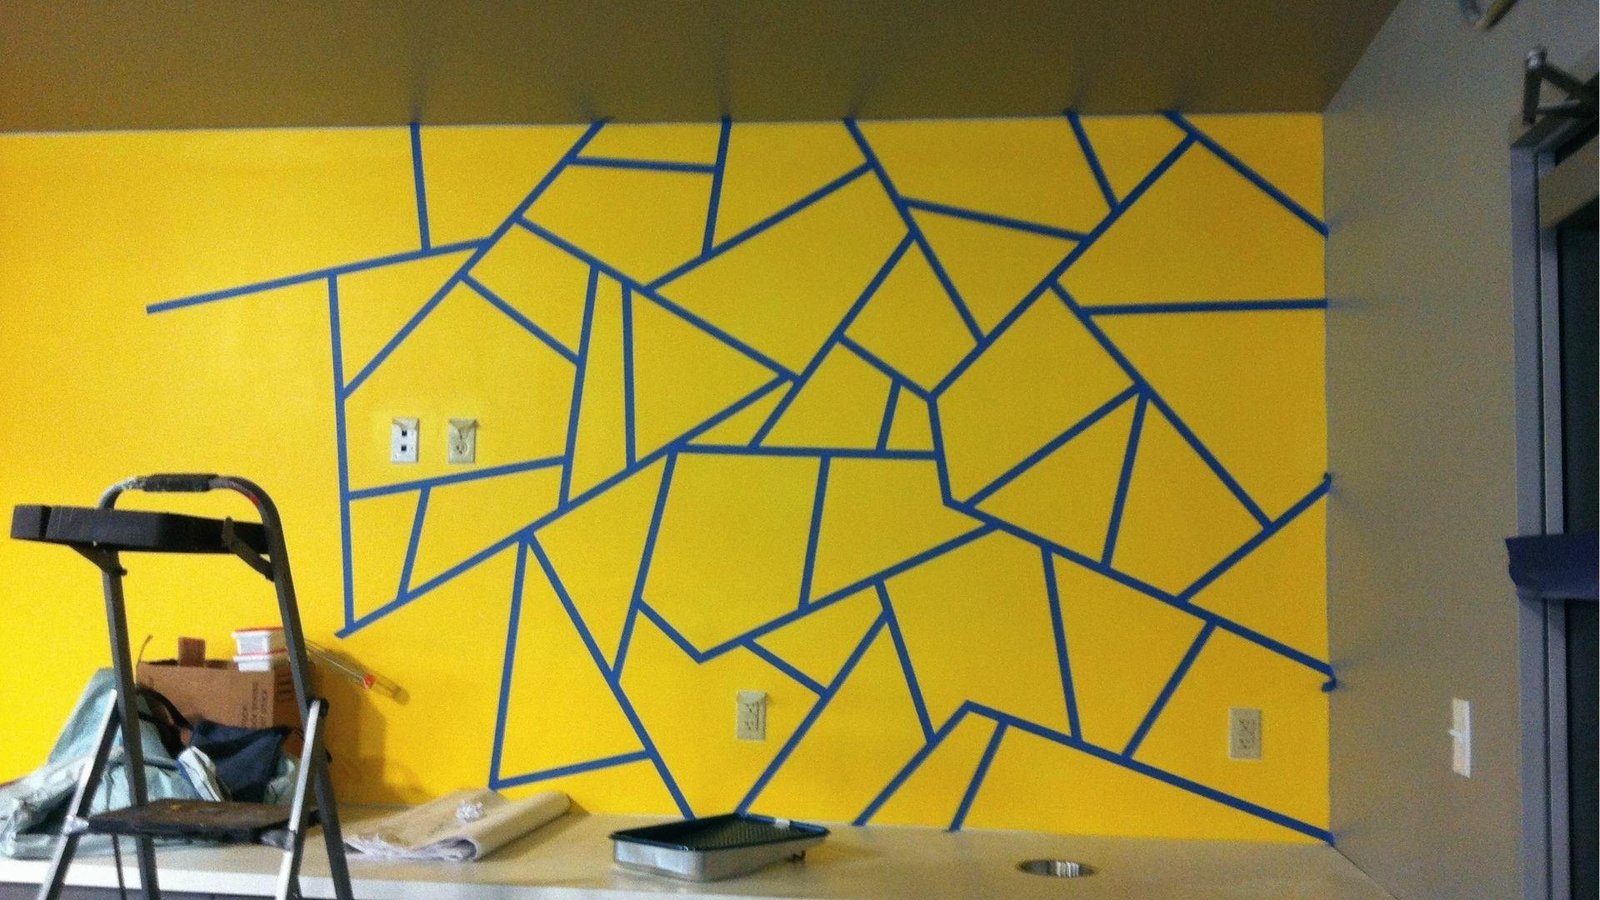
I tried my first tape accent wall on a whim, and I was hooked after seeing the results.
It looked like something out of a design magazine, but I did it myself on the weekend.
If you've been wanting to add some character to a plain wall without spending a lot, tape accent wall paint pattern ideas step by step are the way to go.
In this blog, I'll walk you through everything, from picking a design to pulling the tape off cleanly. I cover color choices, common mistakes, and tips that actually work.
I've made the errors so you don't have to.
Why Tape Accent Walls Are Trending in Modern Home Design
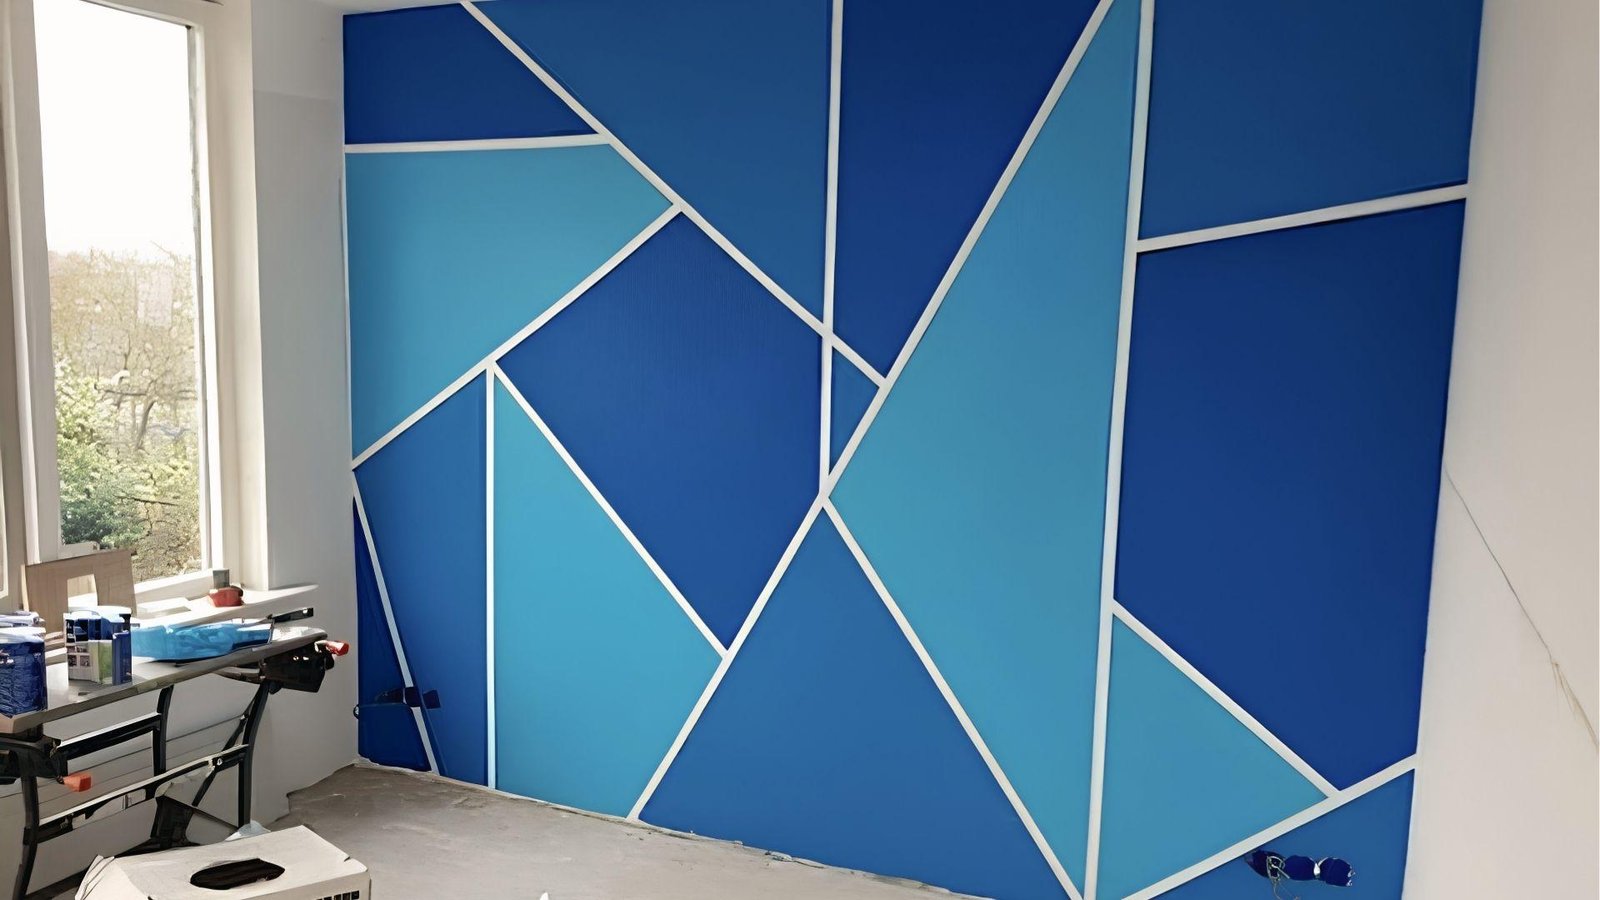
Tape accent walls have become a go-to choice for homeowners who want a bold look without the cost of wallpaper or hiring a designer.
They use simple painter's tape and paint to create geometric shapes, stripes, or patterns that look sharp and intentional.
Social media platforms like Pinterest and Instagram have pushed this trend further, with more people showing off their DIY results.
The appeal is simple, it's low cost, low risk, and high reward.
You can change the design anytime, which makes it a flexible option for anyone who likes refreshing their space.
How to Create a Tape Accent Wall Paint Pattern Step by Step
Follow these steps carefully and you'll end up with a wall that looks like it was done by a pro, even on your first try.
Step 1: Choose Your Accent Wall and Design
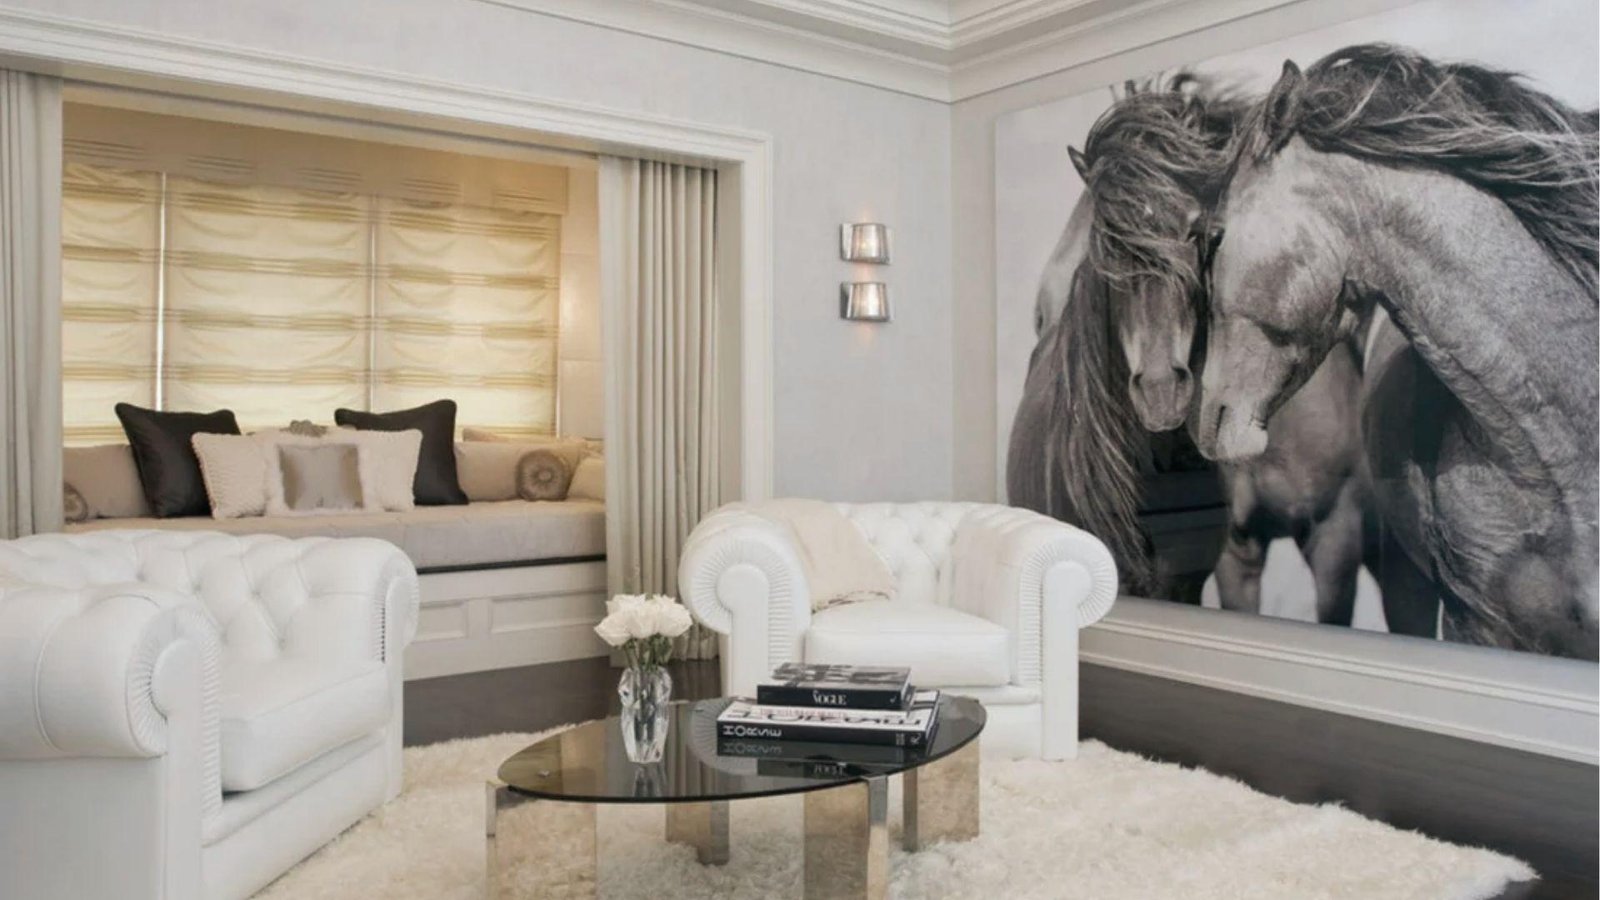
Pick the wall that gets the most attention in the room. It could be the wall behind your bed, couch, or TV. Then decide on a pattern.
Chevrons, diamonds, horizontal stripes, and triangles are all popular options. Start simple if this is your first time.
Step 2: Gather Painting Supplies and Materials
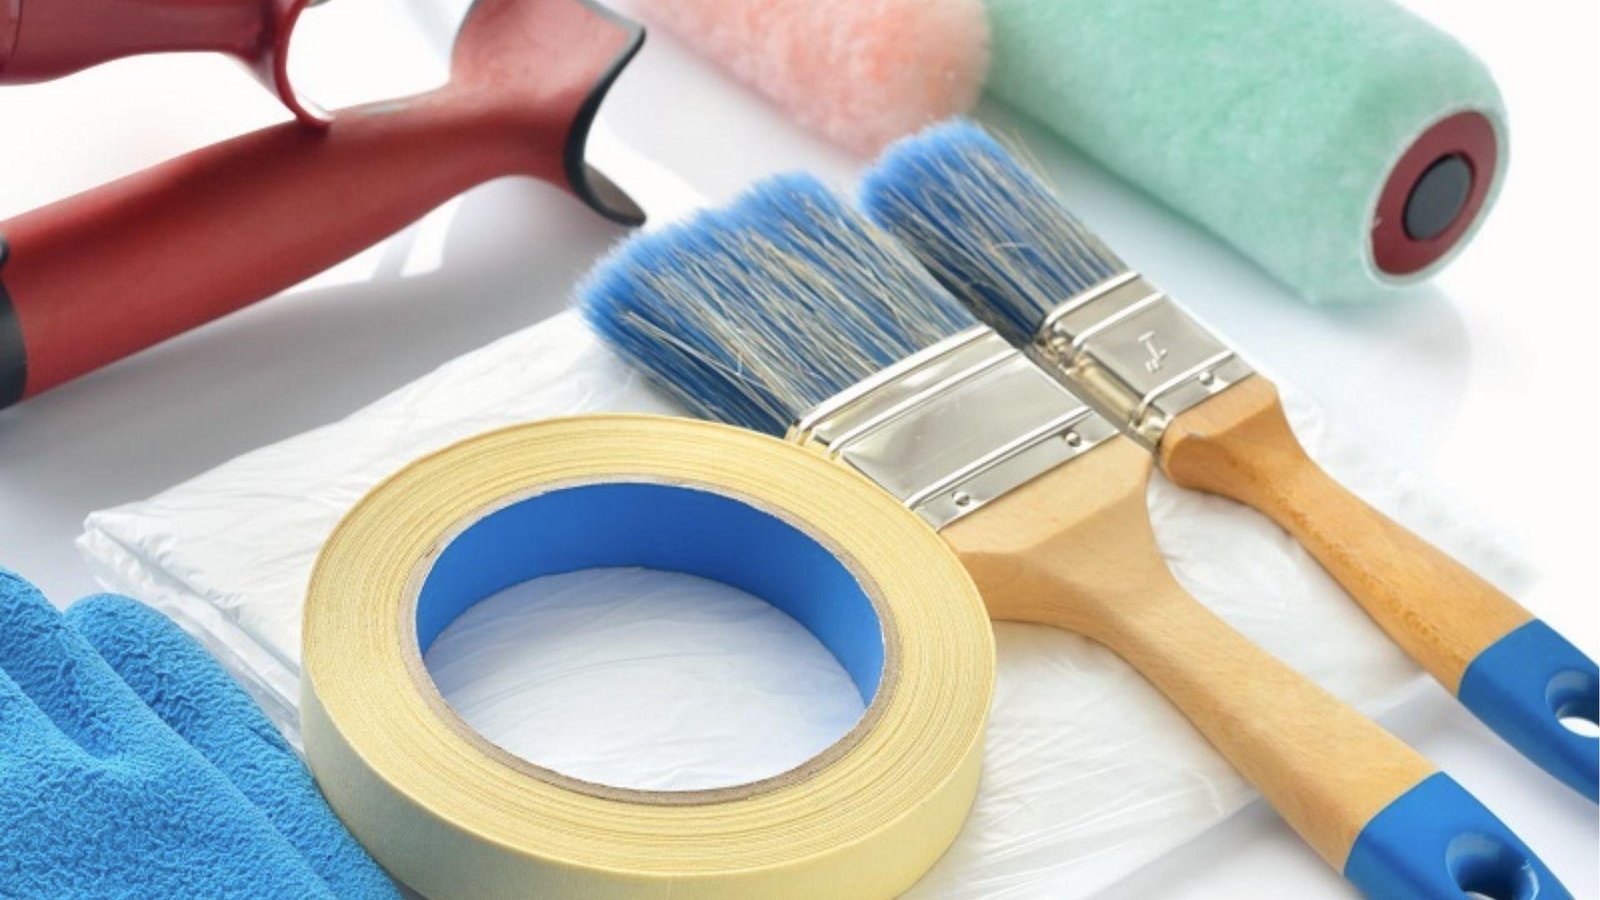
You'll need painter's tape, a roller, a small angled brush, paint in your chosen colors, a level, measuring tape, a pencil, and a drop cloth.
Don't skip the drop cloth. Paint drips more than you expect.
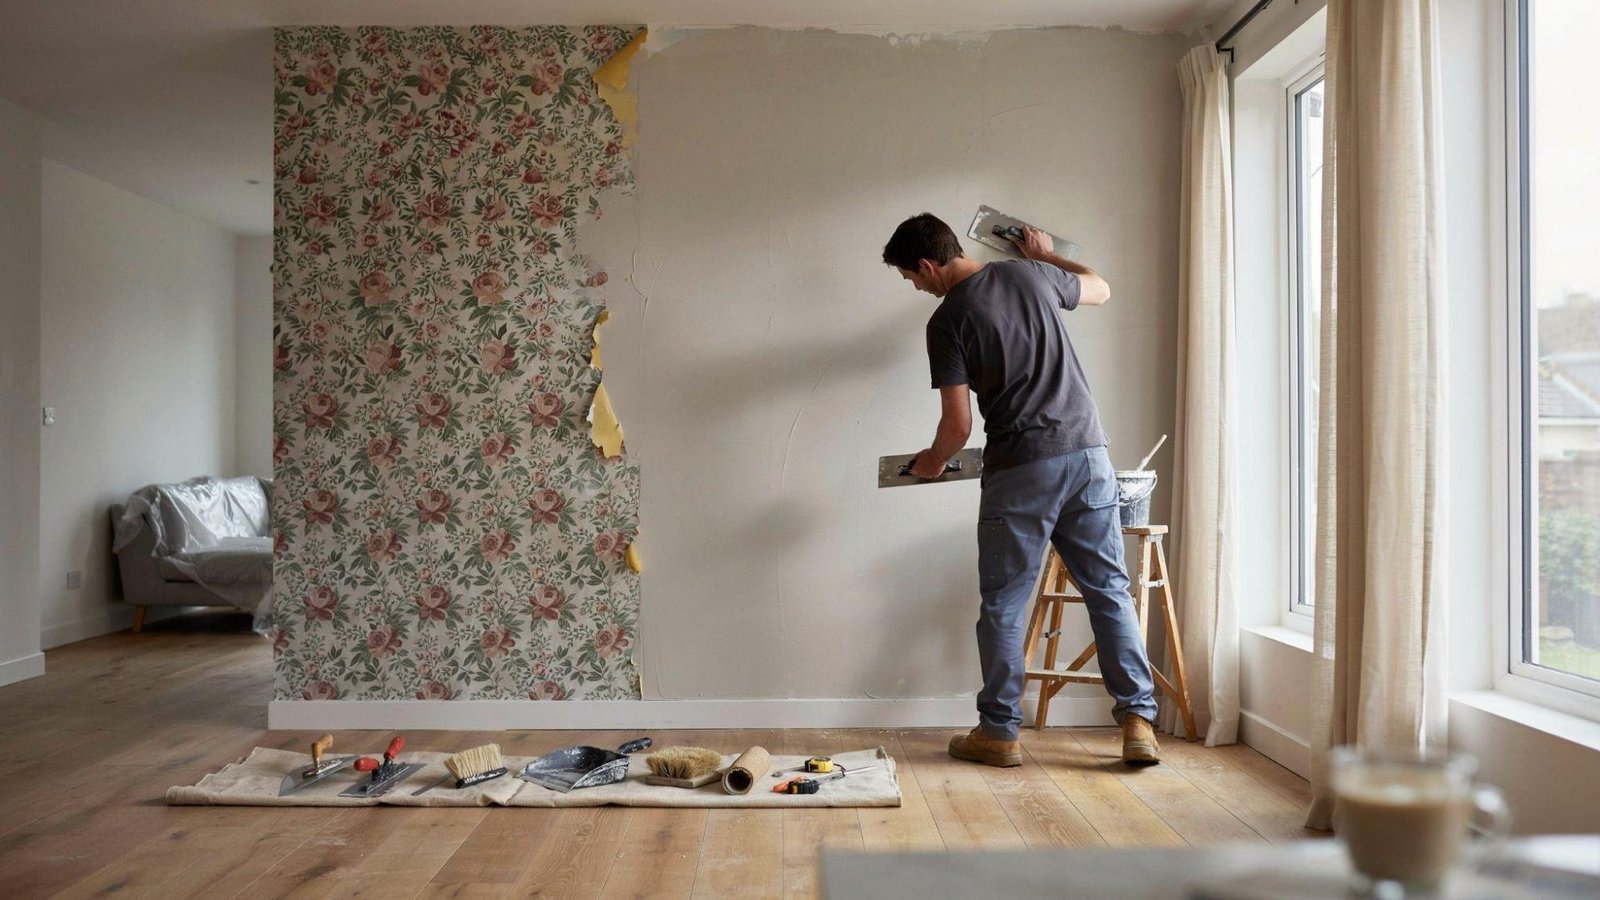
Step 3: Prepare and Prime the Wall Surface
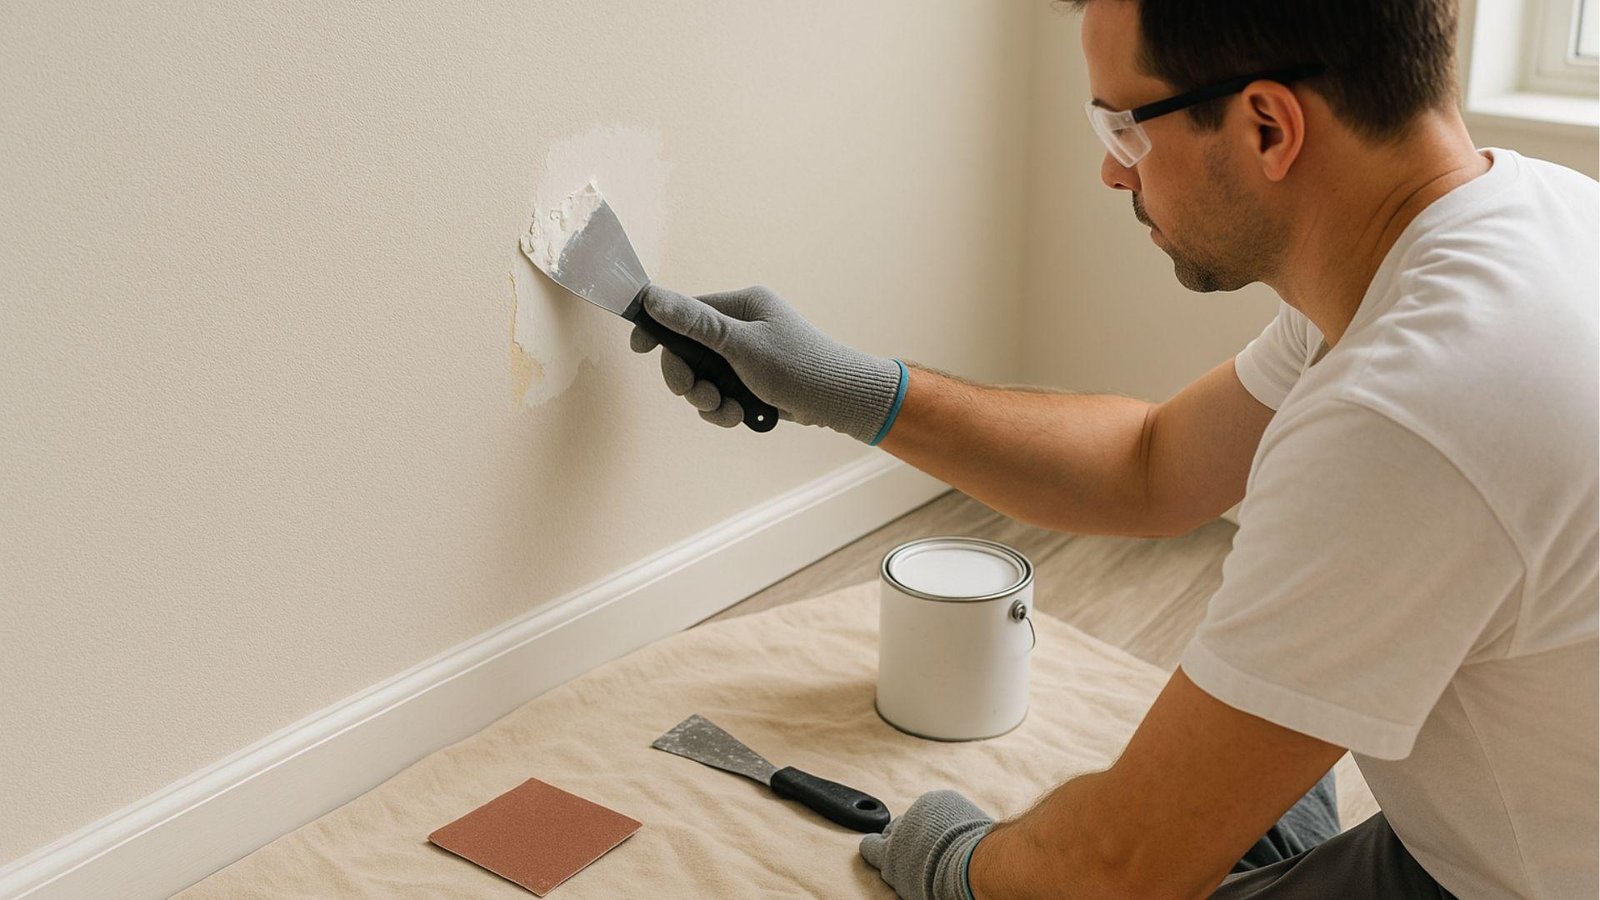
Clean the wall with a damp cloth to remove dust and grease. Fill in any holes or cracks with spackle and let it dry.
If the wall has never been painted or you're switching to a very different color, apply a coat of primer first. A smooth surface helps the tape stick properly and keeps paint from bleeding.
Step 4: Measure, Mark, and Tape Your Pattern
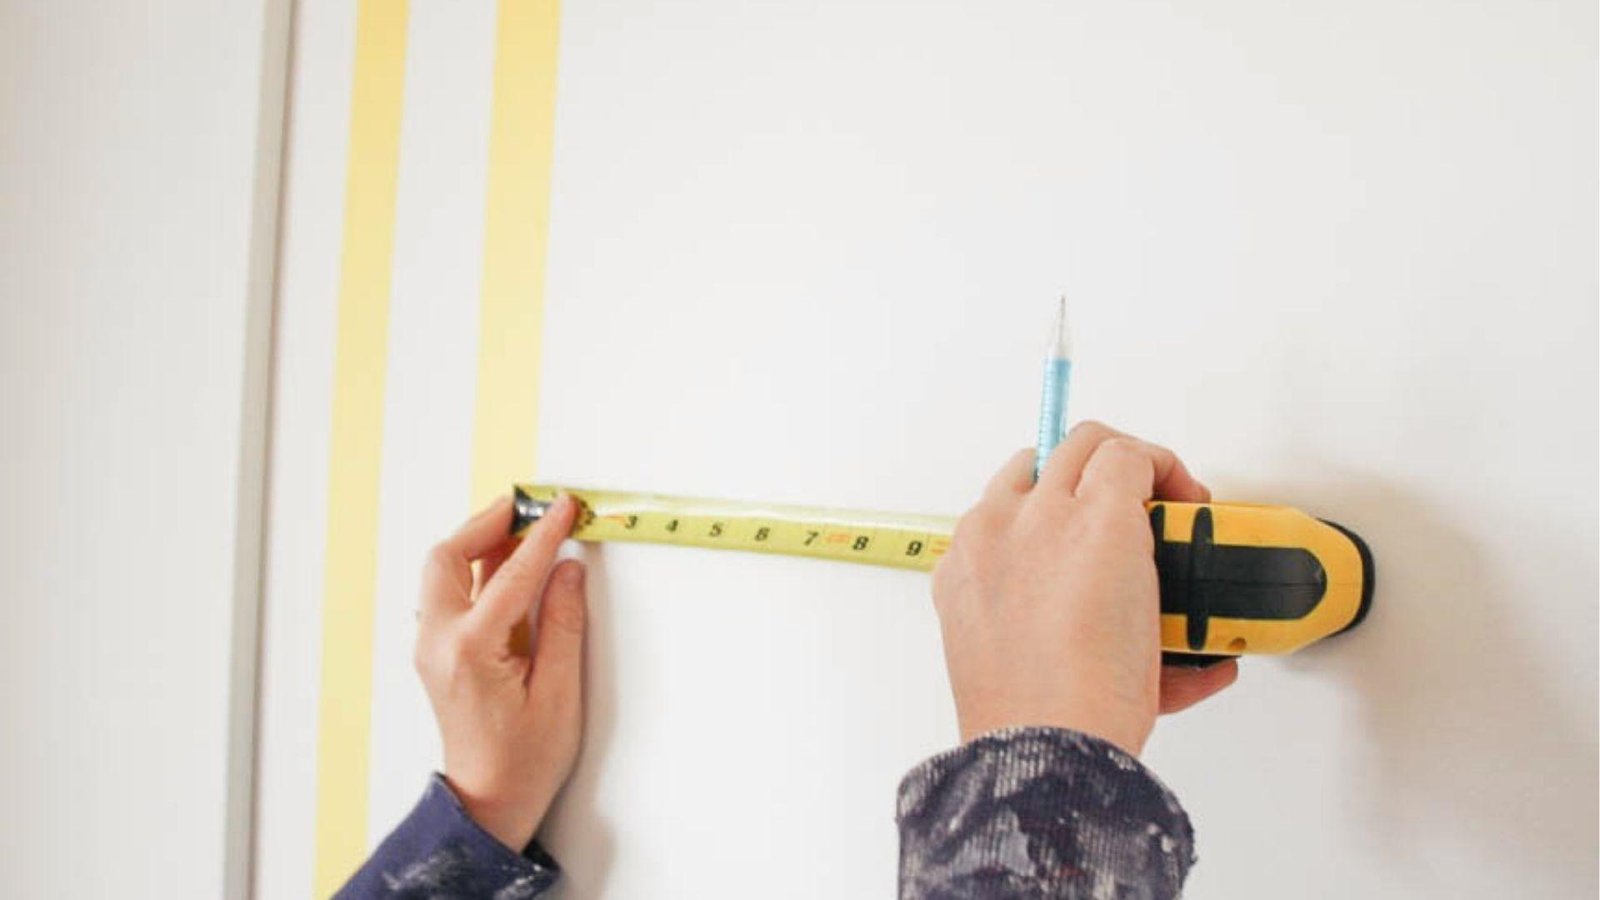
Use your measuring tape and pencil to mark where each line of tape will go. Work slowly here.
A small measurement error can throw off your whole design. Apply the tape firmly along each marked line, pressing the edges down with your fingernail or a credit card to seal them.
Step 5: Apply Paint for Clean, Sharp Lines
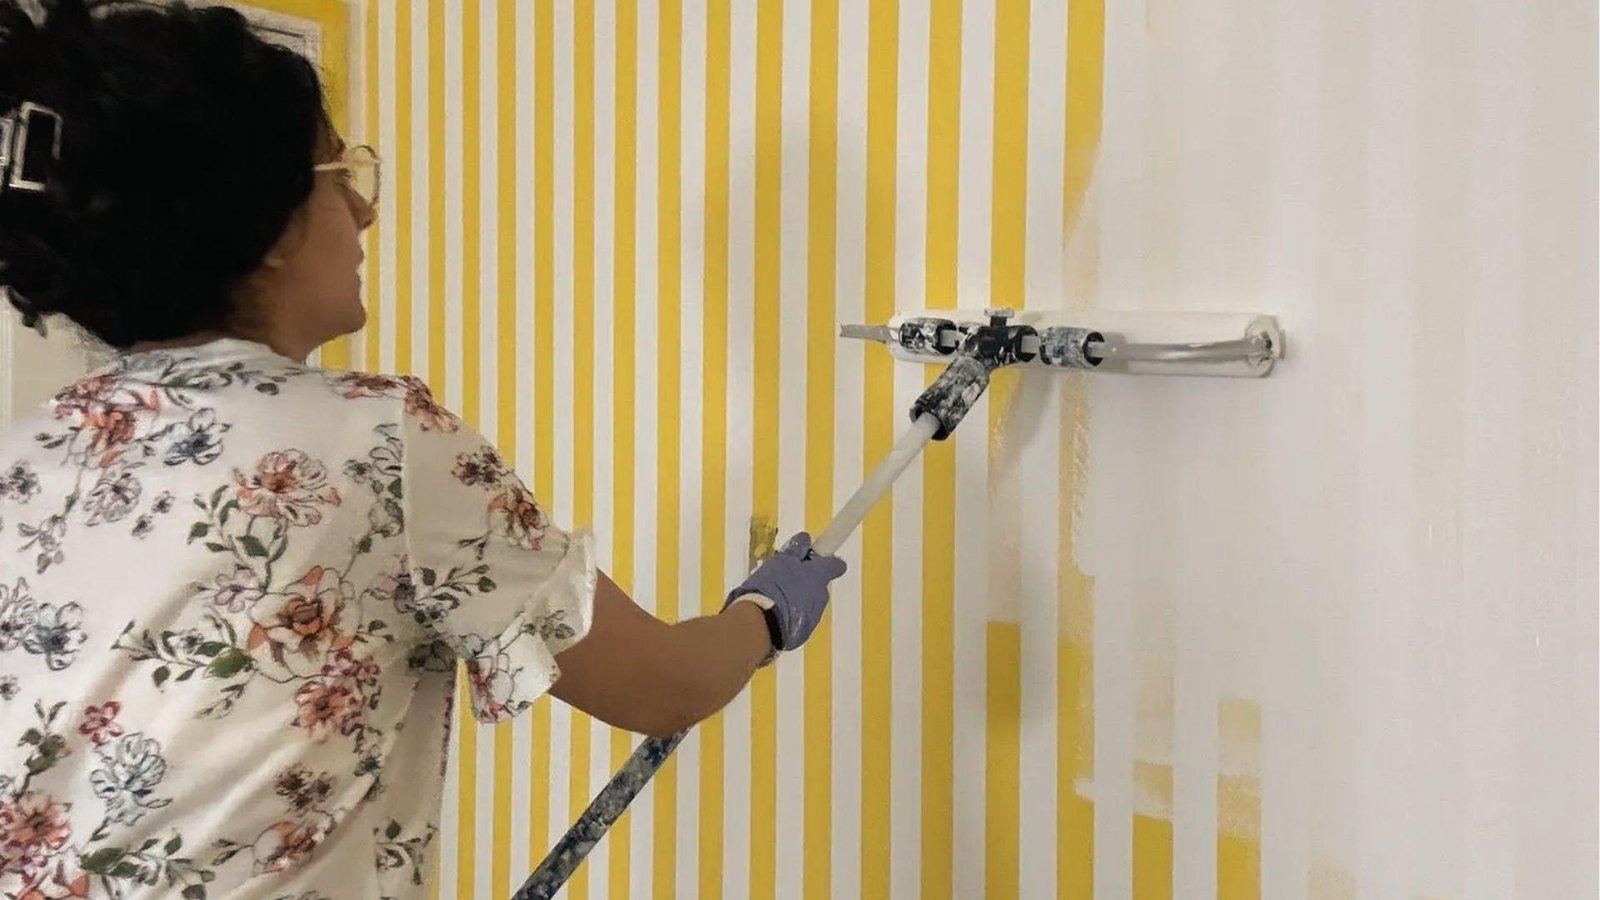
Before adding your accent color, apply a thin coat of your base wall color along the tape edges. This seals the tape and prevents bleeding.
Let it dry, then apply your accent color in thin, even coats. Two coats usually give the best coverage.
Step 6: Remove Tape Correctly for Professional Results
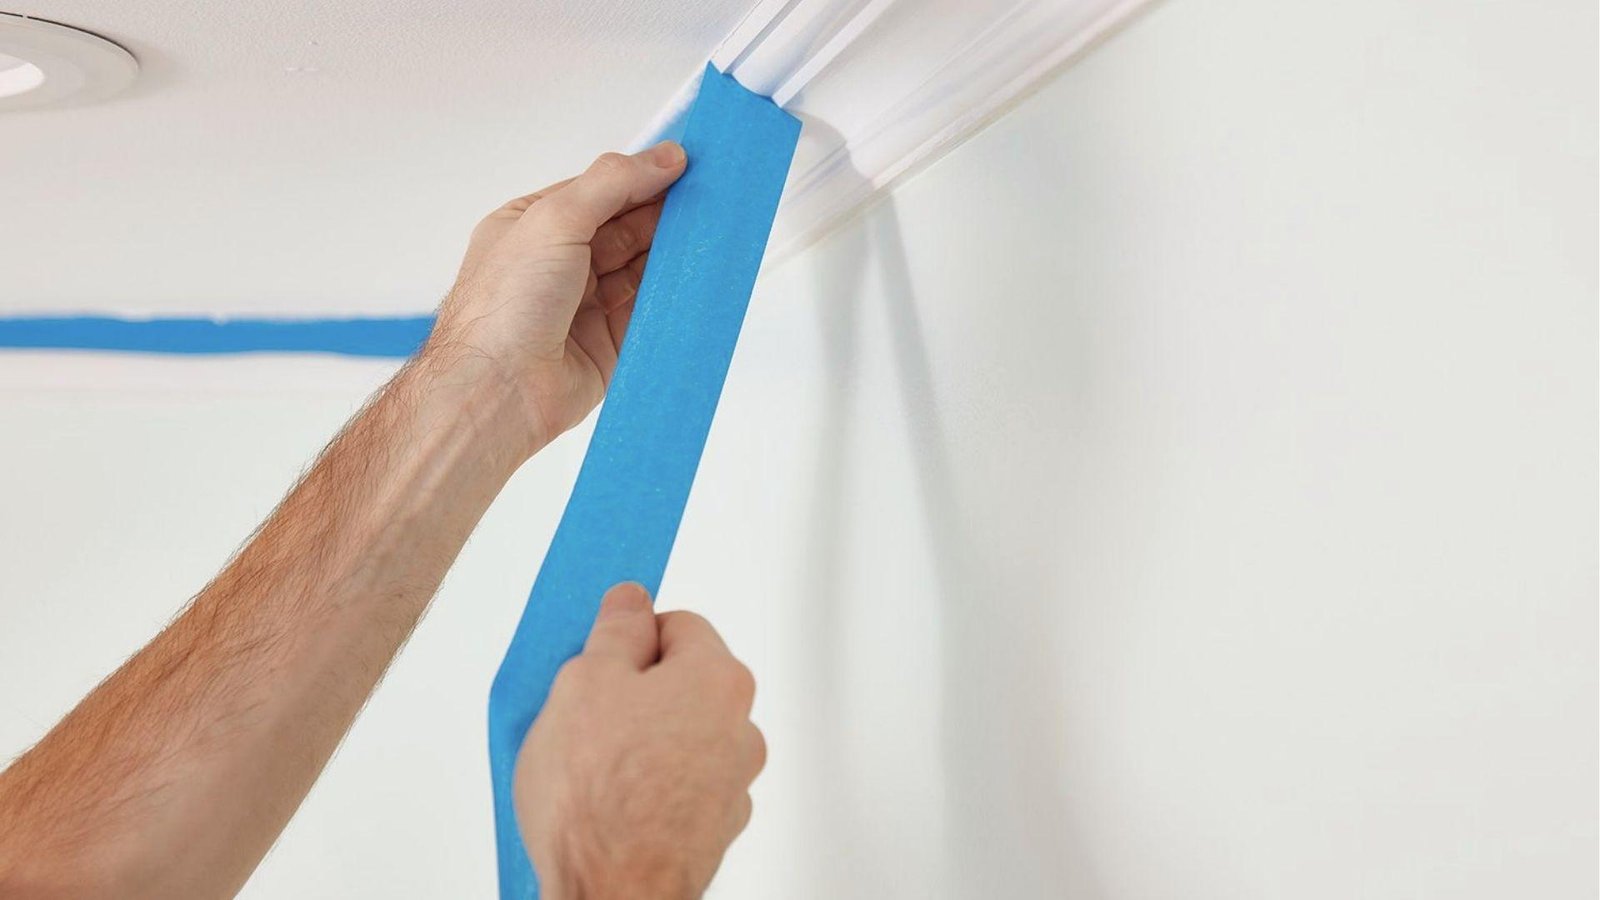
Pull the tape off while the paint is still slightly wet, not fully dry. Hold the tape close to the wall and pull at a 45-degree angle slowly.
This gives you the cleanest lines. If you wait too long, the tape can pull dry paint with it.
Step 7: Touch Up and Finish the Wall
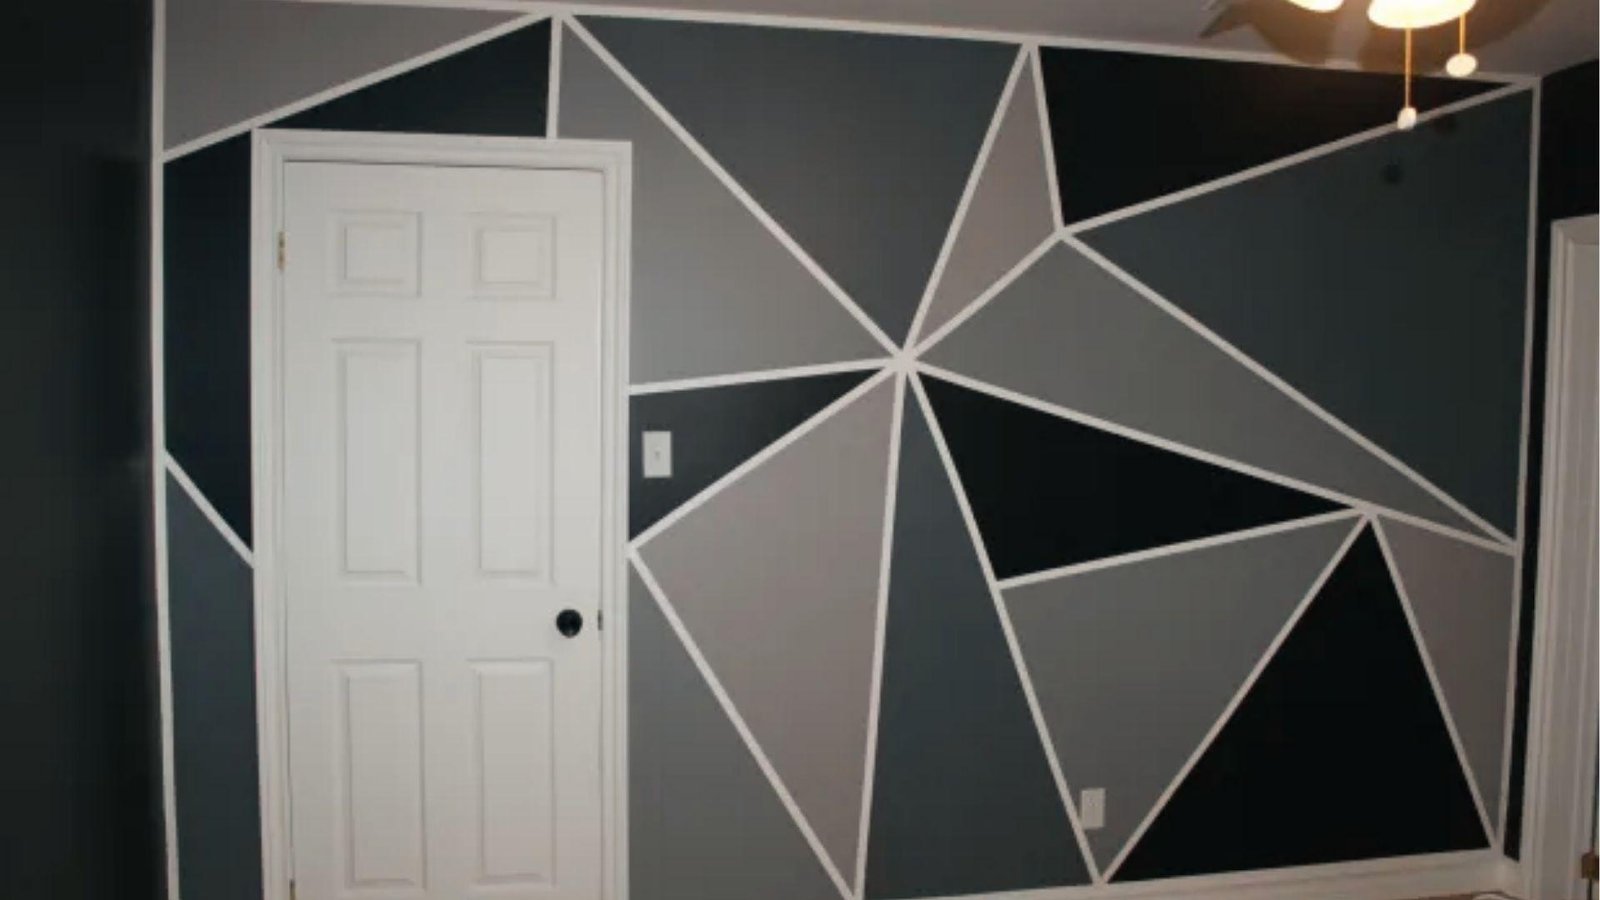
Use a small brush to fix any spots where paint bled through. Let everything dry fully before moving furniture back.
Step back and look at the whole wall from a distance to spot anything that needs a quick touch-up.
Common Tape Accent Wall Mistakes and How to Avoid Them
Even small missteps can affect your final result, so knowing what to avoid ahead of time saves you a lot of frustration.
- Not all painter's tape works the same way. Low-quality tape causes bleeding and residue. Use a mid-grade or professional tape for clean, sharp results.
- Eyeballing measurements lead to crooked lines every time. Always use a ruler, measuring tape, and a level. Mark lightly with pencil before taping.
- Paint bleeding under tape is the most common issue. Seal the tape edge with your base color first, let it dry, then apply the accent color on top.
- Pulling tape too early smears wet paint. Waiting too long tears the edges. Remove it when the paint feels dry to the touch, usually about an hour after the last coat.
- A simple stripe or diamond pattern can look just as good as a complex design. Start with fewer tape lines on your first try and build up from there.
Best Paint Colors for Tape Accent Wall Patterns

Choosing the right color combination can make or break your accent wall, so take your time with this step.
Neutral Color Combinations
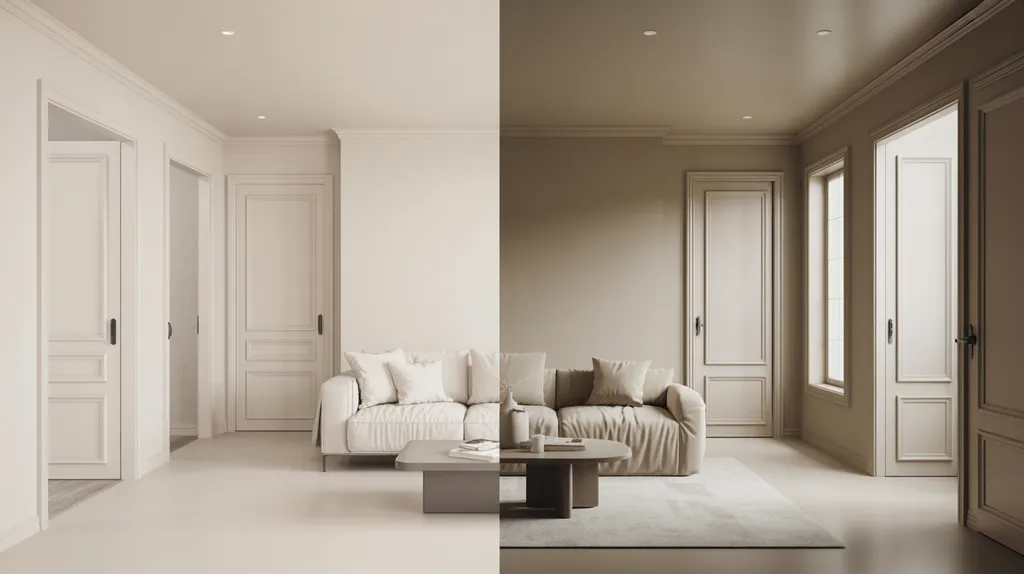
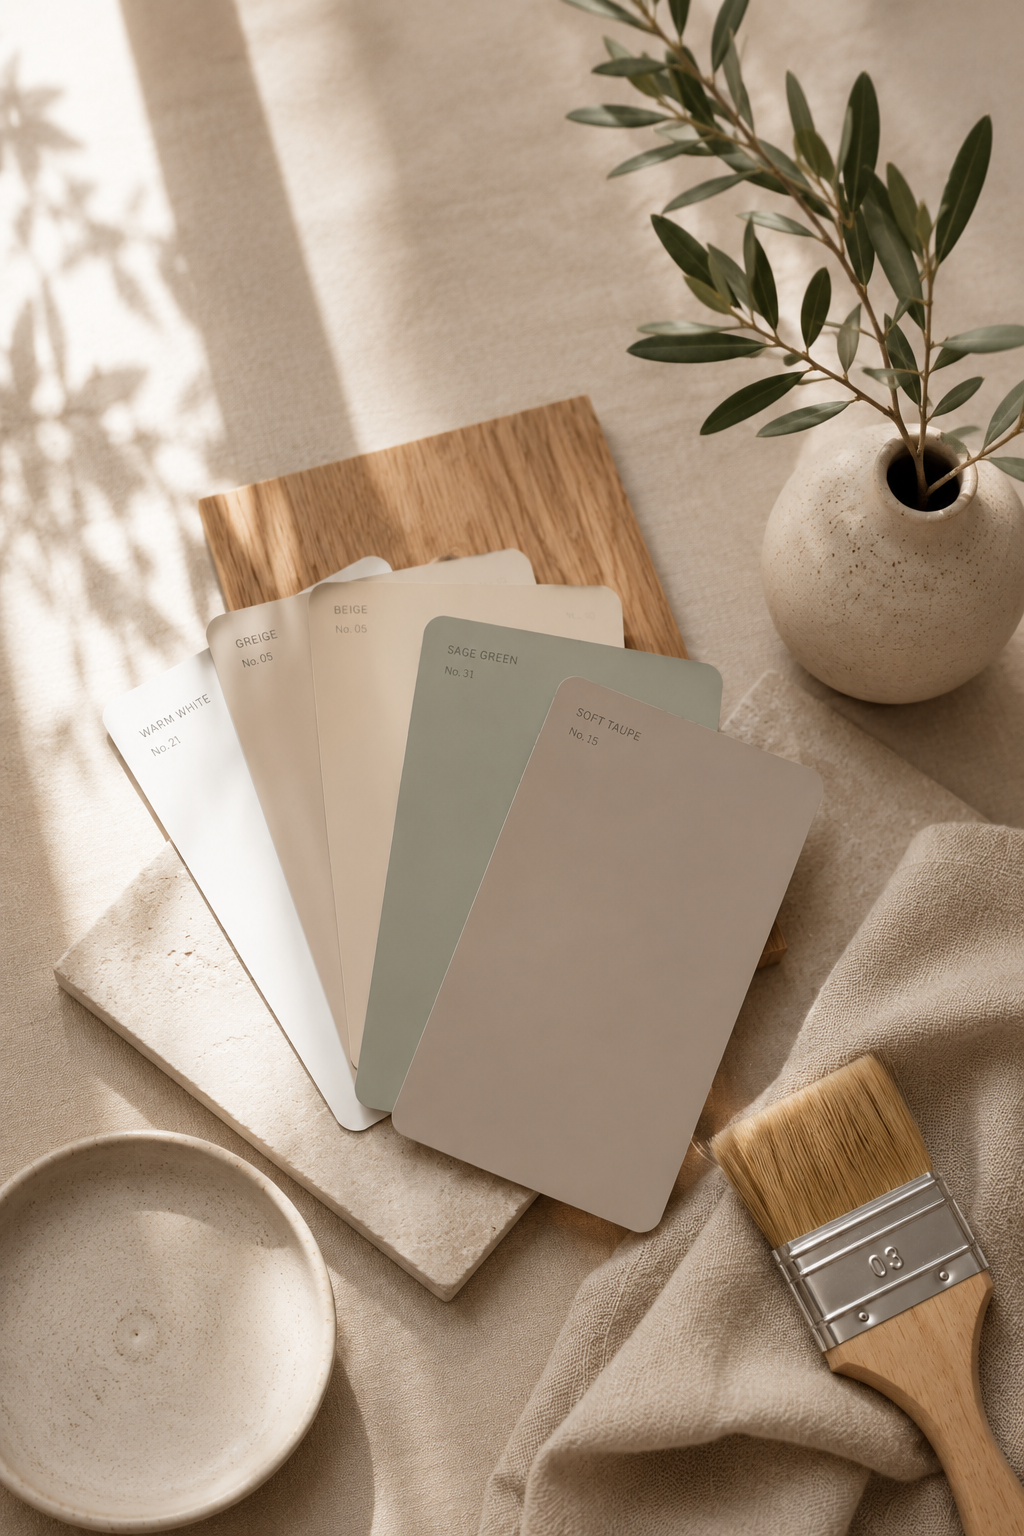
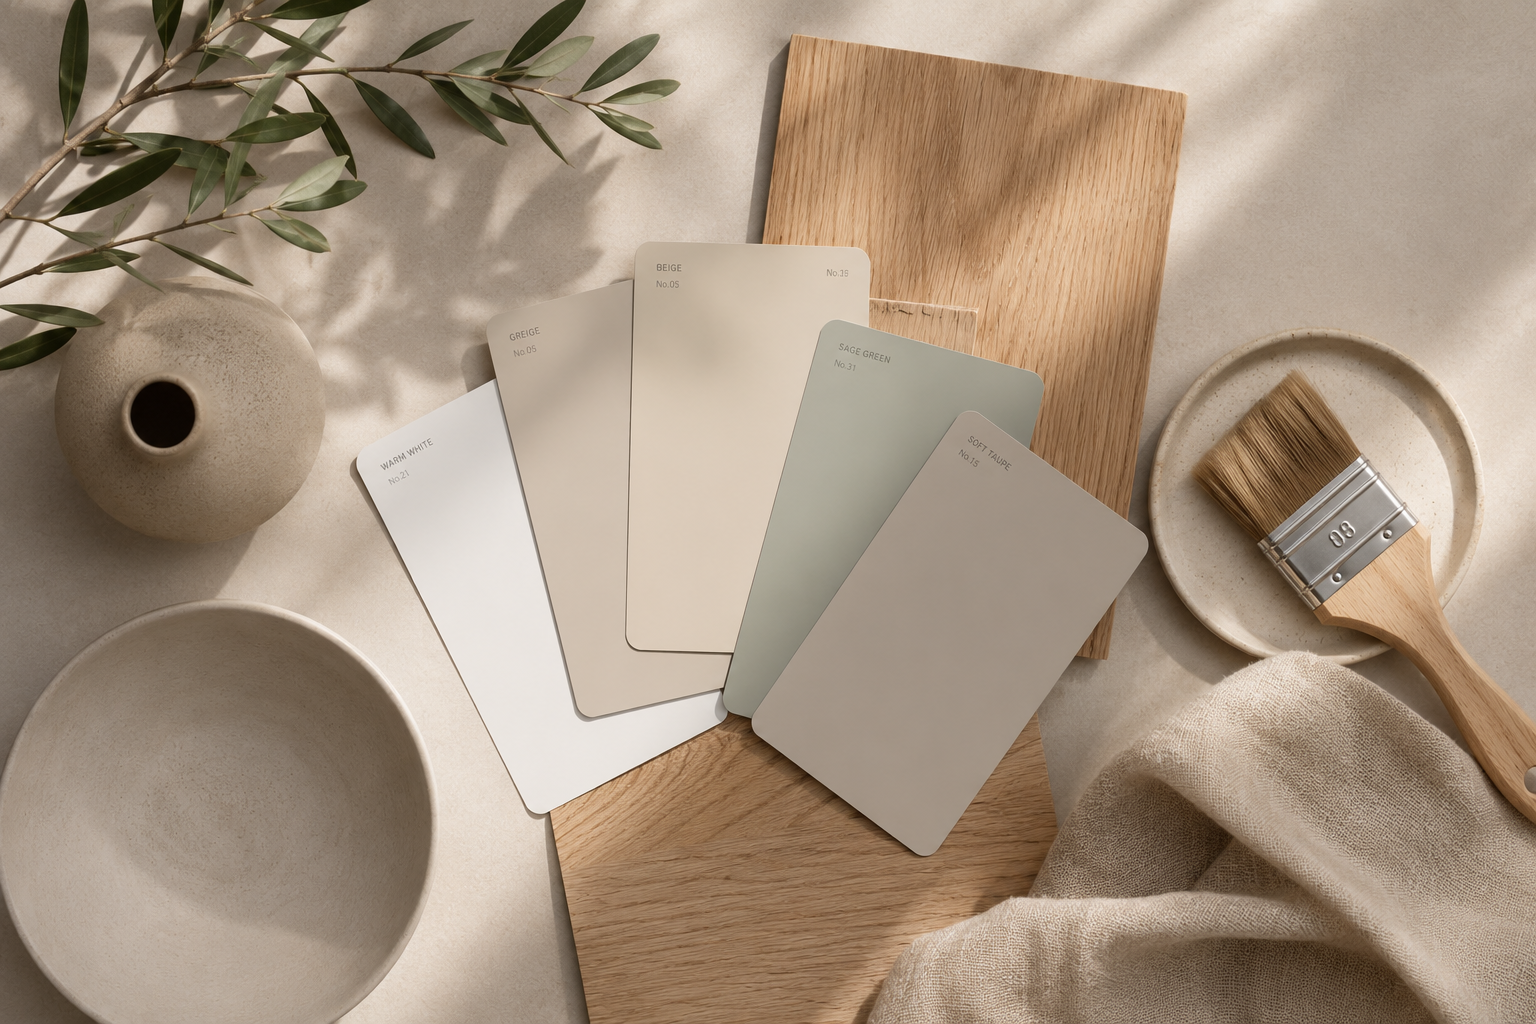
White and beige, gray and cream, or warm white and soft taupe are all excellent choices for a calm and put-together look.
These combinations work in almost every room and pair well with most furniture styles.
Modern Black and White Designs
A black and white geometric pattern is bold but timeless. It works especially well in home offices, living rooms, and even bathrooms.
The contrast makes the pattern pop without needing any bright colors.
Bold and Vibrant Accent Wall Colors
Deep navy, forest green, rust orange, and mustard yellow are all trending right now.
These colors work well as single-tone designs against a white or off-white base. They add personality without overwhelming the room.
Trending Color Schemes for 2026
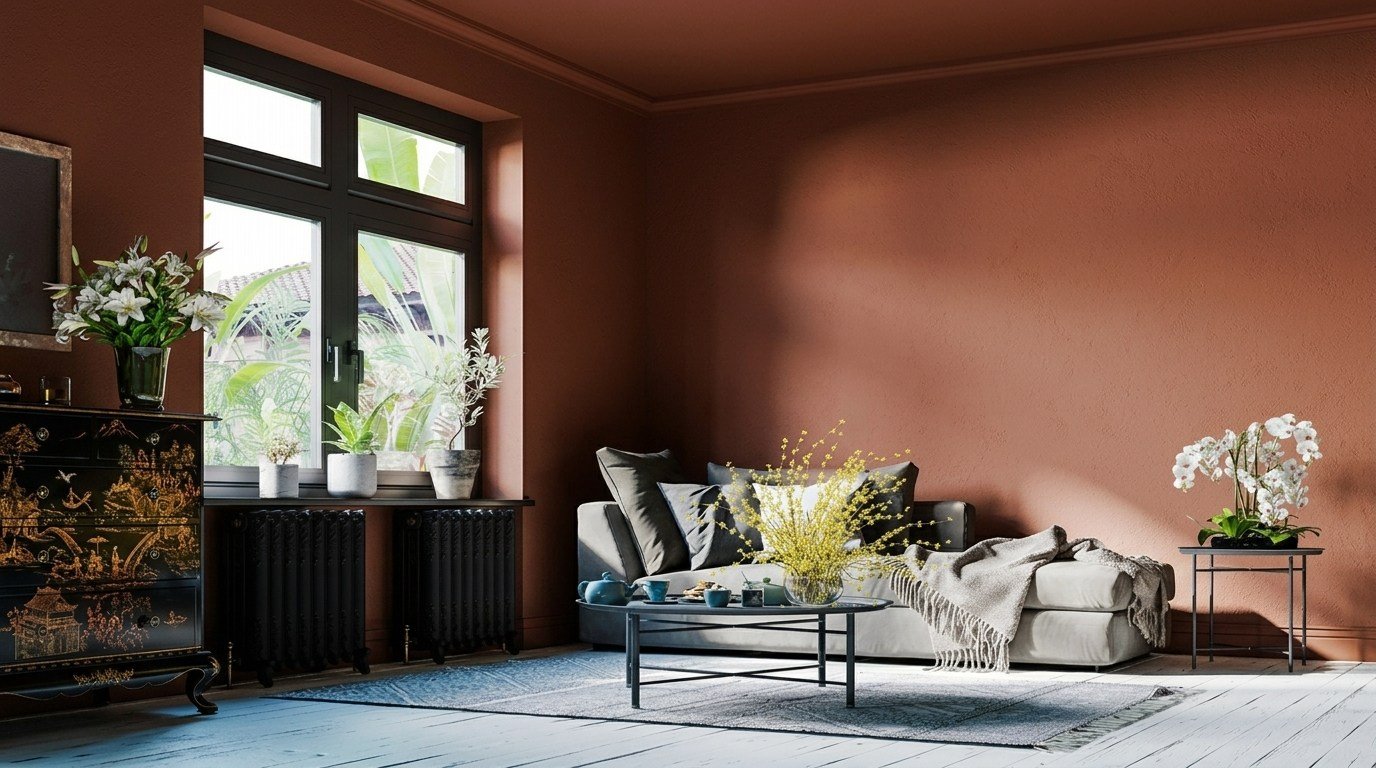
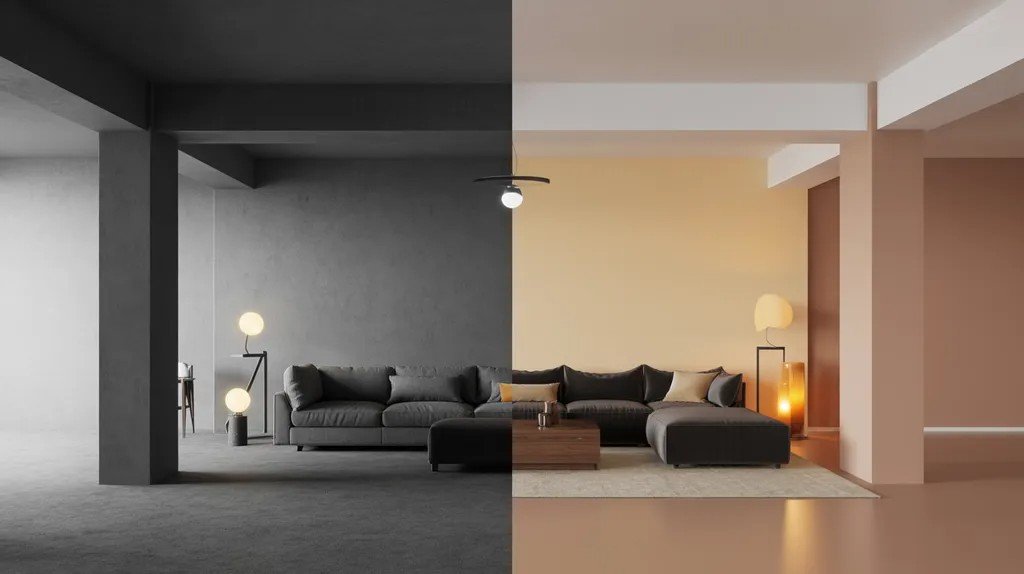
Warm terracotta paired with cream, dusty sage with white, and deep burgundy with soft gray are all showing up in home design this year. These palettes feel fresh but are easy to live with long term.
Tape Accent Wall Tips for Professional-Looking Results
Small habits make a big difference when it comes to getting clean, sharp results on a DIY accent wall.
- Use a laser level for accuracy instead of relying on your eye alone
- Seal tape edges before painting by applying a thin coat of base color first
- Test paint colors on a small section of the wall and let them dry before committing
- Work with multiple thin coats instead of one thick coat for better coverage
- Plan your pattern on paper before starting so you can spot any issues early
Conclusion
I still remember peeling back the tape on my first accent wall and holding my breath. When the lines came out clean, I felt genuinely proud.
Tape accent wall paint pattern ideas step by step are something anyone can do, and the results are so worth the effort.
If you try this, I'd love to hear how it goes. Drop a comment below and tell me which pattern you chose.
Share this post with a friend who's been talking about a room change. You've got this.
Frequently Asked Questions
What Tape Is Best for Painting Wall Patterns?
Blue painter's tape from brands like FrogTape or 3M works well for most surfaces. FrogTape in particular has a moisture-activated edge that reduces paint bleed. Avoid regular masking tape since it can pull paint and leave residue behind.
How Long Should Paint Dry Before Removing Tape?
Wait about 60 minutes after the final coat before removing tape. The paint should feel dry to the touch but not be fully cured. Pulling tape during this window gives you the cleanest lines without tearing dried paint.
Can Beginners Create Geometric Accent Walls?
Yes, beginners can absolutely do this. Start with a simple stripe or diamond pattern. The key is taking your time with measurements and making sure your tape is pressed down firmly along every edge before you pick up the brush.
How Much Does a DIY Tape Accent Wall Cost?
Most DIY tape accent wall projects cost between 30 and 70 dollars depending on the size of the wall and how much paint you need. You may already have some of the supplies at home, which can bring the cost down further.
How Long Does a Tape Accent Wall Last?
A well-painted tape accent wall can last many years without fading or peeling if the surface was properly prepped and you used quality paint. You can also repaint or update it anytime you want a change.