Painting baseboards sounds simple. But anyone who has done it knows the frustration of brush marks, drips, and uneven coating.
I've been there too, staring at streaky trim and wondering what went wrong. In this guide, I'll walk you through the best paint for baseboards that gives you a smooth, clean finish.
We'll cover the right type of paint, the best finish level, a step-by-step painting process, and pro tips to avoid common mistakes.
With years of hands-on painting experience, I'll help you get results that actually last. No guesswork, no wasted trips to the store, just clear, honest advice that works.
Understanding the Best Paint for Baseboards
Not all paints are made the same, and picking the wrong one wastes both time and money.
For baseboards, you need a paint that levels itself out, dries hard, and holds up to cleaning without fading. Trim paints are made specifically for this.
They are thicker and self-leveling, which helps reduce brush marks. When shopping, focus on three key features.
Durability matters because baseboards take daily abuse from shoes and mops. Smooth flow helps the paint settle flat after brushing, hiding stroke lines.
Easy cleaning is simpler with semi-gloss or gloss finishes that wipe down without damage.
Oil-Based vs Water-Based Paint for Baseboards
Both types have real advantages. Knowing the difference helps you pick the right one.
Pros and Cons of Oil-Based Paint
Pros:
- Very smooth finish
- Levels out well with fewer brush marks
- Extremely hard and durable when dry
Cons:
- Takes 24 hours or more to dry
- Strong fumes needs good ventilation
- Requires mineral spirits for cleanup
- Can yellow over time, especially in low-light areas
Pros and Cons of Latex (Water-Based) Paint
Pros:
- Dries fast usually 2 to 4 hours
- Low odor, easy soap-and-water cleanup
- Stays white and doesn't yellow
- More flexible, so less cracking over time
Cons:
- Not quite as hard as oil-based when dry
- Can show brush marks if applied too fast
Which Option Gives a Smoother Finish
Oil-based paint has traditionally given the smoothest finish. But modern water-based alkyd paints have closed that gap.
Water-based alkyd combines the best of both, it flows like oil-based paint but cleans up with water. For most people, it's the best pick today.
Choosing the Right Paint Finish for a Professional Look
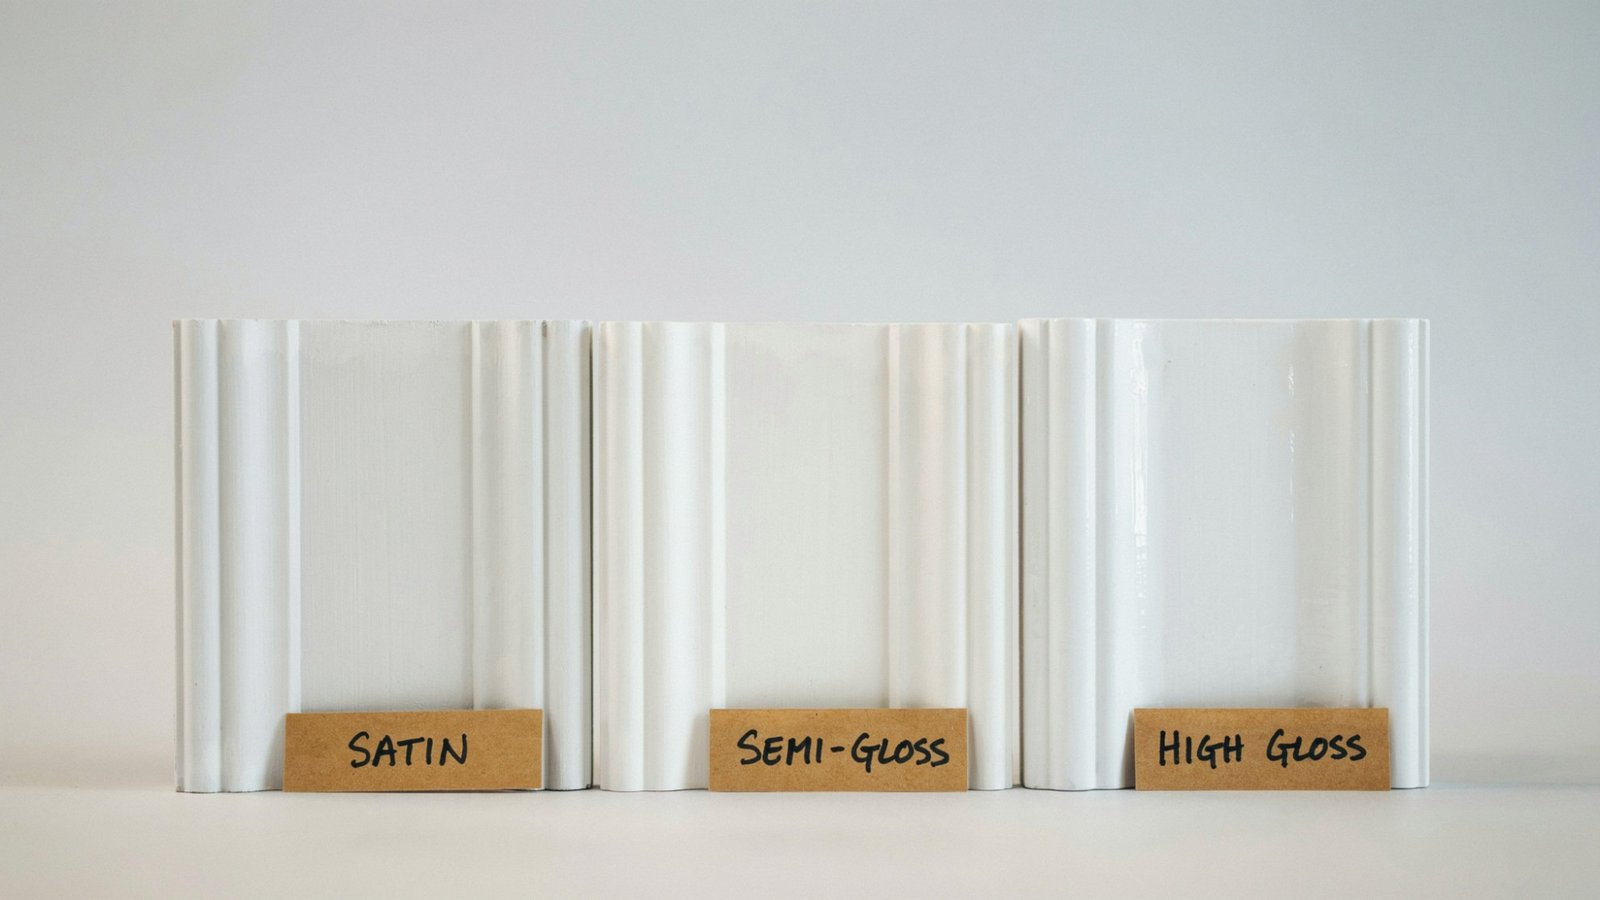
The sheen level you choose affects both the look and how long the paint holds up.
Why Semi-Gloss Is the Top Choice
Semi-gloss is the most popular finish for baseboards and for good reason. It reflects enough light to look sharp. It's also easy to wipe clean and holds up to scuffs and moisture well.
Most professional painters default to semi-gloss for all trim work.
Satin vs Gloss: Which One Is Better
Satin gives a softer, lower-shine look. It hides surface imperfections better than gloss. It's a good option if your baseboards have small dings or rough spots.
High gloss gives the most dramatic shine. It's the most durable and easiest to clean. But it shows every bump and imperfection under the surface, so prep work needs to be perfect.
How Sheen Impacts Smoothness and Durability
Higher sheen = harder surface = easier to clean. Lower sheen = softer look = hides flaws better. For baseboards, semi-gloss is the sweet spot between durability and a forgiving finish.
How to Paint Baseboards for a Smooth Finish
Follow these simple steps to get clean, professional-looking baseboards without the mess or guesswork.
Step 1: Cleaning and Surface Preparation
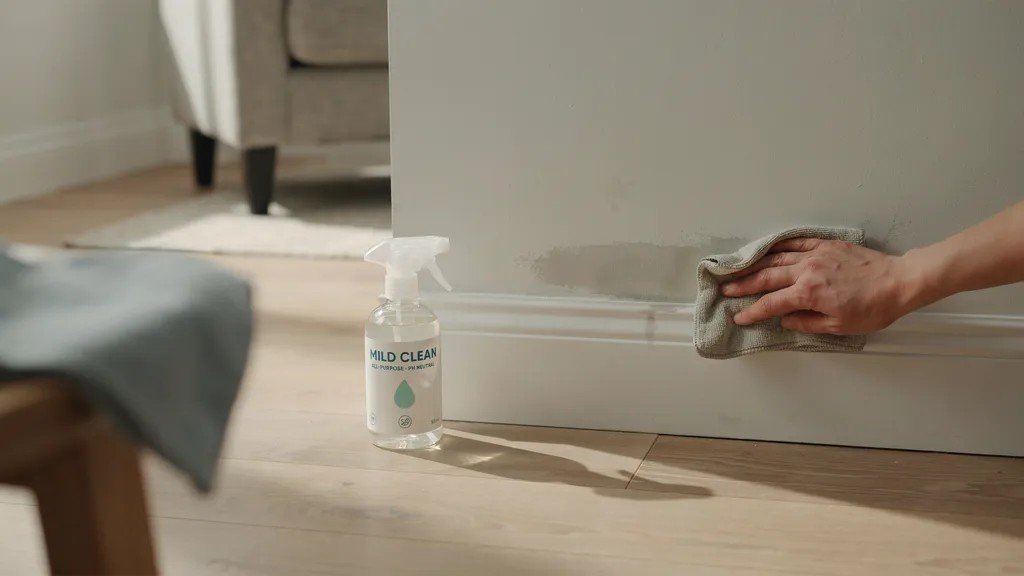
Clean the baseboards with a damp cloth and a mild cleaner. Remove all dust, grease, and dirt. Paint won't stick well to dirty surfaces. Let it dry fully before moving on.
Step 2: Sanding and Filling Imperfections
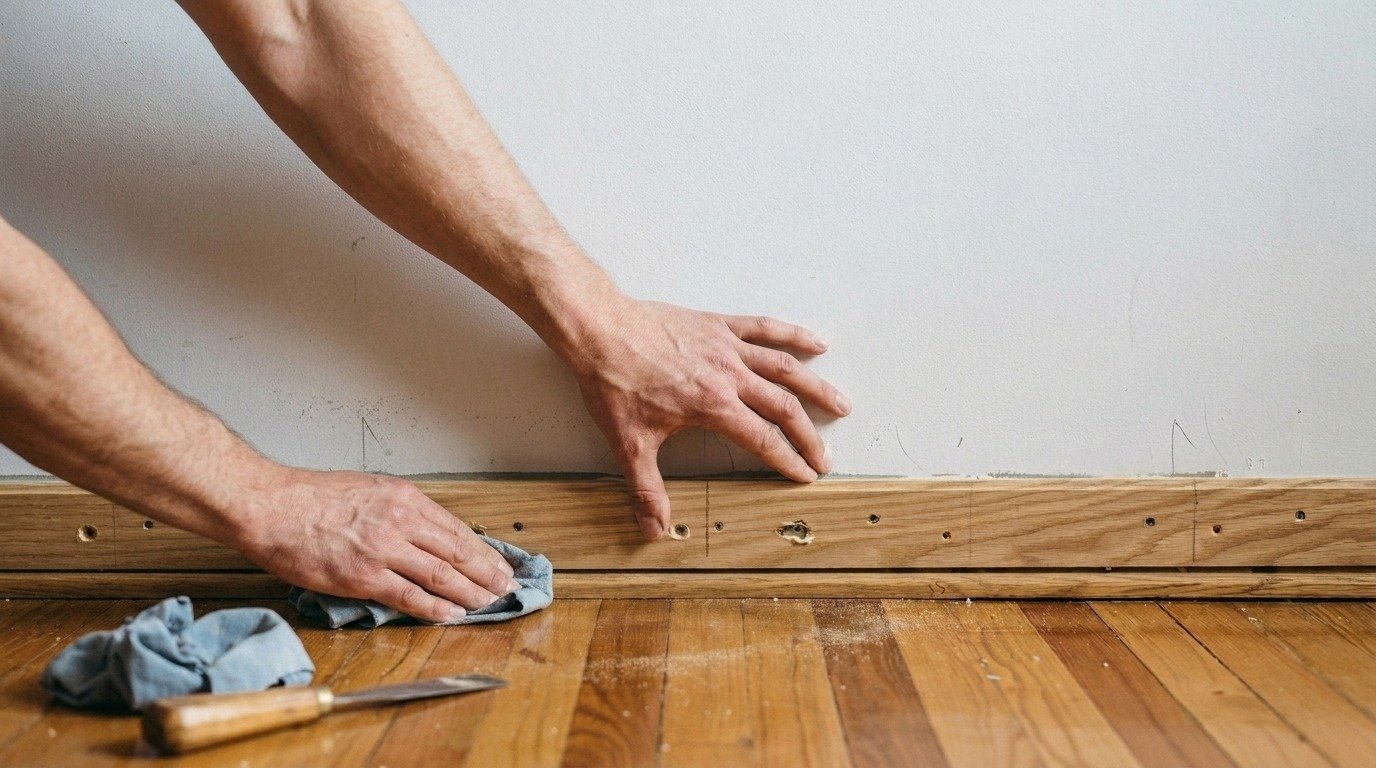
Lightly sand the surface with 120 to 150-grit sandpaper. This helps the paint stick and smooths out old brush marks. Fill any holes or cracks with wood filler. Sand again once the filler dries.
Step 3: Taping and Protecting Floors
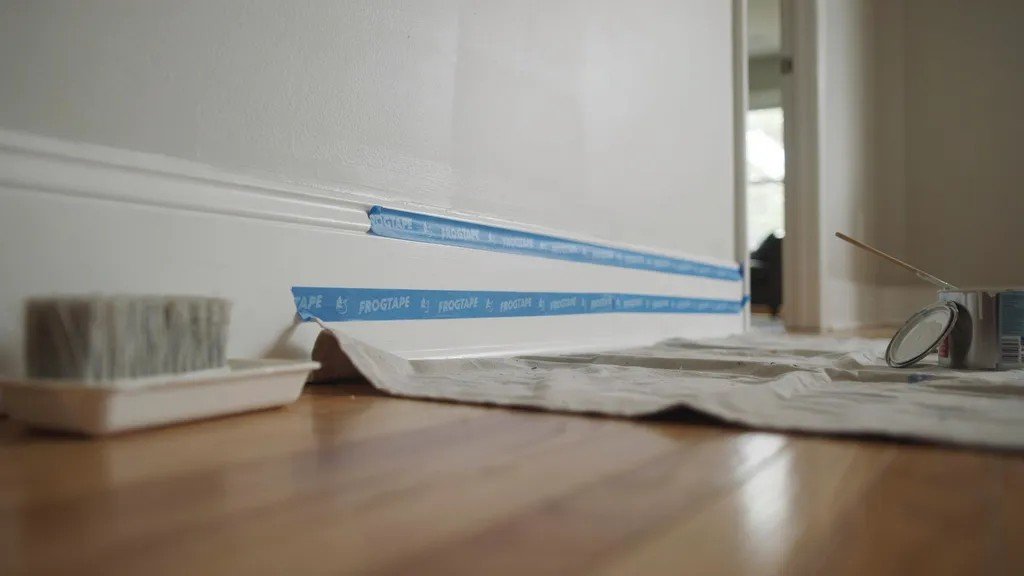
Use painter's tape along the top edge of the baseboard where it meets the wall. Place a drop cloth or tape along the bottom to protect your floor. Take your time here, good taping means clean lines.
Step 4: Priming the Surface
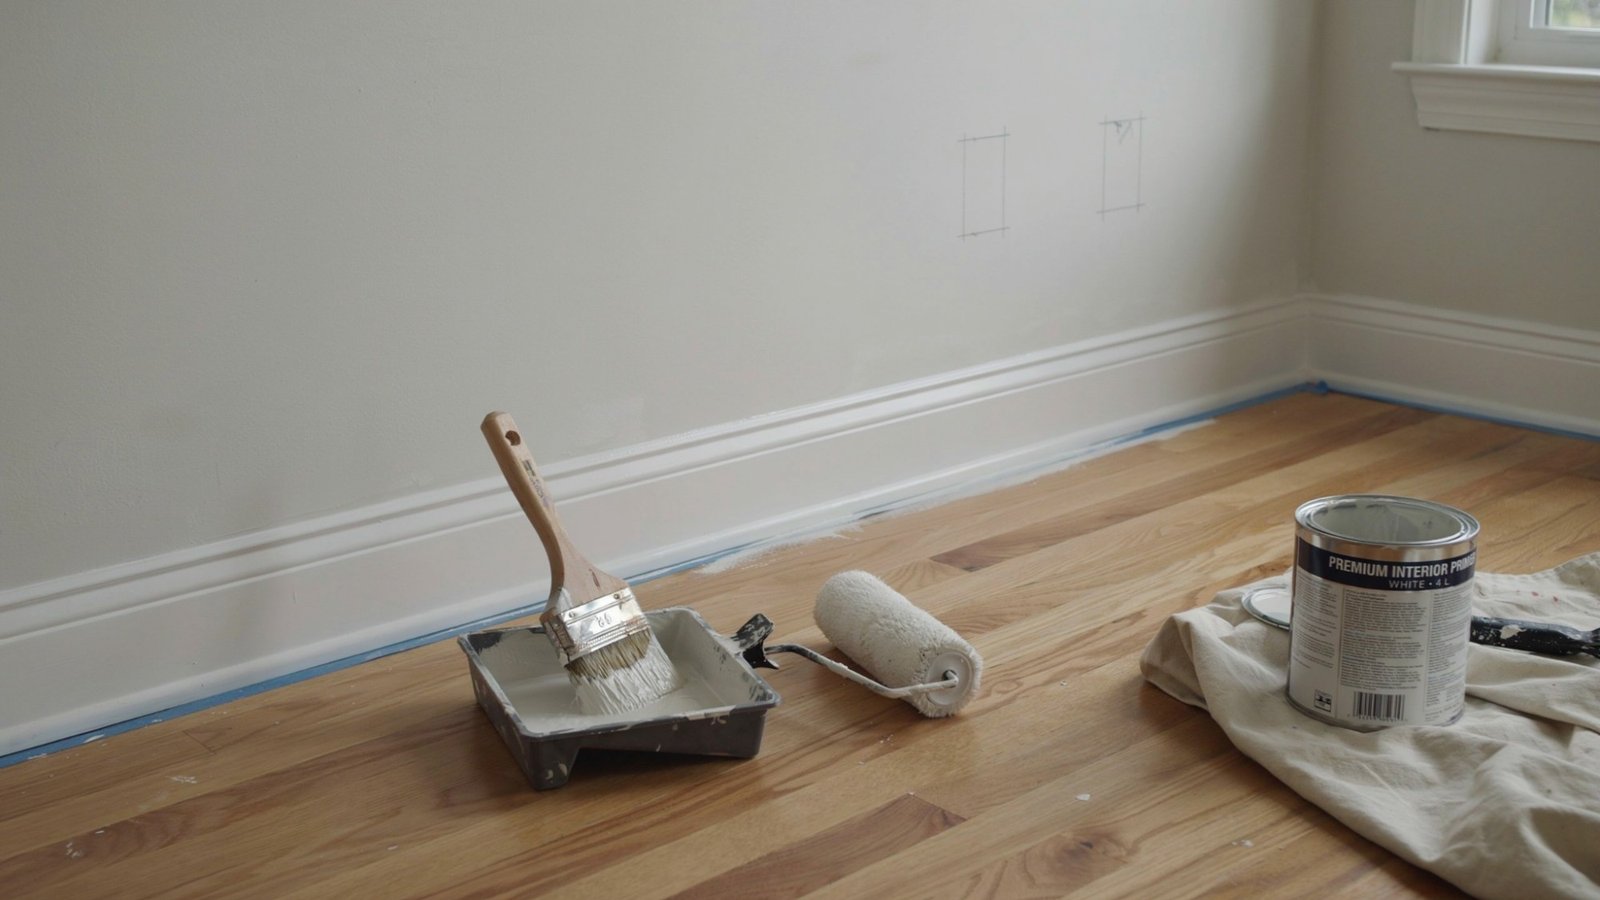
Always prime bare wood or patched spots. Use a stain-blocking primer if there's any discoloration. A primer coat helps the topcoat bond better and look smoother. One coat is usually enough.
Step 5: Applying Paint Without Brush Marks
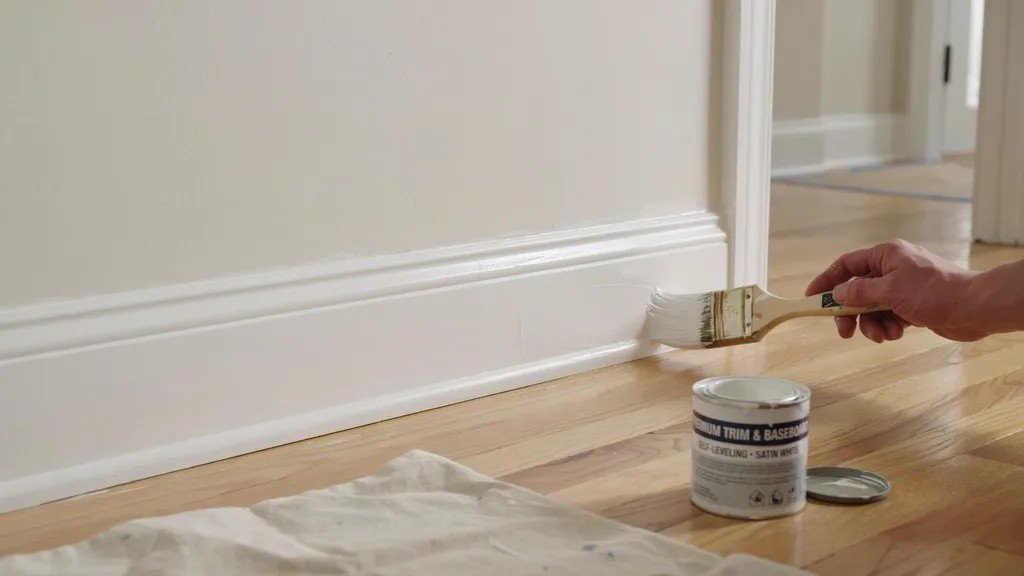
Use a good angled brush, about 2 to 2.5 inches wide. Apply thin coats. Brush in long, smooth strokes in one direction.
Don't overwork the paint. Let it settle on its own, that's what self-leveling paint does best.
Step 6: Drying and Recoating
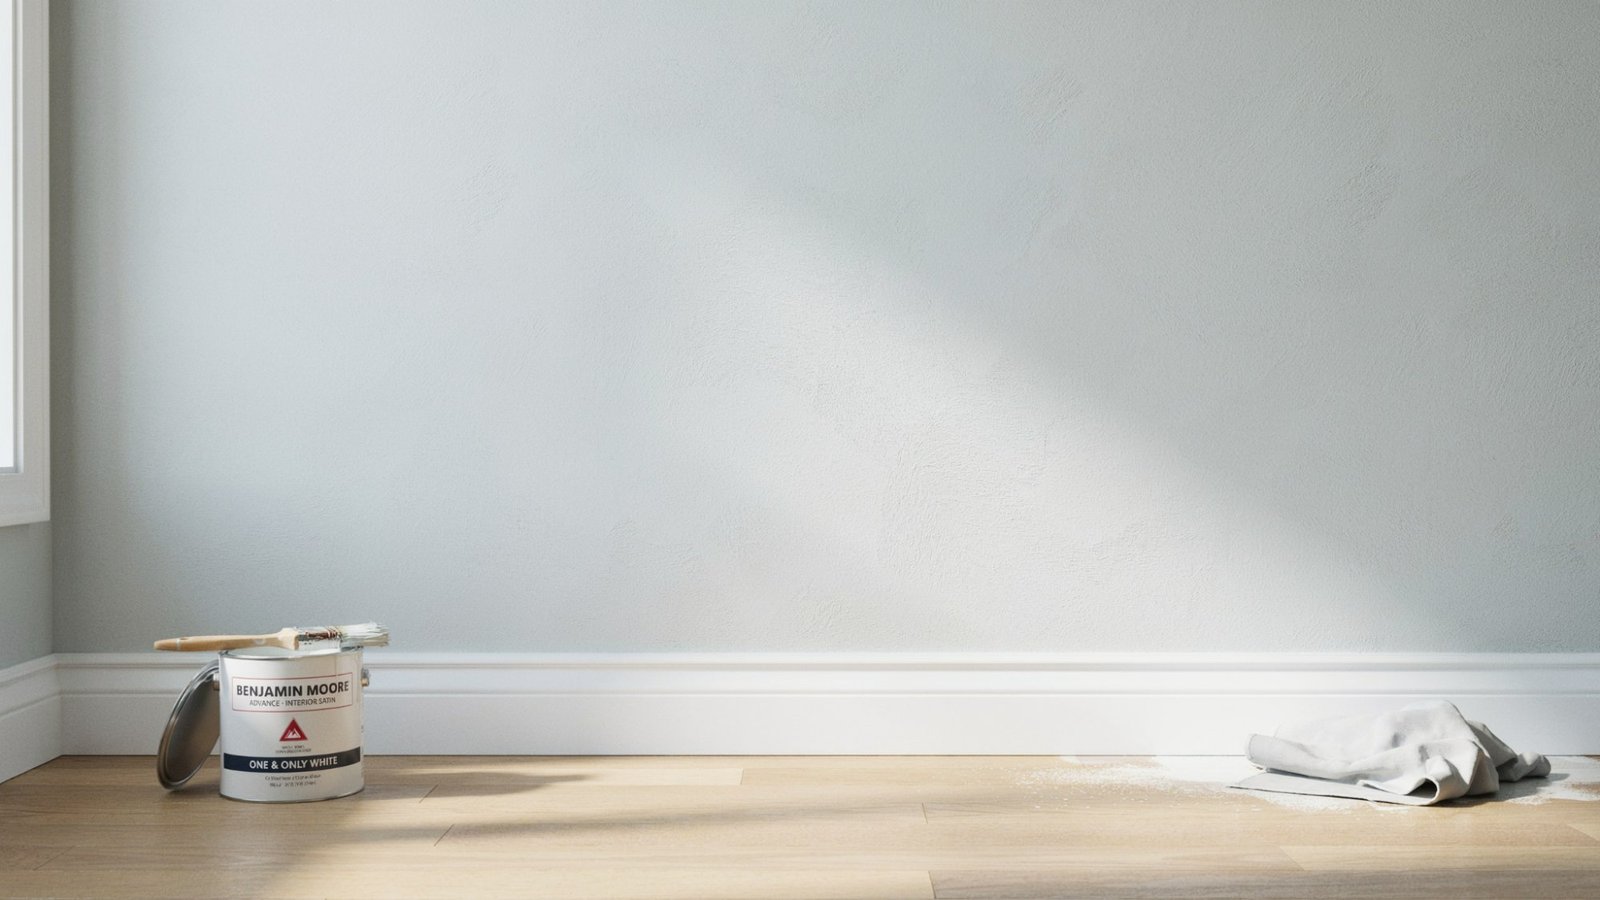
Let the first coat dry fully before applying the second. This usually takes 2 to 4 hours for water-based paints.
Lightly sand between coats with 220-grit sandpaper for an even smoother finish. Two coats is usually enough.
Best Paint Options for Baseboards (Expert Picks)
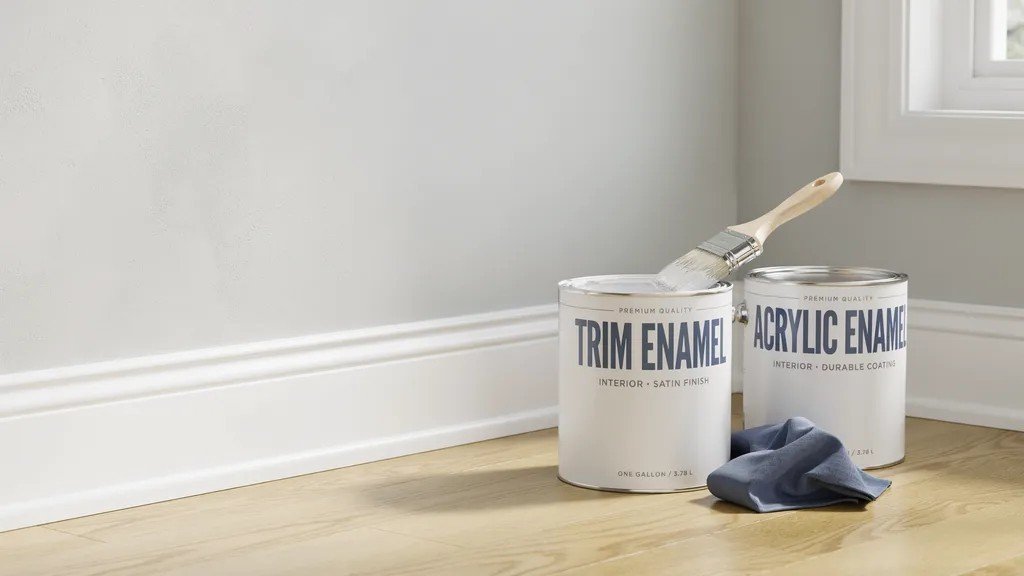
A few standout products consistently deliver smooth, long-lasting results on trim.
Acrylic Enamel for Smooth, Durable Finish
Acrylic enamel paints are a top pick for baseboards. They dry to a hard finish, resist scuffs, and level out well.
Brands like Sherwin-Williams Emerald Urethane Trim Enamel and Benjamin Moore Advance are widely praised for smooth results.
These paints are water-based but act like oil-based once dry.
When to Choose Oil-Based Paint
Choose oil-based if you're working on older wood trim that needs maximum durability. Also consider it for high-traffic areas like hallways or if you're repainting over existing oil-based paint.
Best Choice for DIY vs Professional Results
For DIY: A water-based alkyd or acrylic enamel is the safest bet. Easy cleanup, forgiving application, fast drying.
For professional results: Sherwin-Williams Emerald Urethane or Benjamin Moore Advance give near-perfect finishes that last for years.
Pro Tips to Get a Smooth, Factory-Like Finish
These small but smart habits make a big difference between a rough coat and a flawless finish.
- Use the Right Brush or Tool:Cheap brushes leave bristle marks. Use a quality nylon or polyester brush for water-based paints and a natural bristle brush for oil-based paints.
- Apply Thin and Even Coats:Thick coats sag and drip while thin coats dry faster and look much cleaner. Two thin coats will always beat one thick coat.
- Wait for Full Drying Time:Rushing between coats is the top reason for a bad finish. Always wait the full recommended time before recoating even if it feels dry.
- Prep Before You Paint: Never skip cleaning and sanding first. Painting over dust or grease is a common reason paint peels or looks uneven after it dries.
- Avoid These Common Mistakes:Do not use old or low quality paint, do not paint in a dusty room, always stir your paint well and never overload your brush.
Conclusion
Getting smooth baseboards is not complicated once you know the right steps. I used to rush through prep and wonder why my results always looked rough.
Once I started using the right paint and taking my time, the difference was clear. If you follow this guide, you will get a finish that looks clean and lasts long.
Have questions or want to share how it went? Drop a comment below. If this helped you, share it with someone else who is planning to repaint their trim soon.
Frequently Asked Questions
What is the best paint for baseboards for a smooth finish?
Water-based alkyd or acrylic enamel paints are the best options. They level out well, dry hard, and resist scuffs and marks over time.
Should I use semi-gloss or satin for baseboards?
Semi-gloss is usually the better pick. It's easier to clean and more durable. Satin works if you want a softer look and your baseboards have small imperfections.
Do I need to prime baseboards before painting?
Yes, especially on bare wood or patched areas. Primer helps the paint stick better and gives a smoother, more even finish overall.
How many coats of paint do baseboards need?
Two coats is the standard. Always let the first coat dry fully and lightly sand before applying the second for the best results.
How do I avoid brush marks on baseboards?
Use a high-quality angled brush, apply thin coats, and don't overwork the paint. Self-leveling trim paints also help reduce visible brush strokes significantly.