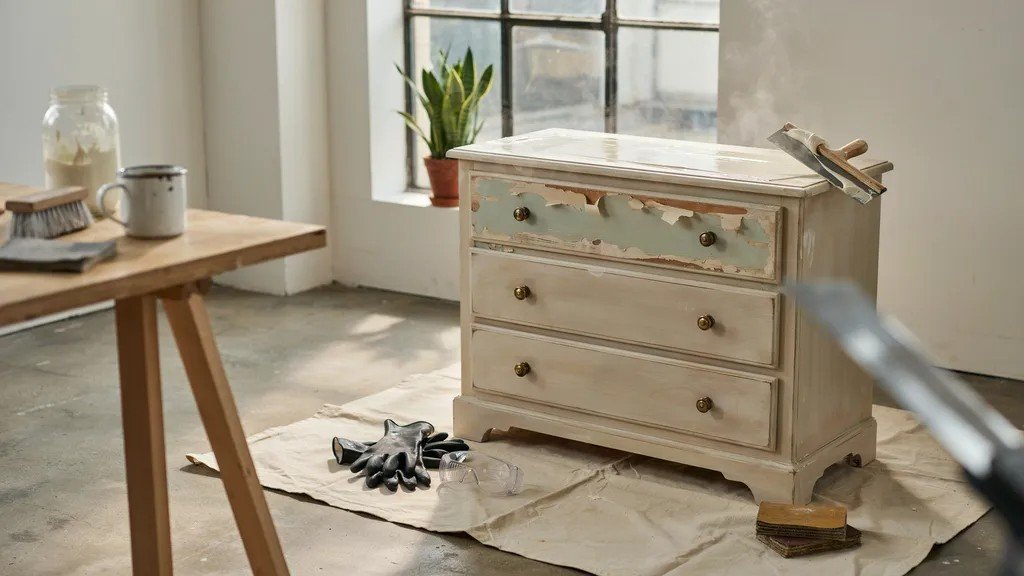
I've stripped paint from old furniture, metal railings, and wooden doors. And I'll be honest, the first time I tried it, I made a mess.
I used the wrong product, skipped the dwell time, and ended up scraping half-hardened paint for an hour.
In this guide on how to use a paint stripper, I'll walk you through everything.
From picking the right type to applying it correctly and cleaning up after.
I've tested different products across different surfaces. What I share here comes from real experience, not theory.
You'll learn the tools you need, the steps to follow, and the mistakes to skip.
Let's get into it.
What Is a Paint Stripper and How Does It Work?
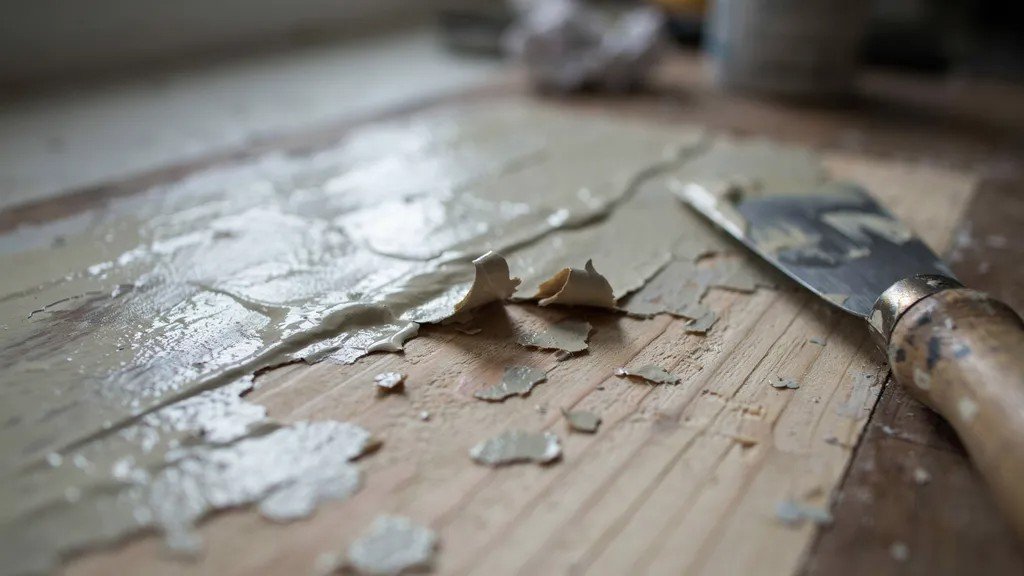
Paint stripper is a chemical product that breaks down the bond between paint and the surface underneath. It softens the paint so you can scrape or wipe it off without sanding.
Most formulas work by penetrating the paint layers. They cause the paint to bubble, lift, or peel away from the surface.
This saves you hours of sanding. It's especially useful on detailed woodwork, metal, or surfaces with multiple paint layers.
Types of Paint Strippers
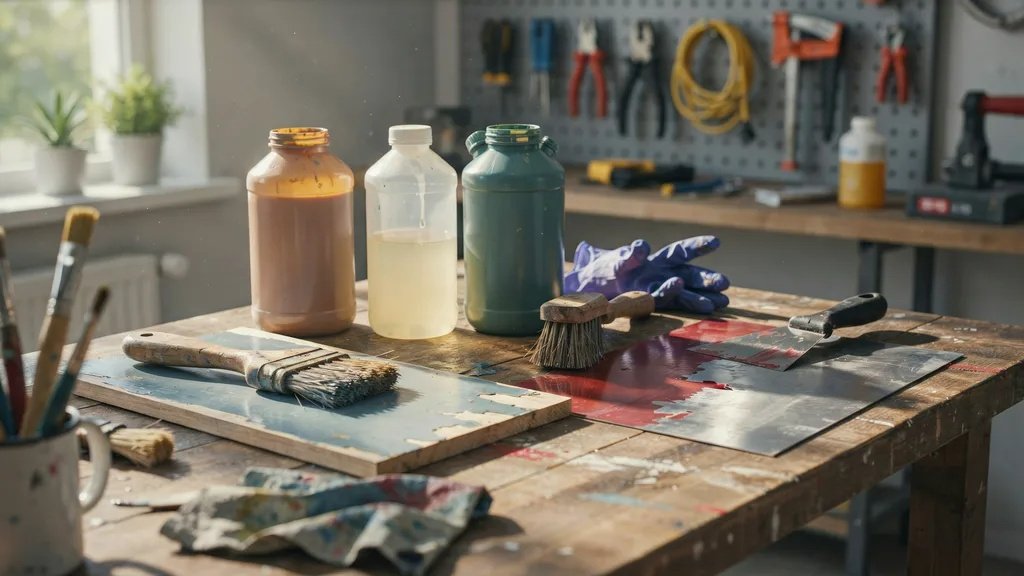
Not all strippers are the same. Here's what each type does and when to use it.
1.Solvent-Based Paint Strippers
These are strong and fast-acting. They work well on multiple layers of paint and on tough surfaces like metal.
The downside is the fumes. You need good ventilation and proper protective gear when using these.
2.Caustic Paint Strippers
Caustic strippers use alkaline chemicals like sodium hydroxide. They work well on wood and thick paint buildup.
They can raise the wood grain, so you may need to sand lightly after. Always rinse thoroughly when you're done.
3.Biodegradable and Water-Based Paint Strippers
These are safer to use and have fewer fumes. They work more slowly than solvent-based types, but they're a good choice for indoor use or smaller projects.
They're also easier to clean up with just water.
Tools and Materials Needed Before You Start
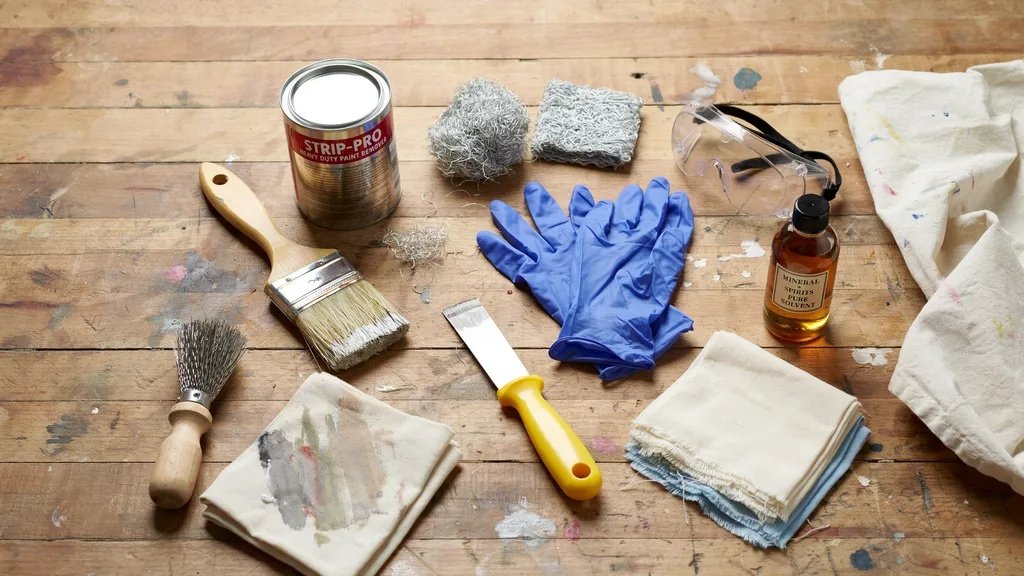
Before you begin, gather everything. Stopping mid-job to find a tool is how mistakes happen.
You'll need:
- Paint stripper (right type for your surface)
- Paintbrush or applicator
- Plastic scraper or putty knife
- Steel wool or wire brush
- Plastic wrap or sheeting
- Drop cloth or old newspaper
- Rubber gloves
- Safety goggles
- Old clothes or an apron
- Mineral spirits or water (for cleanup, depending on the product)
- Rags or paper towels
How to Use Paint Stripper: Step-by-Step Guide
Follow these steps in order and you'll get a clean surface every time.
Step 1: Read the Product Instructions and Safety Guidelines
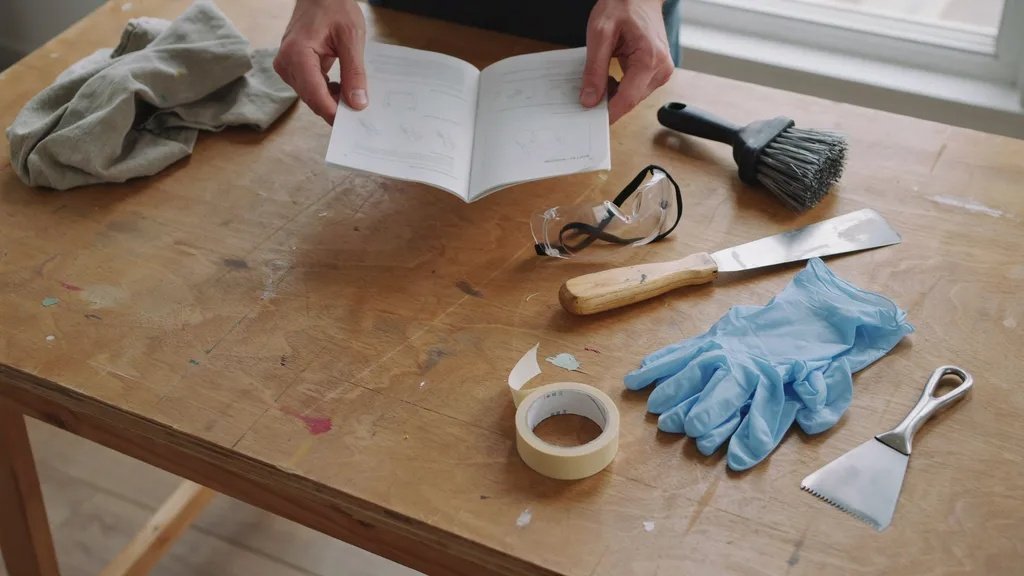
Every paint stripper is different. Read the label before you open the can.
Note the dwell time, the surface compatibility, and the cleanup method. Don't skip this step.
Step 2: Prepare and Protect the Work Area
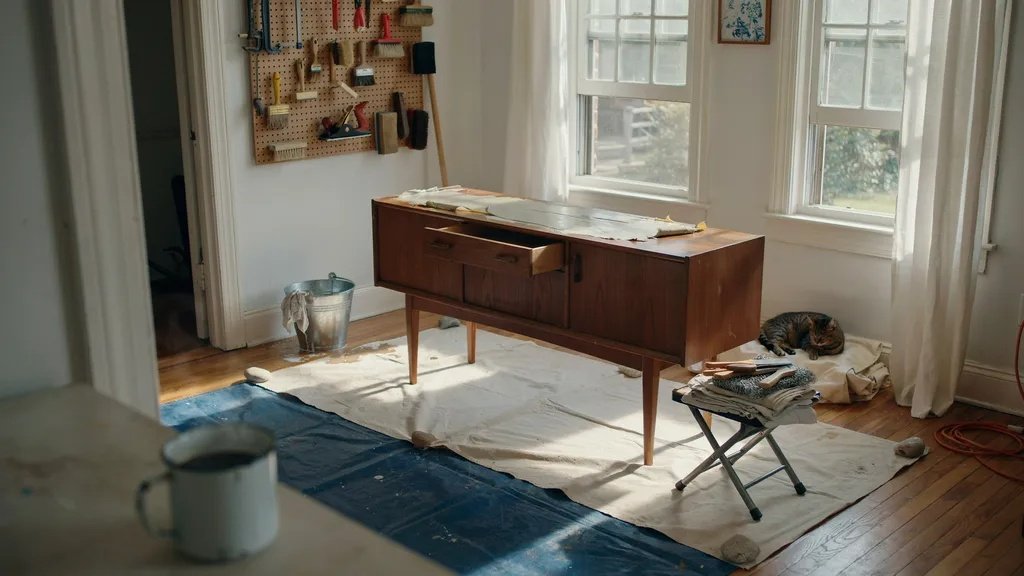
Lay down a drop cloth or newspaper under the surface you're working on.
If you're working indoors, open windows and doors. Good airflow matters a lot.
Move anything nearby that you don't want to get chemical on.
Step 3: Wear Safety Gear
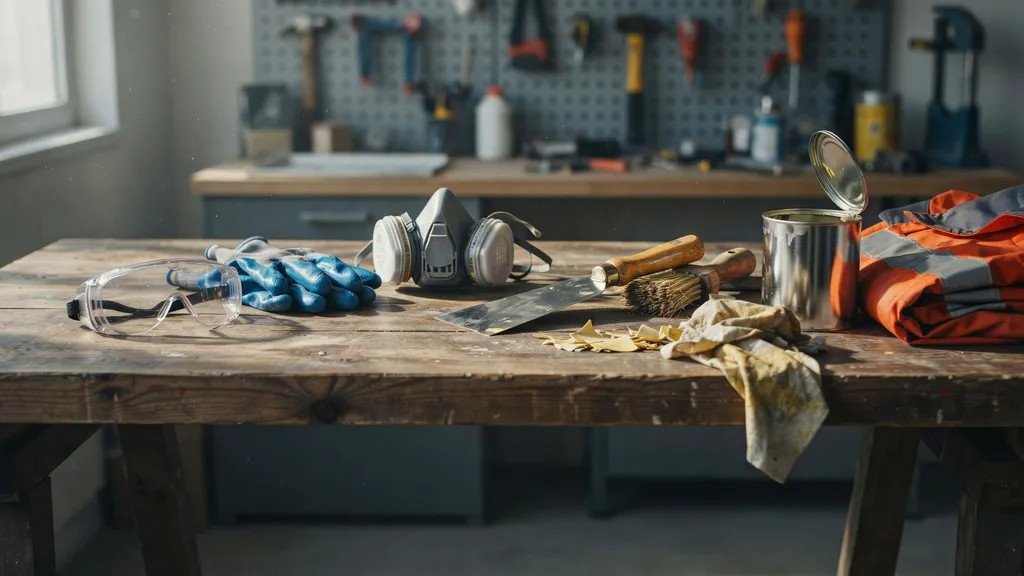
Put on rubber gloves, safety goggles, and old clothes. Some strippers can irritate skin on contact.
If you're using a solvent-based product, consider wearing a respirator mask too.
Step 4: Apply a Thick, Even Coat of Paint Stripper
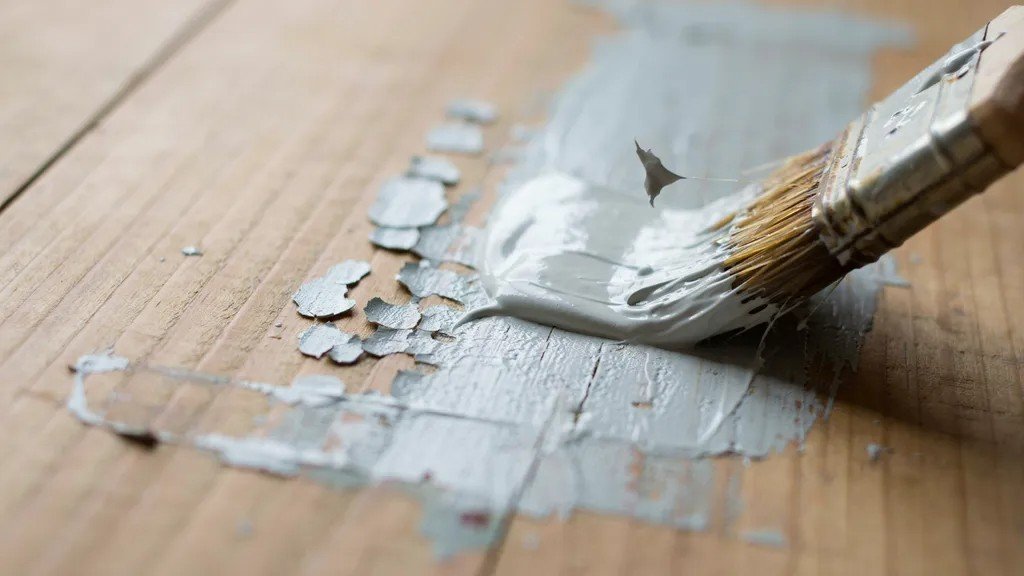
Use a paintbrush to apply the stripper in one direction. Don't brush back and forth.
Apply a thick coat. Thin coats dry out too fast and don't work as well.
Work in sections if the surface is large.
Step 5: Cover With Plastic Wrap for Better Results (Optional)
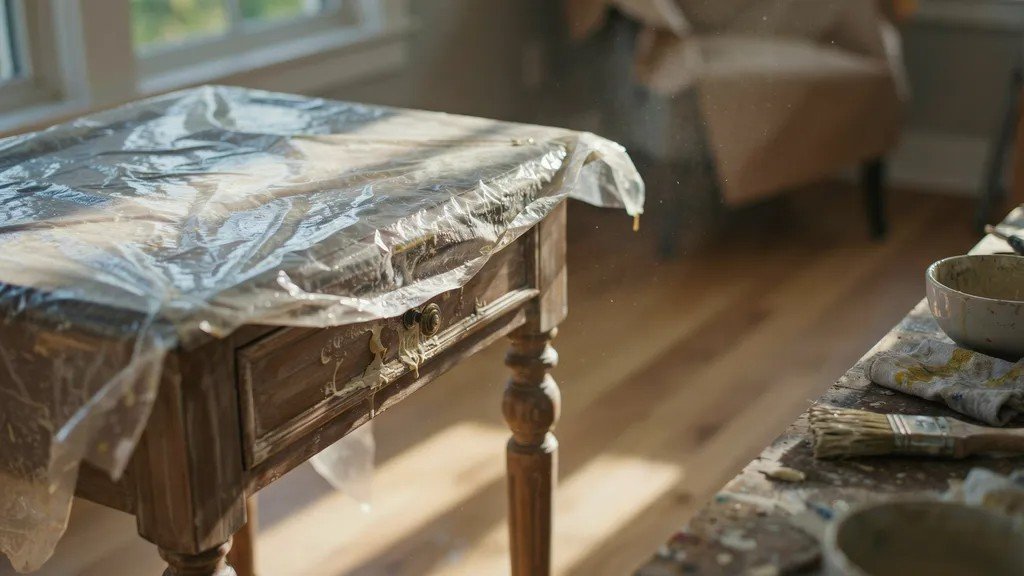
Covering the stripper with plastic wrap keeps it wet longer. This is a simple step that makes a real difference.
It stops the product from drying out before it has time to work.
Step 6: Allow the Paint Stripper to Dwell
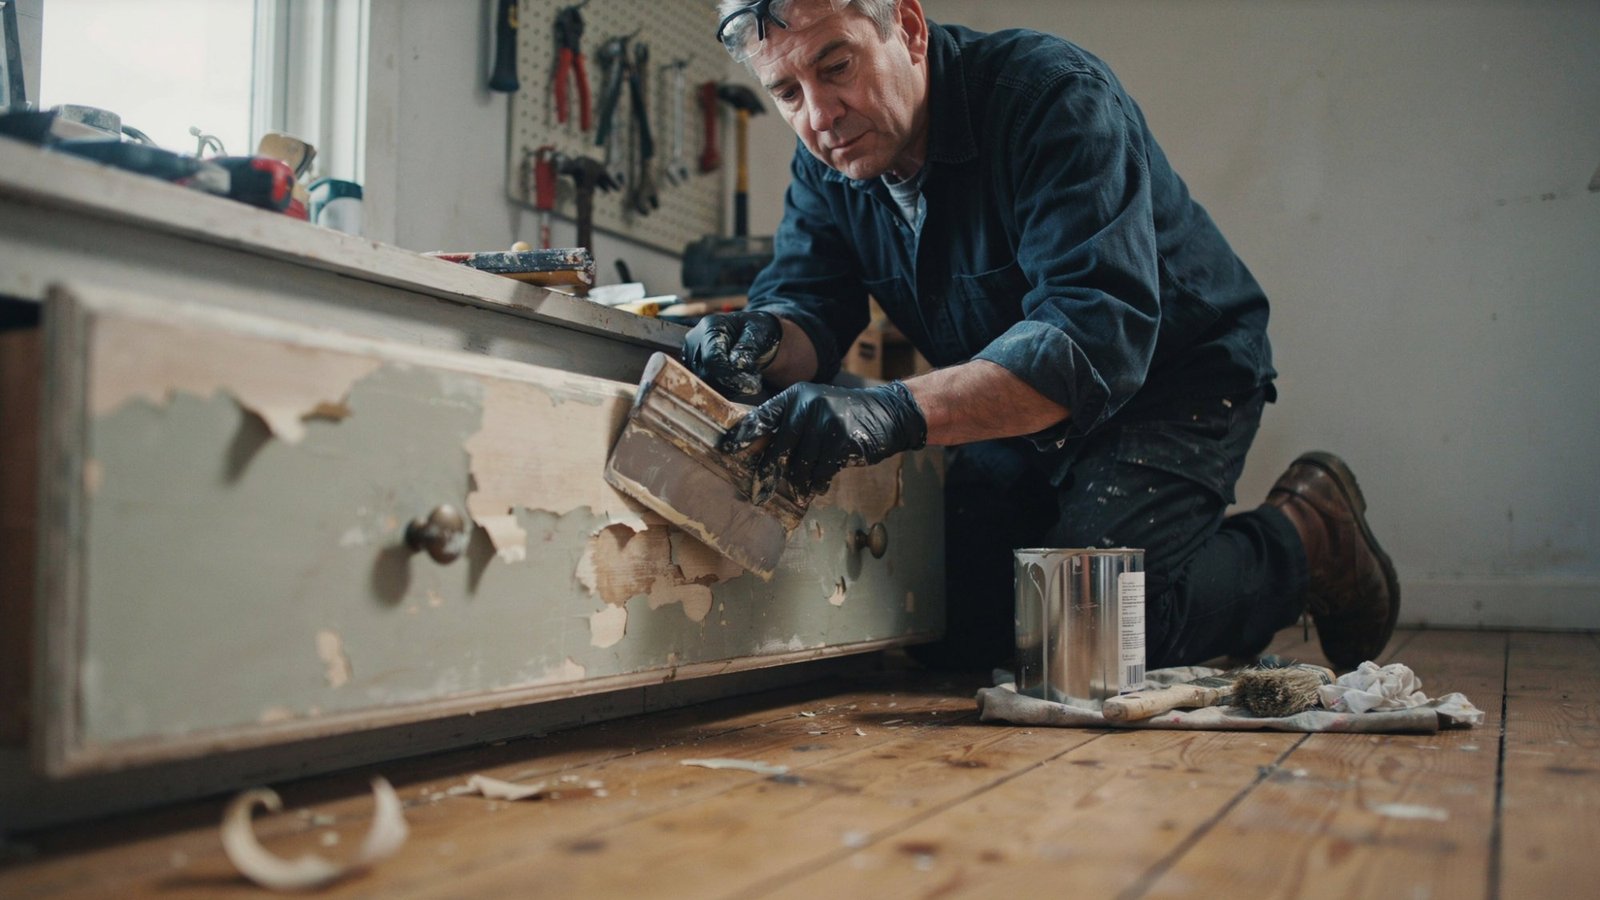
Leave it alone. Don't touch it.
Most products need 15 minutes to a few hours. Check the label for the exact time.
I've rushed this before and regretted it. Let the chemistry do the work.
Step 7: Test a Small Area for Paint Lift
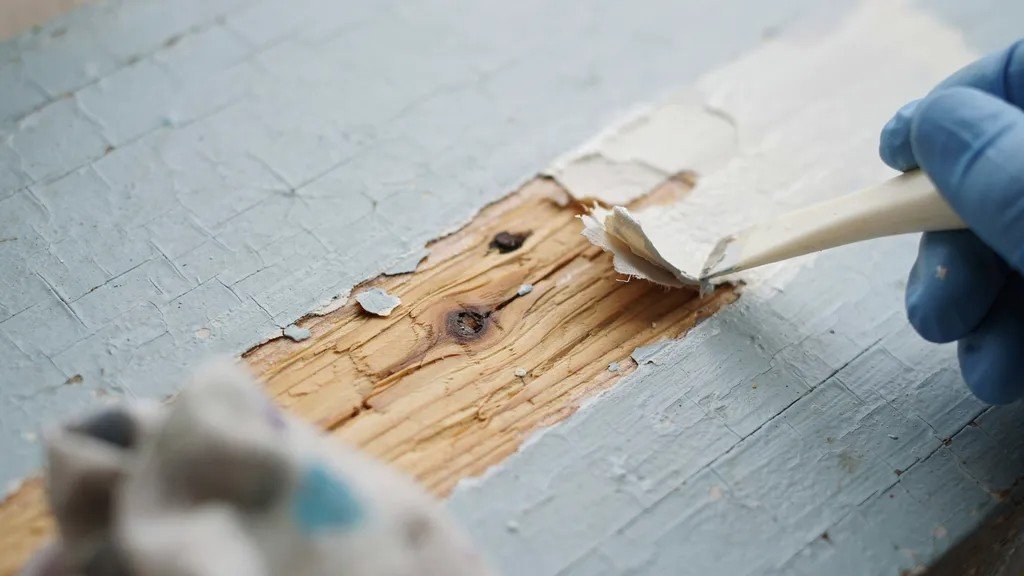
After the dwell time, test a small section with your scraper.
If the paint lifts easily, you're ready. If it doesn't, give it more time.
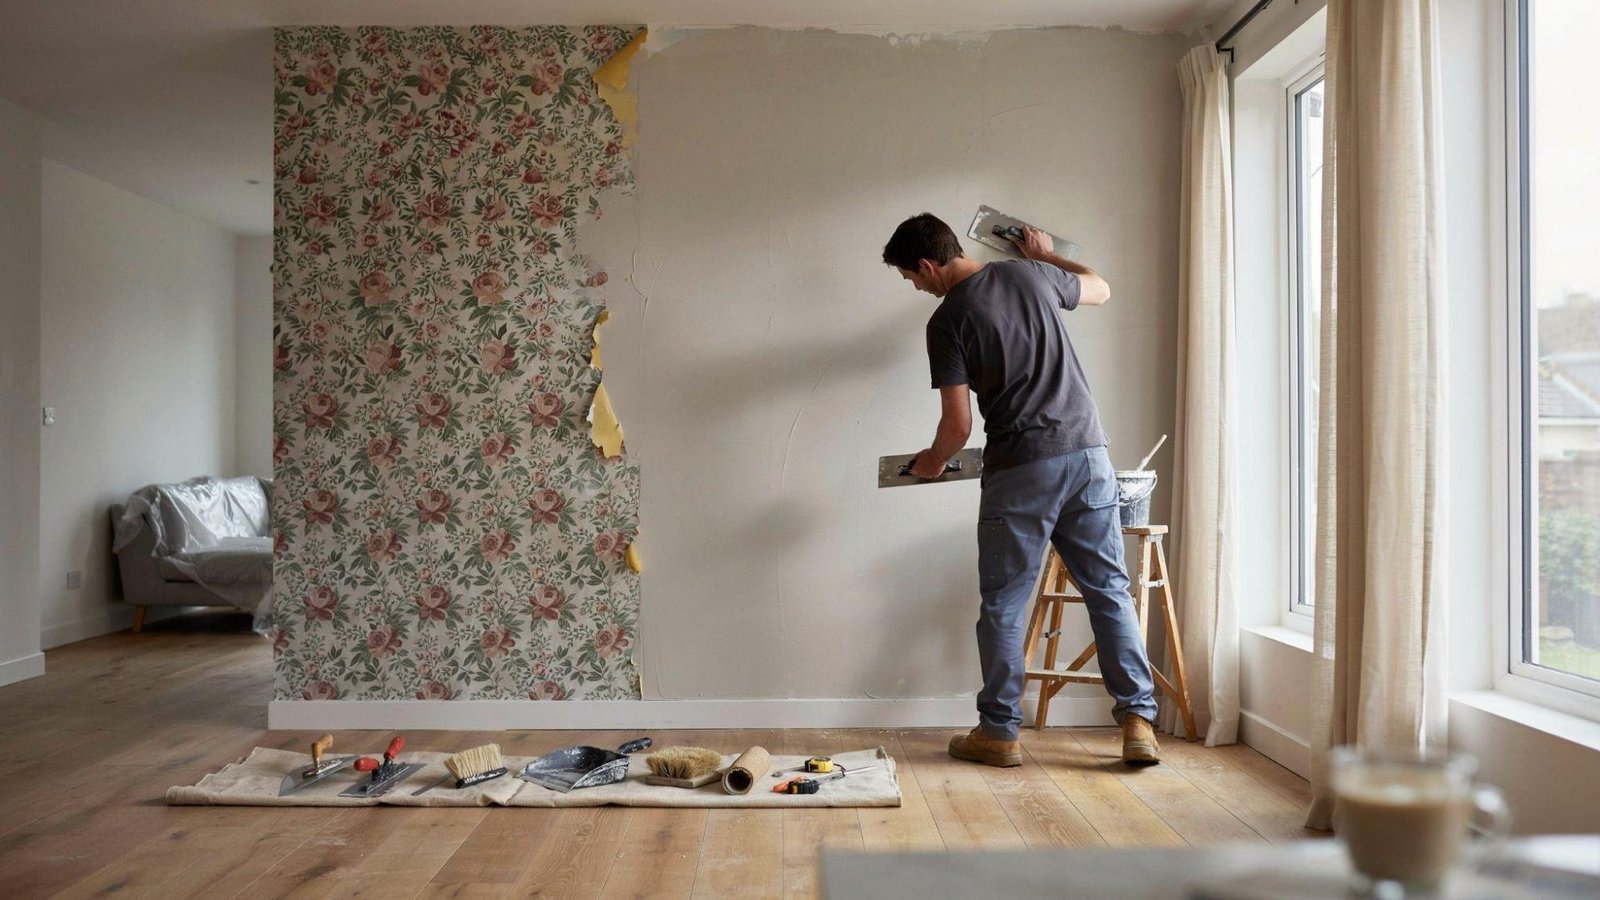
Step 8: Scrape Away the Softened Paint
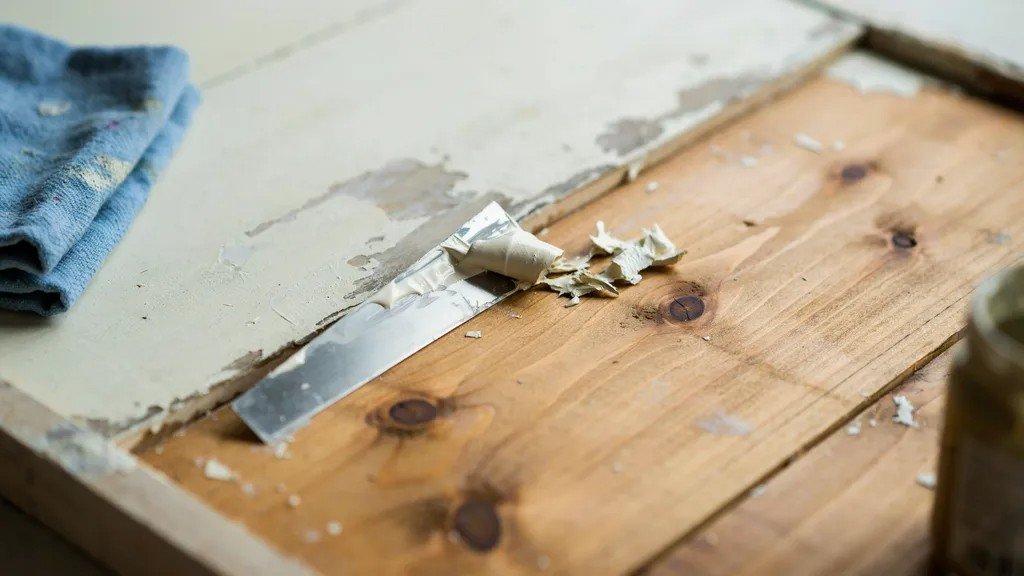
Use a plastic scraper to remove the softened paint. Work in the direction of the grain on wood.
Don't press too hard. You want to lift the paint, not gouge the surface.
Step 9: Clean Paint From Grooves, Corners, and Details

Use steel wool, an old toothbrush, or a wire brush for tight spots.
These areas hold paint longer. Take your time here to get a clean result.
Step 10: Remove Residue and Rinse the Surface
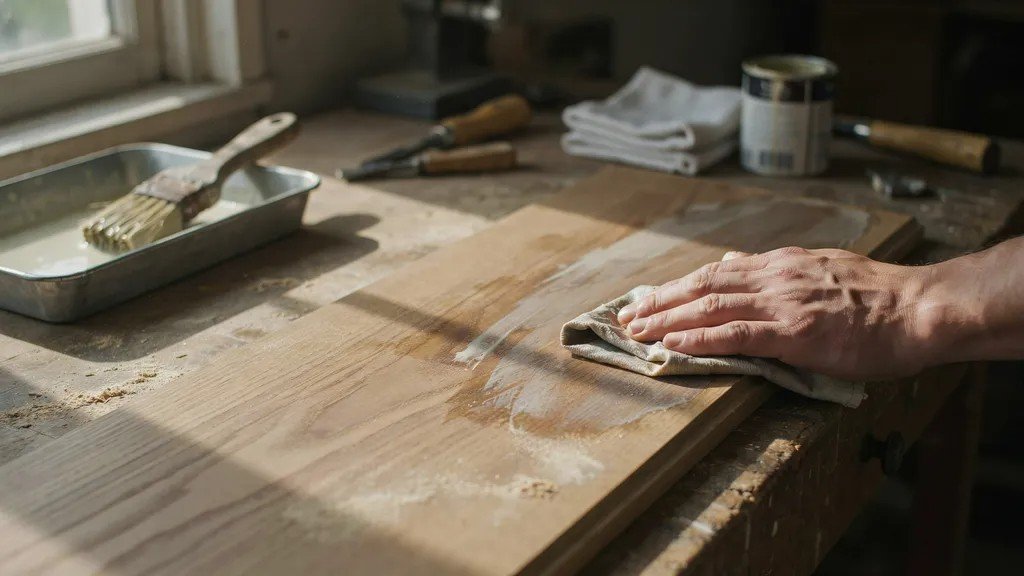
Wipe the surface with mineral spirits (for solvent-based products) or water (for water-based ones).
This removes the chemical residue and leftover paint bits. Don't skip the rinse.
Step 11: Repeat the Process if Necessary
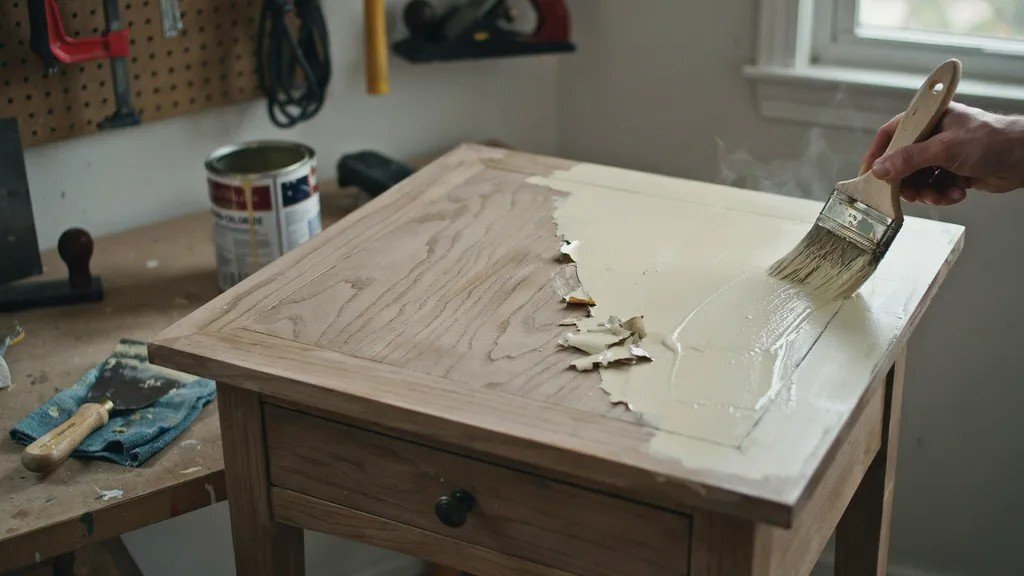
Heavy paint buildup may need a second round. That's completely normal.
Reapply, wait, and scrape again until the surface is clean.
Step 12: Allow the Surface to Dry Completely
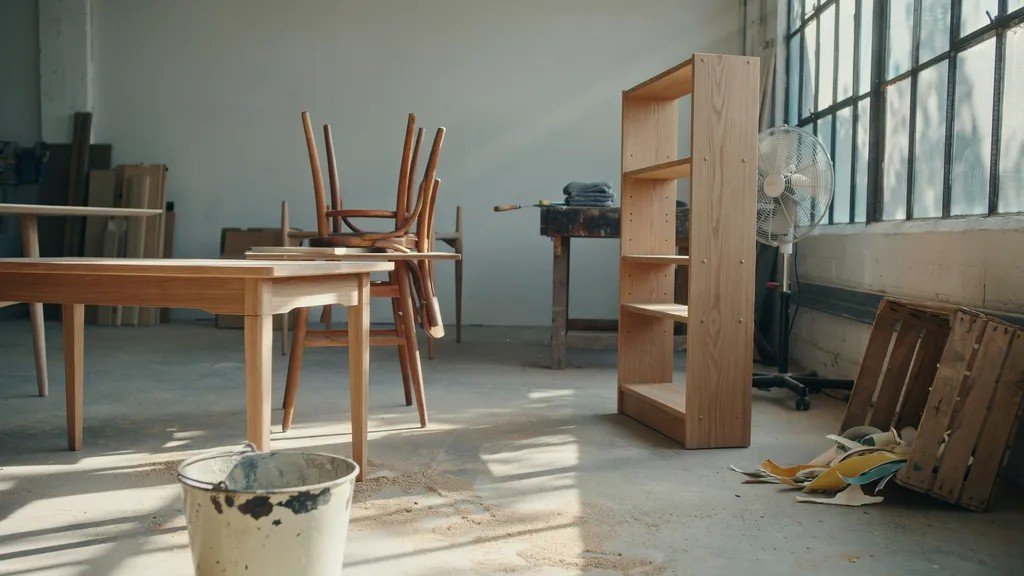
Let the surface dry fully before painting or sealing it.
Rushing this step can ruin your next coat of paint. Give it at least 24 hours if you can.
Tips for Getting the Best Results With Paint Stripper
These small adjustments make a big difference in how well the job turns out.
- Always work in a ventilated area, even with low-fume products.
- Apply a generous coat. Thin applications don't penetrate deep enough.
- Cover with plastic wrap to extend dwell time without reapplying.
- Use the right scraper. Plastic for wood and soft surfaces, metal for tougher ones.
- Test on a small area first before doing the whole surface.
- Dispose of stripped paint and chemical waste properly. Check your local guidelines.
- Don't mix products from different brands.
Common Mistakes to Avoid When Using Paint Stripper
I've made most of these. Skip them and save yourself the trouble.
- Applying a thin coat. It dries before it can work.
- Not waiting long enough. Rushing the dwell time means more scraping.
- Using the wrong product for the surface. Always check compatibility.
- Skipping safety gear. Even mild products can irritate skin and eyes.
- Working in a closed space. Fumes build up fast indoors.
- Not rinsing after scraping. Residue left behind affects the next finish.
- Using metal scrapers on wood. They leave marks and scratches.
Conclusion
Using a paint stripper the right way saves you time and avoids a lot of frustration. I've made most of the mistakes listed in this guide, so I know what goes wrong when you skip steps.
Pick the right product. Apply it thick. Wait long enough. Scrape gently. Rinse well.
That's really the whole process.
Once you do it right the first time, it becomes easy. You'll know how to read the surface, how long to wait, and which scraper to reach for.
Whether it's old furniture, a metal gate, or a painted wall, the steps stay mostly the same.
Give it a try on a small area first. What surface are you planning to strip first?
Frequently Asked Questions
Can I use a paint stripper on plastic surfaces?
Most paint strippers are too harsh for plastic and will warp or melt it. Look for a product specifically labeled safe for plastic before trying it.
How long should I leave the paint stripper on?
Dwell times vary by product, but most need 15 minutes to 2 hours. Always check the label and test a small area before scraping.
Is paint stripper safe to use indoors?
Water-based strippers are safer indoors, but you still need good ventilation. Open all windows and doors, and avoid solvent-based products in enclosed spaces.
What do I do if the paint doesn't come off after one application?
Simply reapply a fresh coat, wait the full dwell time again, and scrape. Thick or old paint layers often need two rounds.
Can I pour leftover paint stripper down the drain?
No, paint stripper is a chemical product and should not go down household drains. Check your local waste disposal guidelines for the right way to get rid of it.